The Whip of Theze-E
Street legend tells of a young driver whose mom named Theseus but was known amongst his friends as Theze-E.
I share this here for in some tellings of the story Theze drove a Camaro, but in others it was a Civic, or a Foxbody Mustang, or an M3. In Japan they say he drove an RX7 but to hear my grandfather tell it, it had to have been a ’32 deuce coupe.
Theze got a reputation quickly for winning all the races he entered. His whip was unbeatable and word spread. Still, Theze knew his competition wouldn’t take things lying down so he began on the path of modification.
At first the simple bolt-ons for power and handling were enough to keep him on top, but as his fame grew the challengers appeared better and better equipped. So steel gave way to carbon fiber, glass to lexan, comfort to raw speed. The original powerplant was no longer enough so a stronger one was installed, in a better place than the original had been. The chassis was re-engineered stronger and lighter, suspension pickup points were moved to optimize geometry, and the car’s shape changed to improve aerodynamics.
By the time Theze’s Whip achieved its final state, there wasn’t a single atom of it that remained from when he started.
Those following his journey (in the newspaper, magazine articles, message boards, or TikToks, depending on the generation) knew its latest form to be his Whip. But then there was his buddy Hobbes, who’d been happy to collect all the parts of Theze’s car as he’d been modding. Hobbes had preserved all the original bits, and managed to put together his own Whip, exactly identical to Theze-E’s original – the one he’d originally been famous for.
So which one is the Whip of Theze-E? And at what point did Theze’s ride lose its identity as the model of car it started as?
Something I think about often with this car.
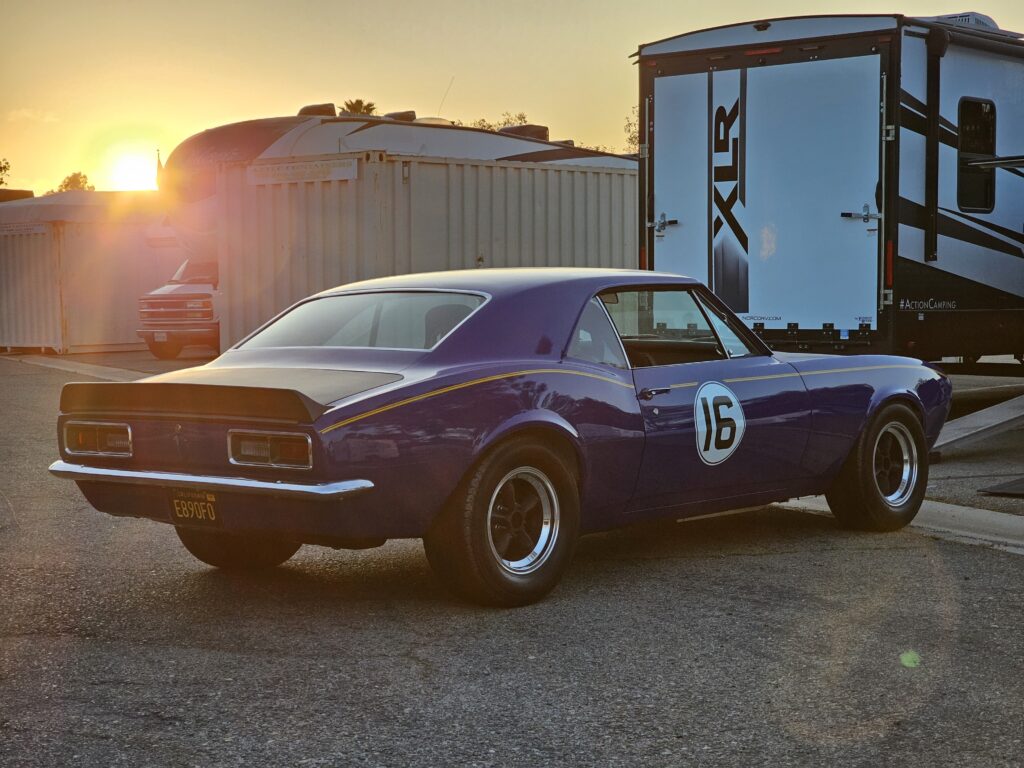
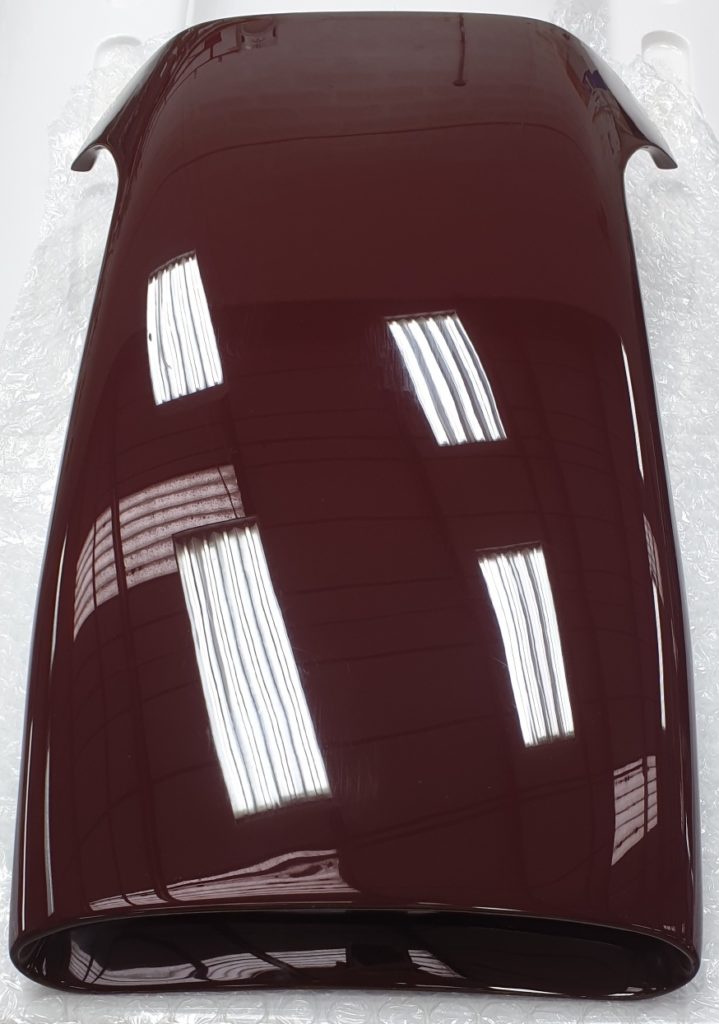
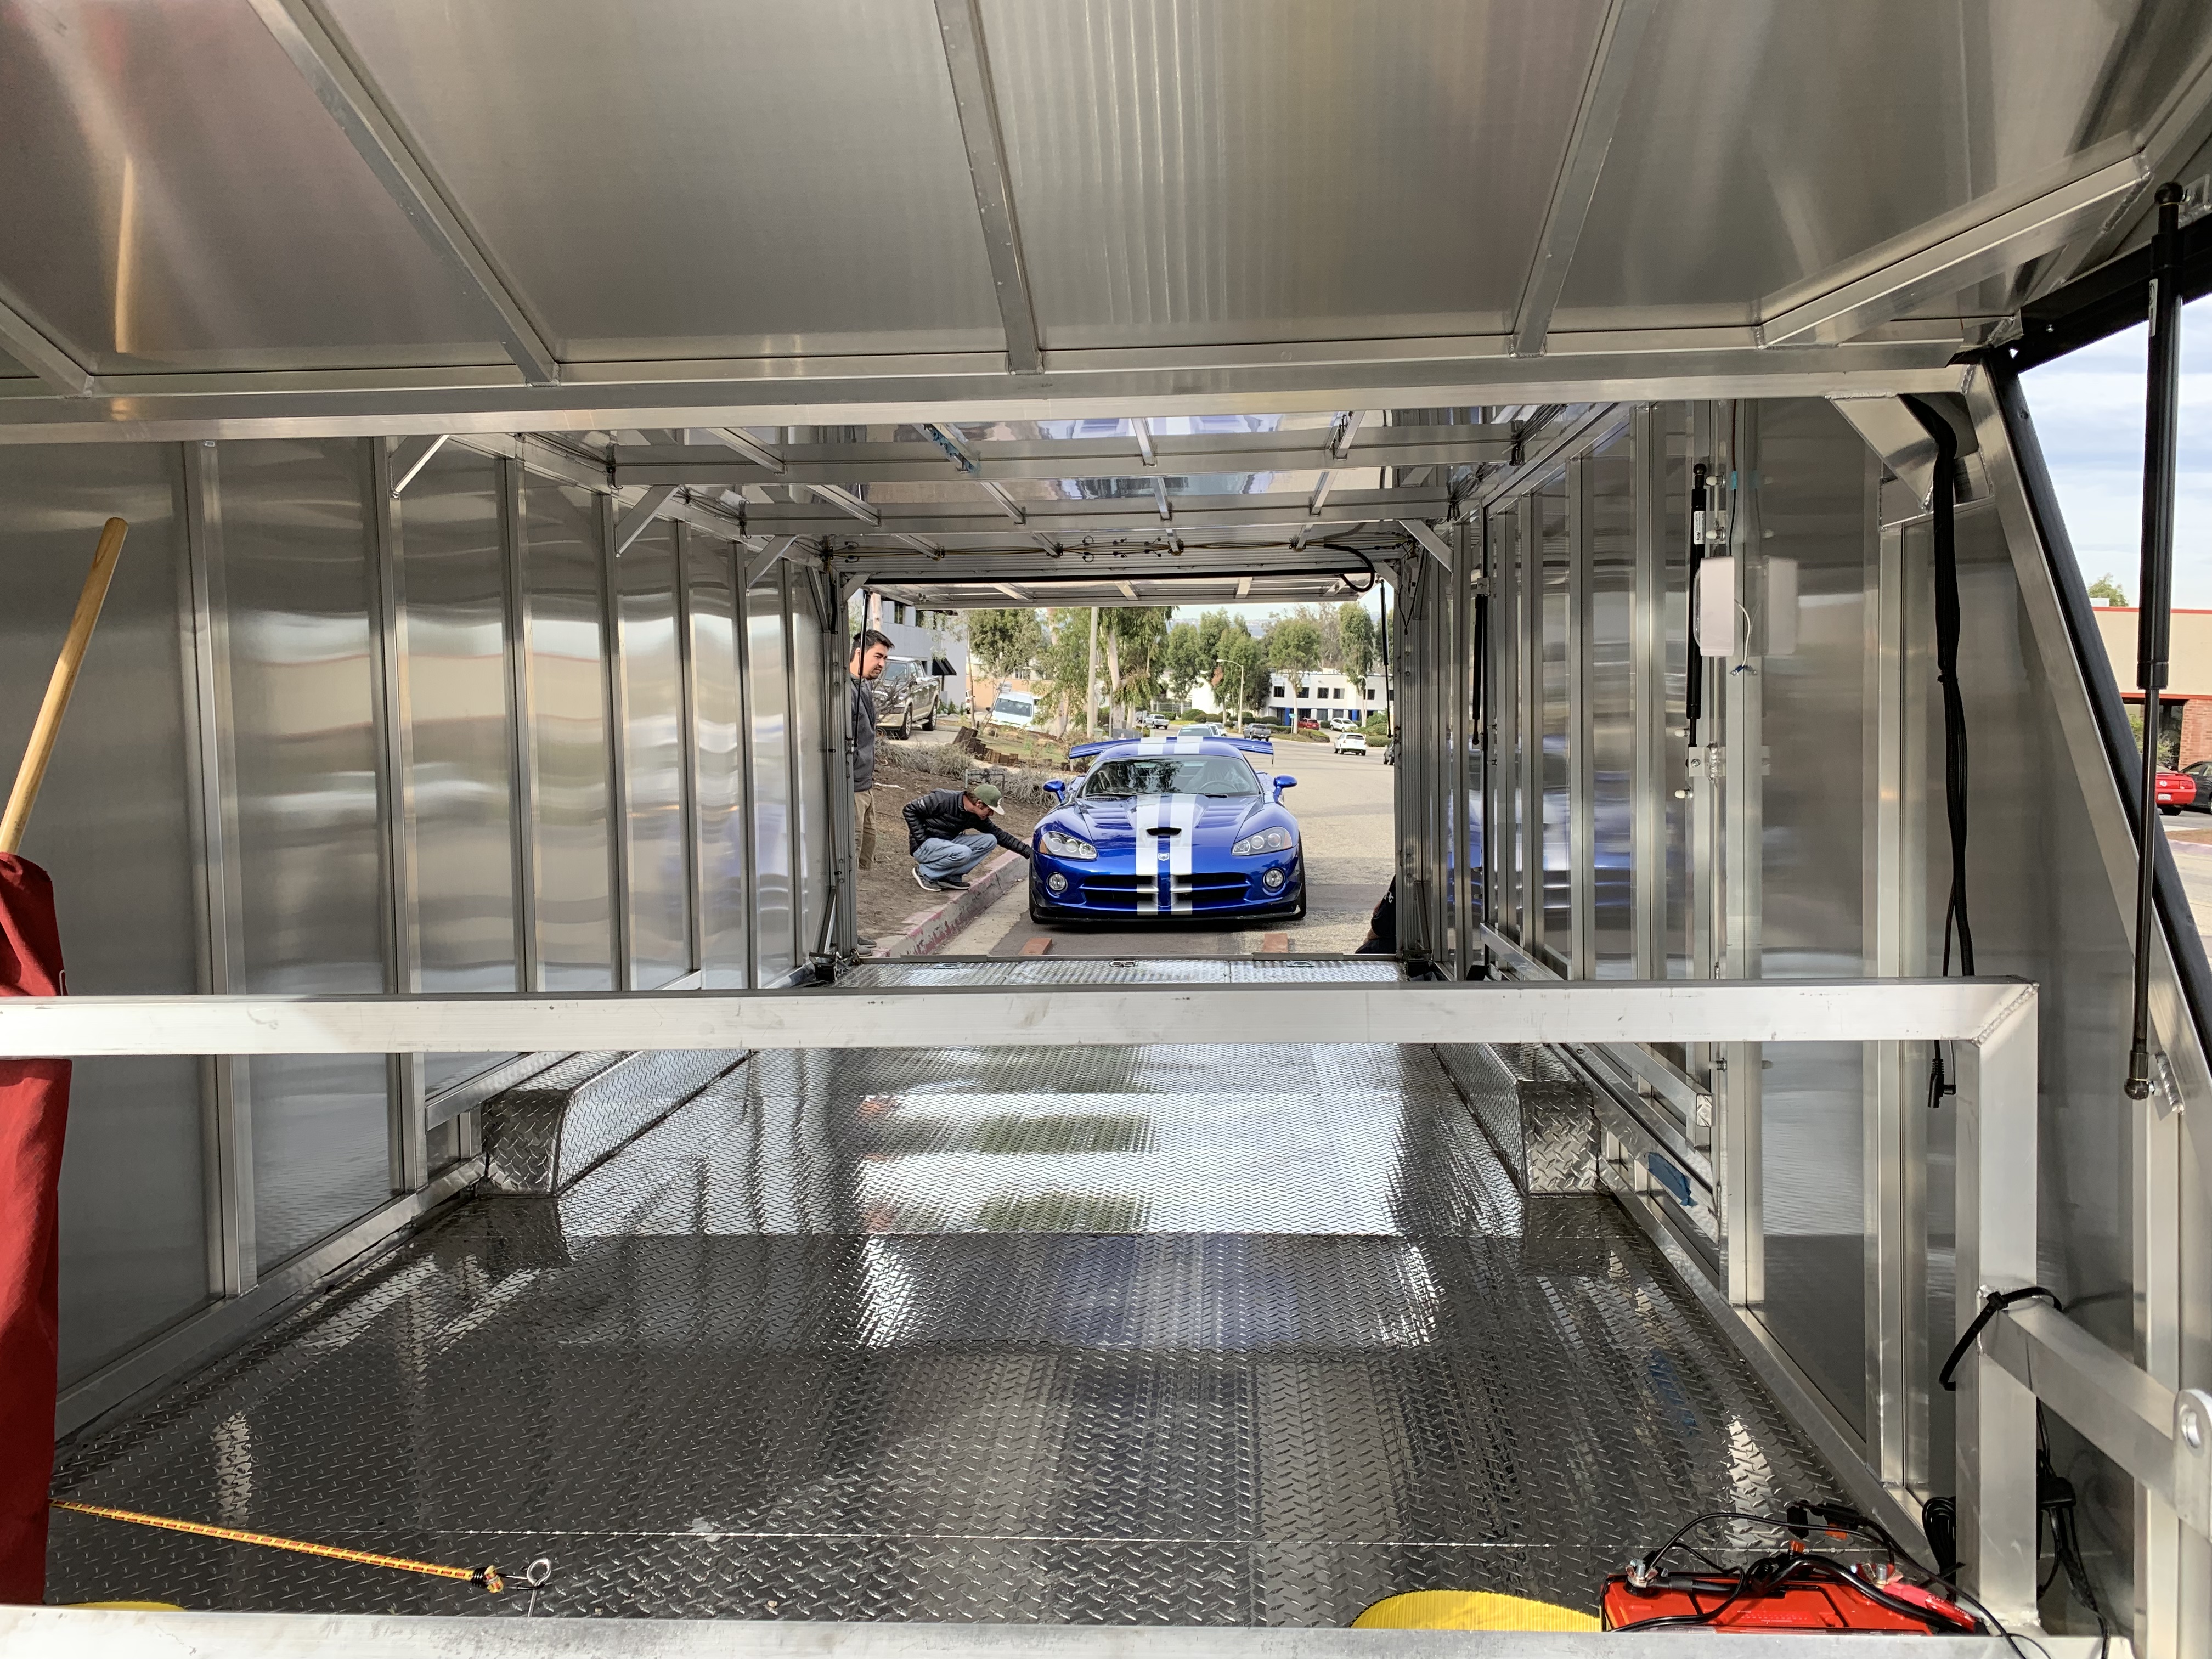
As a 5-year update, it was stolen a couple years ago (the trailer it’s stored in was stolen out of a secured RV facility, with the car inside), and as it wasn’t strapped down, ping-pong’d around inside the trailer. Hence the new carbon trunklid, spoiler, and header panel.

Can’t help but wonder though, if those mods are like Anakin losing his arm on the way to becoming Darth Vader. Cruising and shows aren’t my jam so haven’t done anything enjoyable with it since 2013. Have ideas, but that path parallels Theze-E’s journey – the end result bearing little resemblance to the starting point, with almost every characteristic of the original modified away. It’d be a whole different car.
What to do, what to do.
10 Years
Today is the 10th anniversary of the Camaro purchase and drive down from Sacramento.
Since the 2013 STX adventure have been a bit directionless with the car. It runs and drives well and is the closest to leak-free it’s been in my years of ownership. But it’s not really competitive in autocross – at least, I wouldn’t want to hack it up into something competitive. So it sits in stasis. Not the sort of thing I’d want to take to One Lap. Having done the event now, I have HUGE respect for the folks that have done it in old iron.
Speaking of which, One Lap 2019 was a blast, will definitely do it again. To all those thinking about it, get off the fence and just DO IT.
Sold the Viper after One Lap last June. It was awesome and never let me down in any way…but if I was coming back to One Lap, wanted to bring a different kind of machine. My heart was set on a particular option unveiled around this time, but my head said there wouldn’t be enough time available to do it right. So instead, went with Plan B:
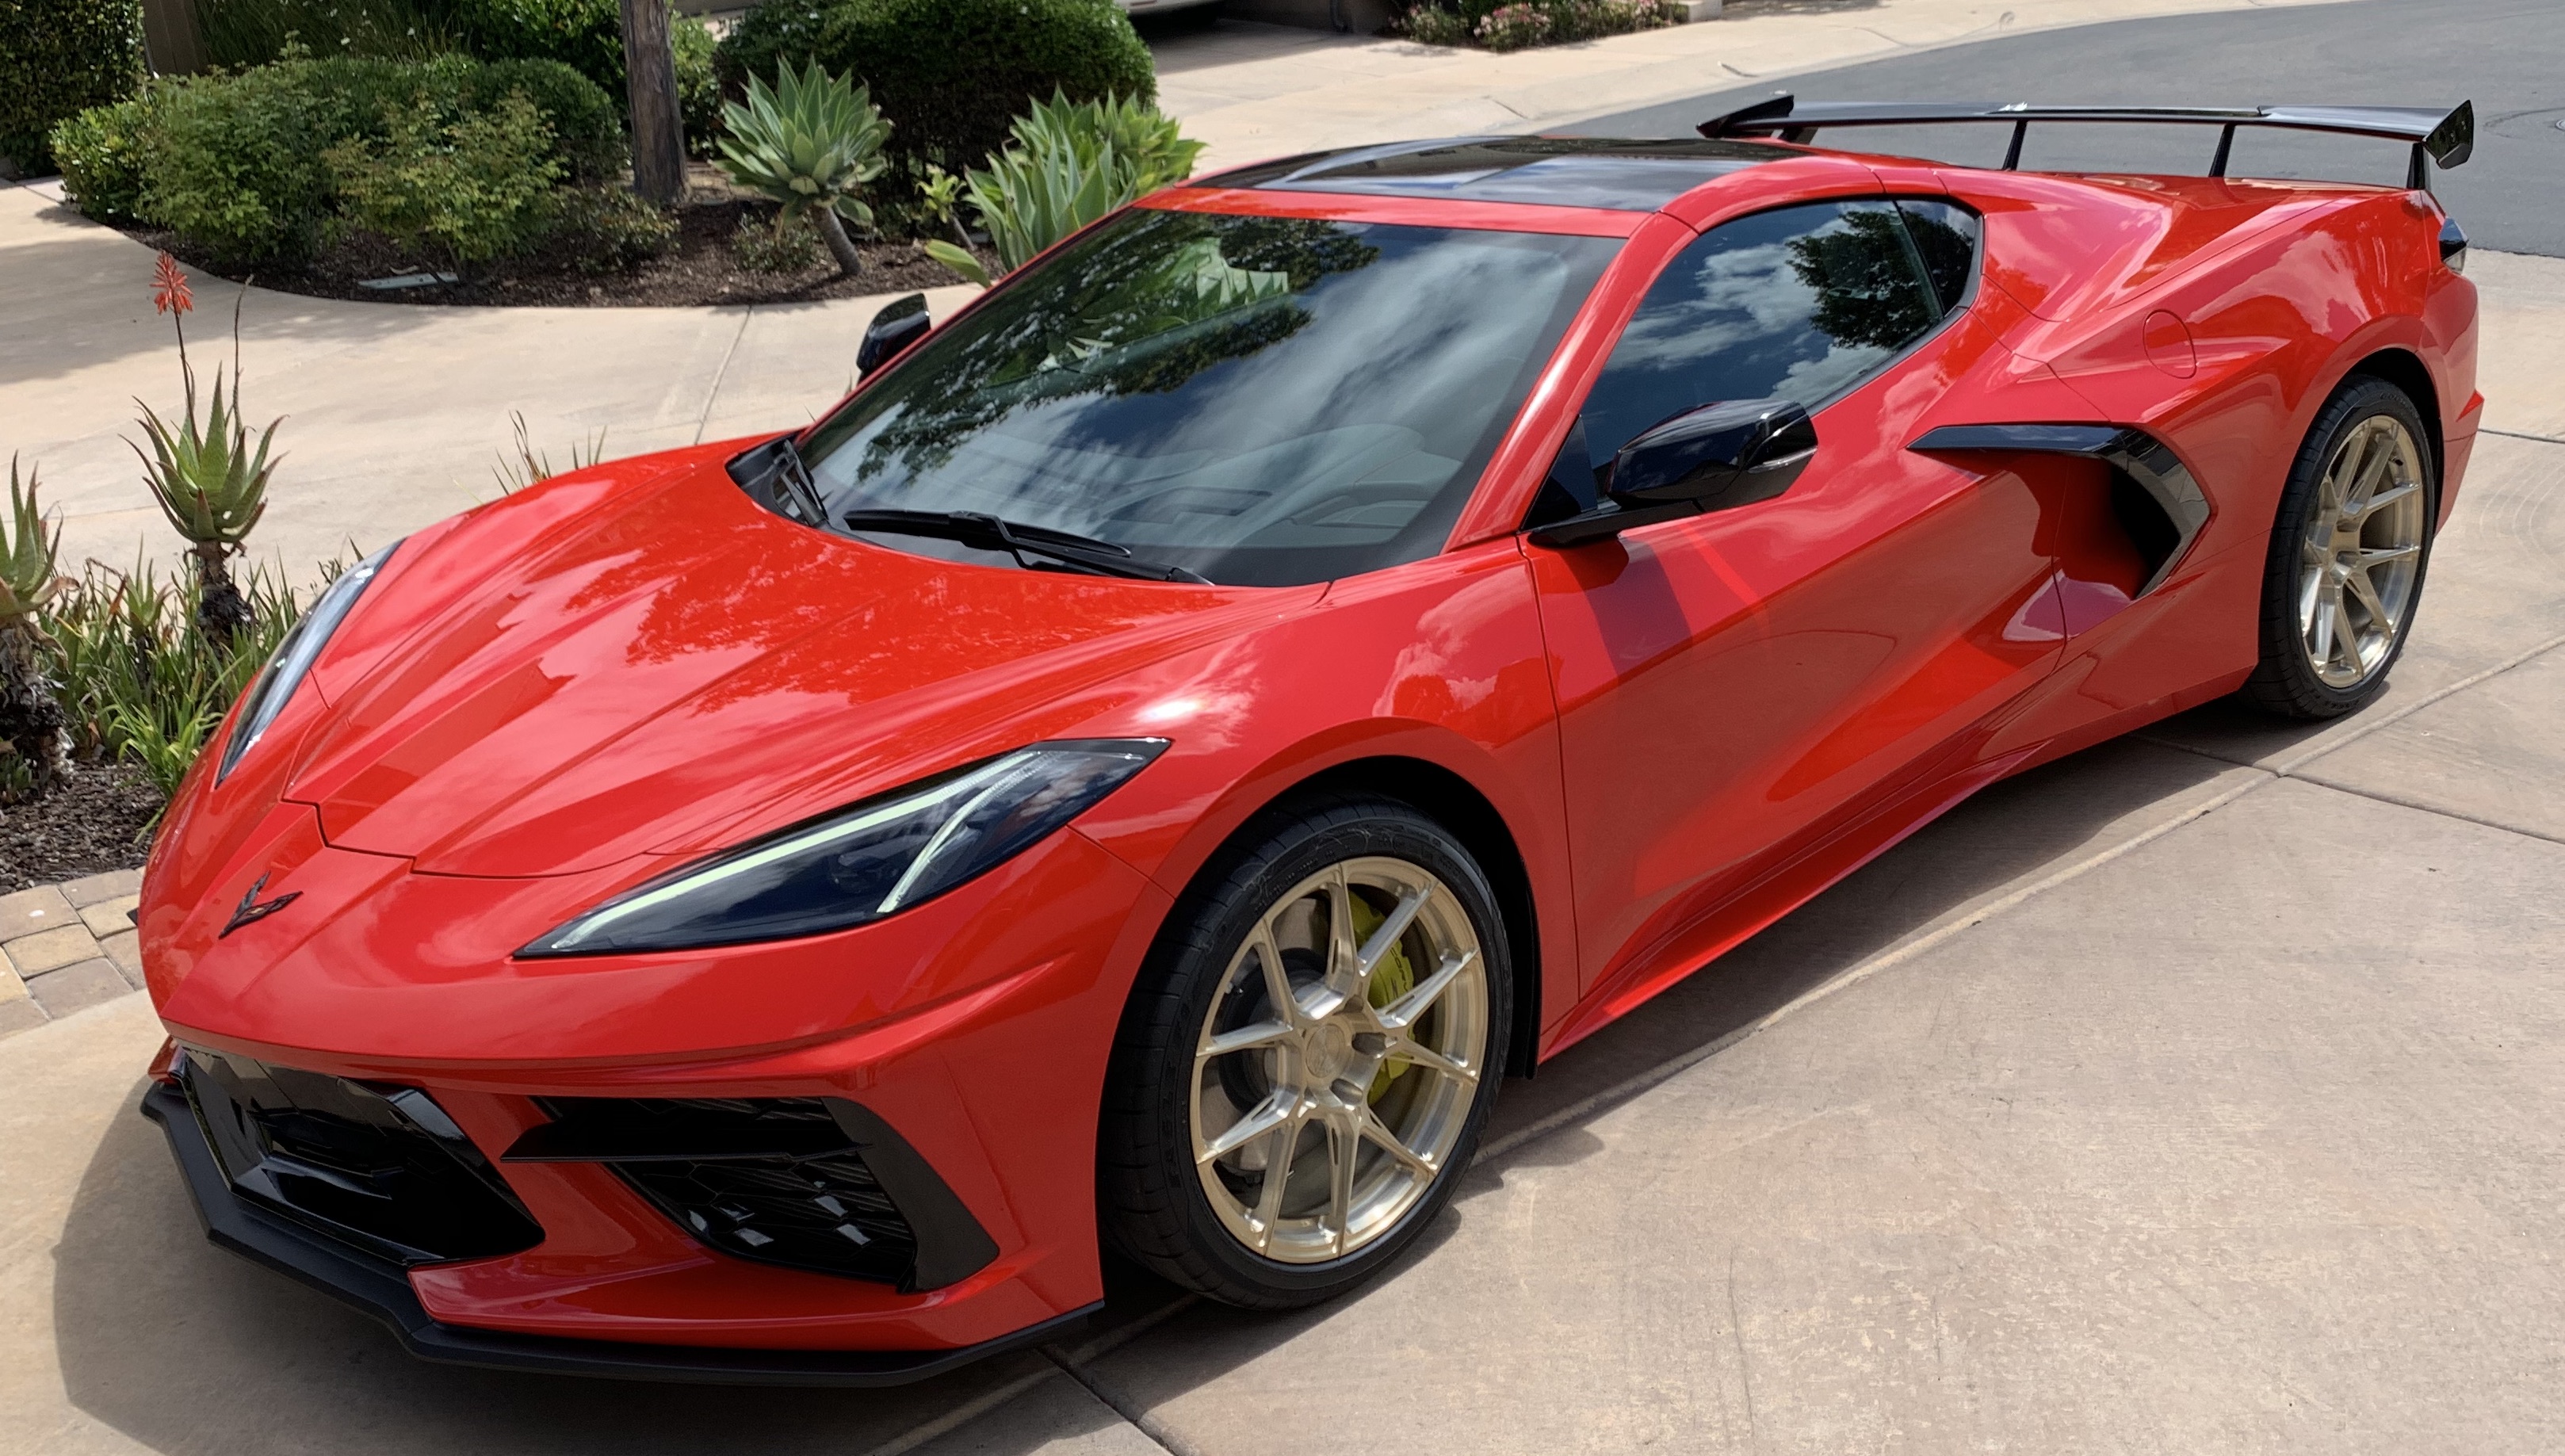
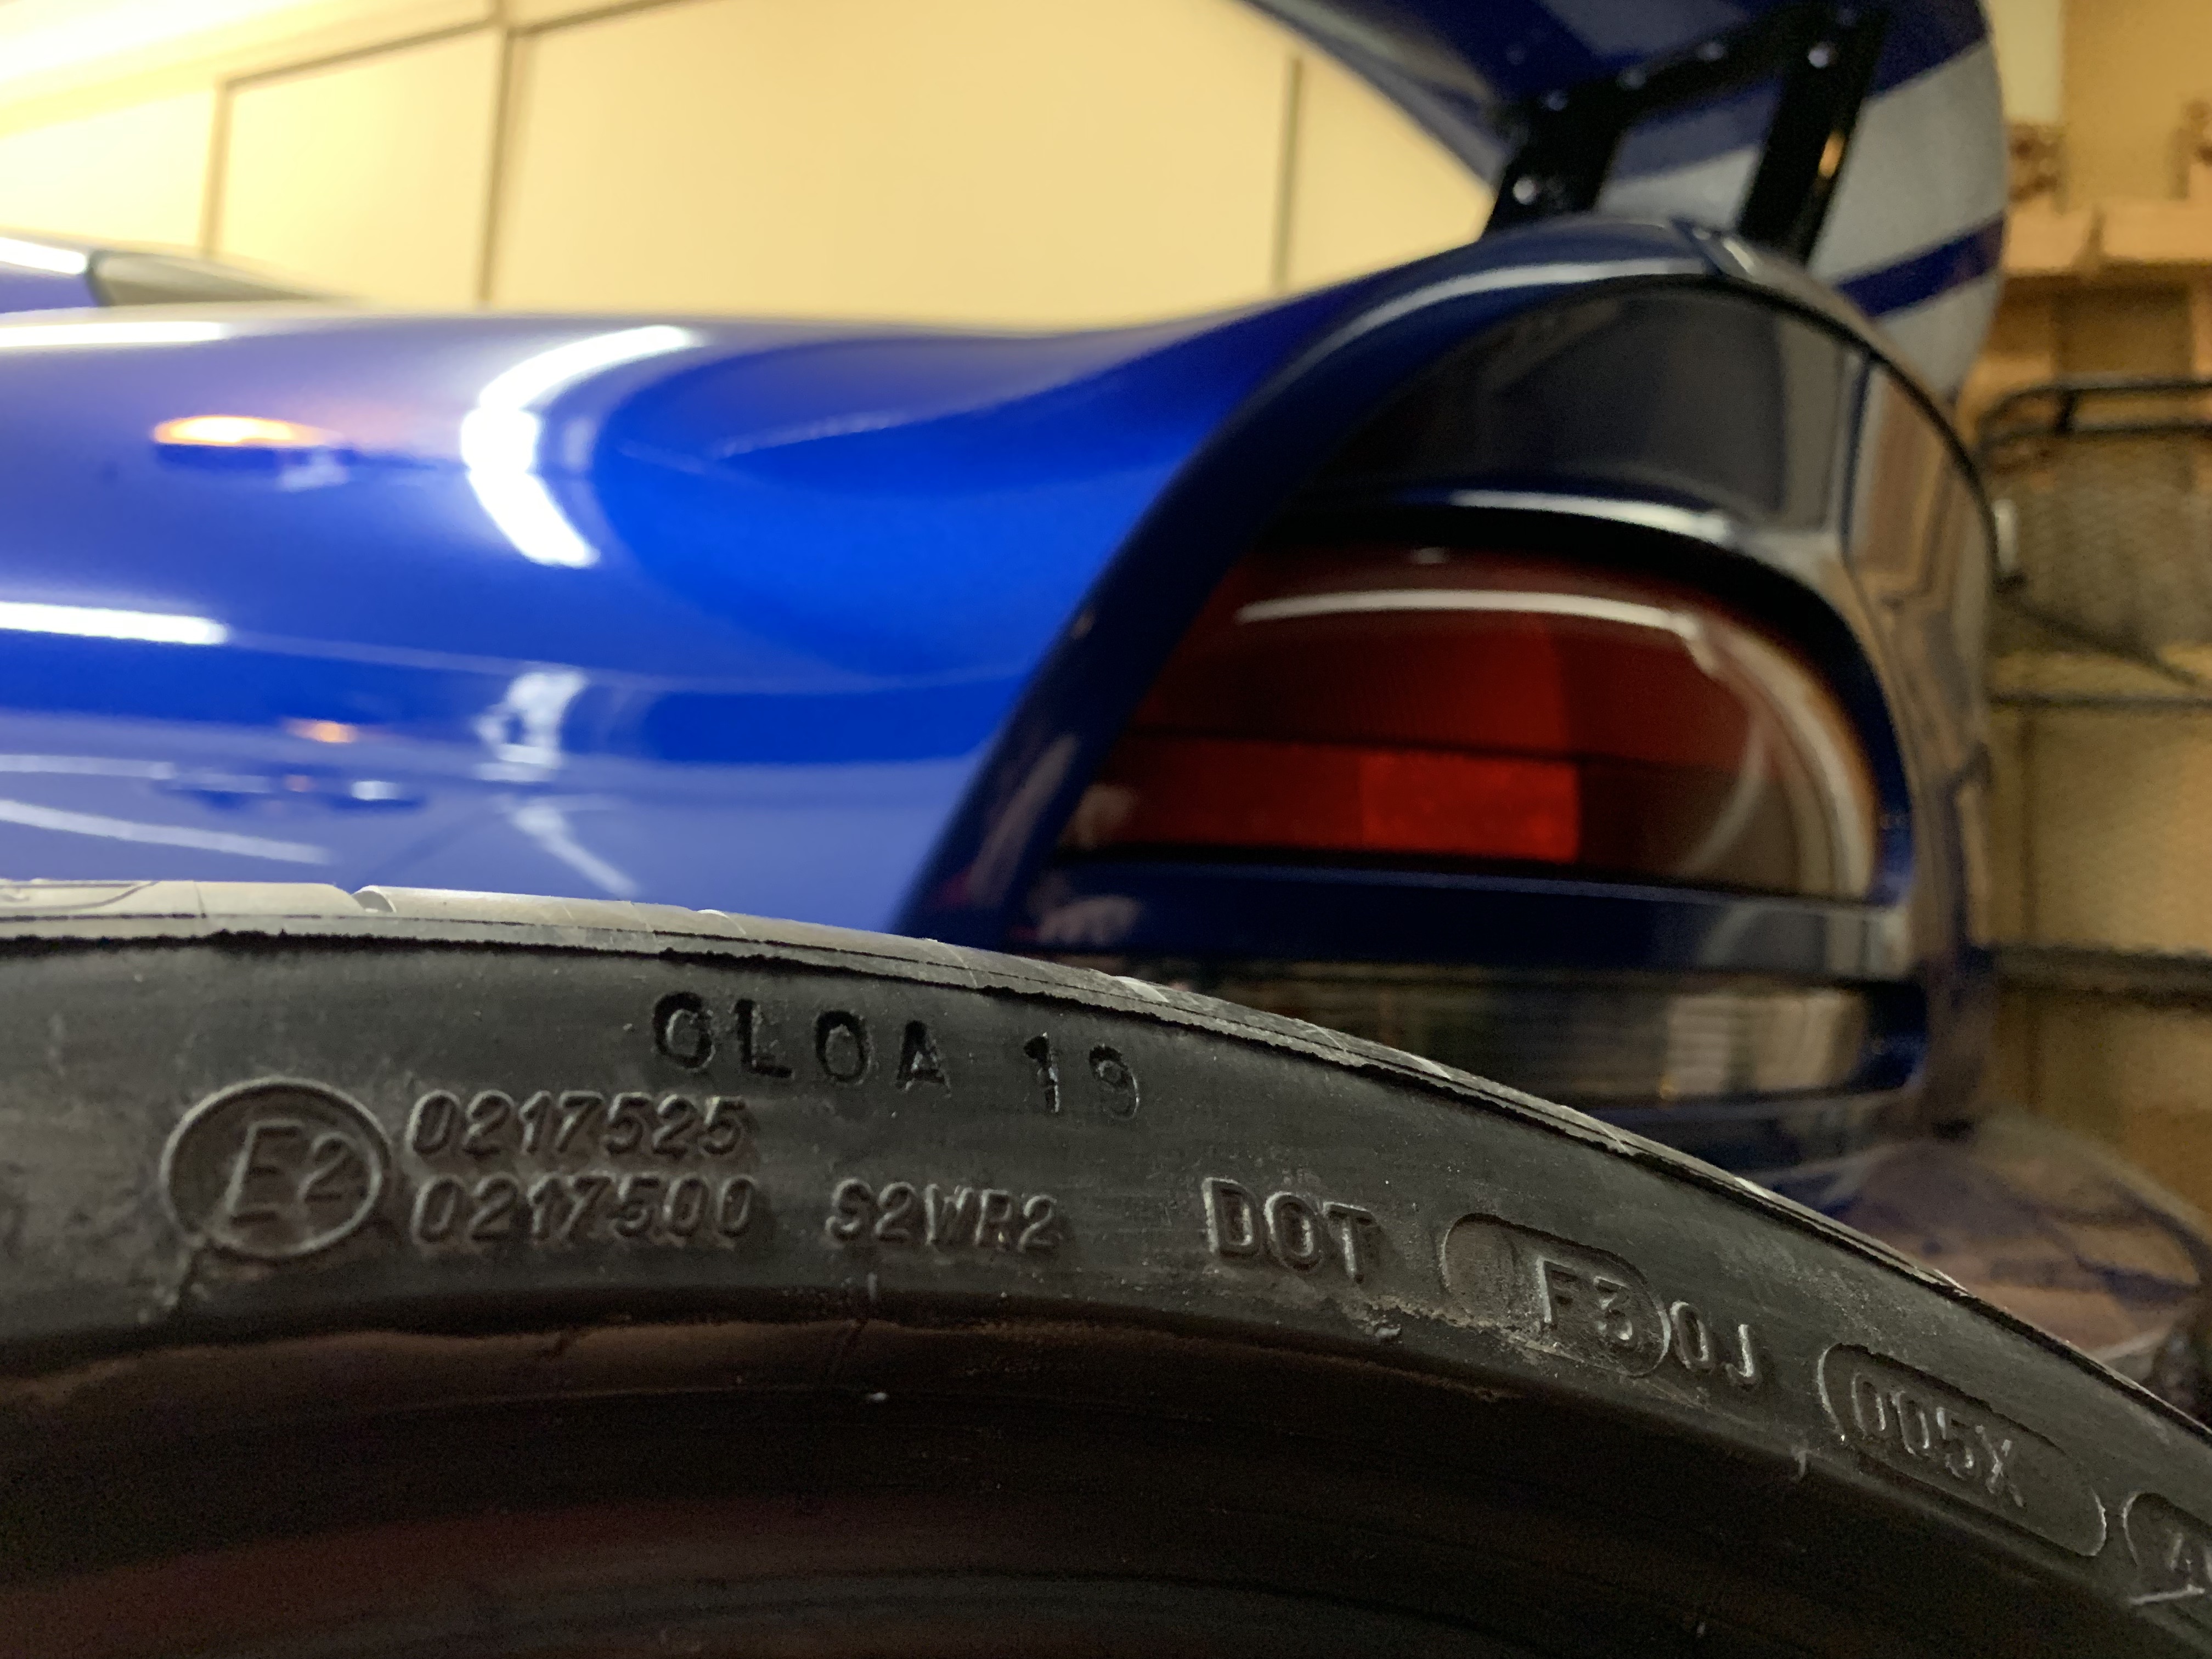
Thanks to Alan Johnson at Matick Chevrolet, was able to get an early C8, VIN #911. Had it rush shipped out from Michigan, with a wide set of wheels and OLOA2020 stamped tires ready to go. The car is everything they say it is, but alas One Lap 2020 became “No Lap” 2020, and I couldn’t picture myself using it much in the coming year.
Huge demand for the cars and my own personal outlook on the global situation (that things won’t be back to normal until at least summer/fall 2021) meant two things. One, that I could unload the C8 and cover all the costs I’d incurred with no loss. Two, with changes to our balance of time, the original idea from last summer became feasible. Still not easy, but tantalizingly possible.
So the C8 was sold and Plan A activated in July.
This will be very much a “build”, much more ambitious in scope than the Camaro. Not sure I will blog about it too much, maybe a little from time to time. It won’t begin in earnest until early next year so we’ll all have to be patient until then. 🙂
Successful track weekend in the Viper
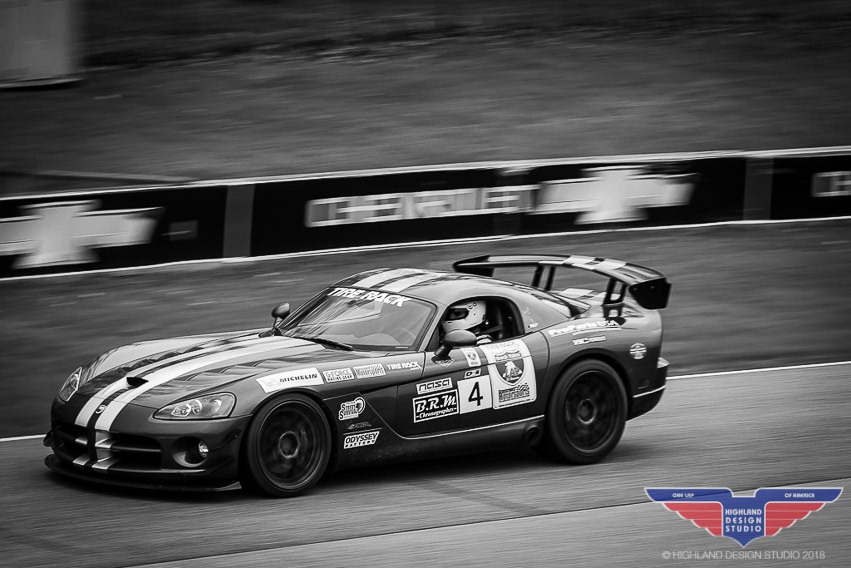
Gearing up for the 2019 One Lap of America, completed a test weekend at Buttonwillow. First time on track with the Viper, first time back on track in 14 years. The Viper is quite a bit different from its previous autocross trim with the full factory ACR aero package, uprated springs, and a little extra power.
Biggest change is away from Hoosiers and to the 300 treadwear Michelin Pilot Sport 4S. Given how the 2019 One Lap is up north and early in the year, it’s likely to be cold and wet, so these should work well as a compromise. Not as fast as a storming 200TW autox tire in the dry, or as good as the Continental in the deep water, but good to great in a mix of conditions. They wore very little after a ton of hard laps, so should be able to make it through the week ok.
The sucky part is they’re only available in Viper widths at 20″ diameter, so had to get some new wheels. Went with a 2-piece forged set from BC Forged NA, who, when they heard about One Lap, made me a great deal.
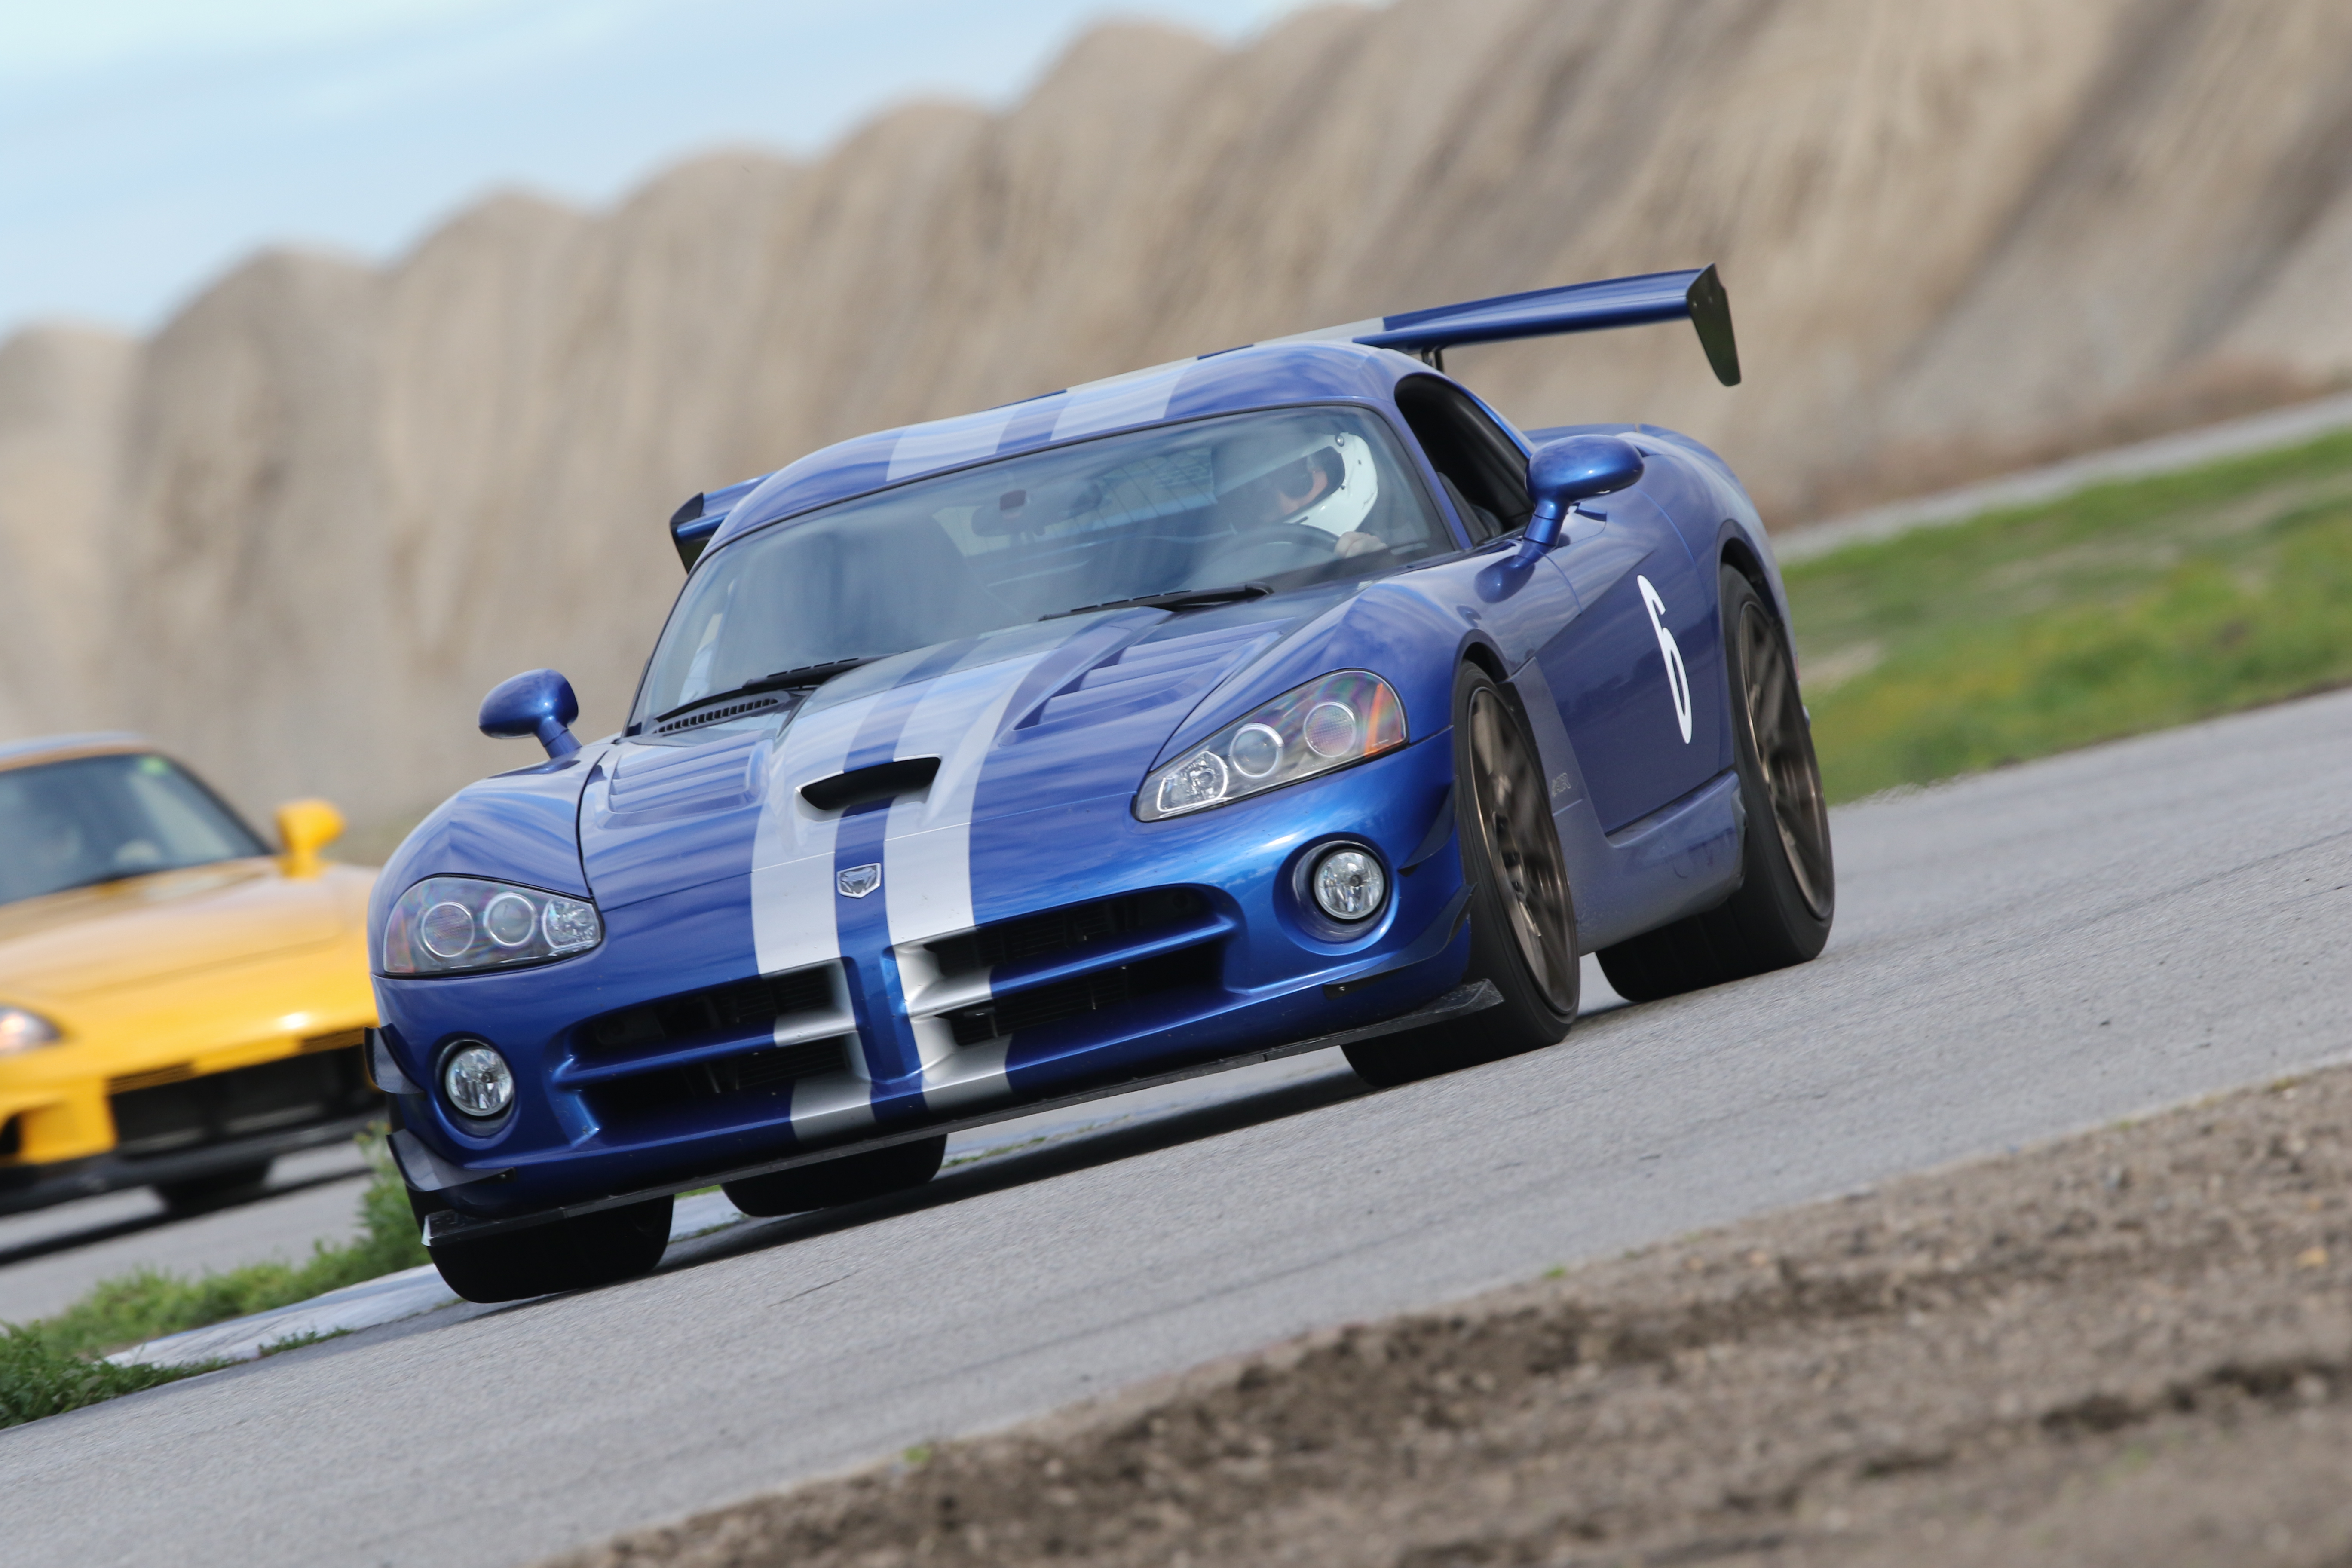
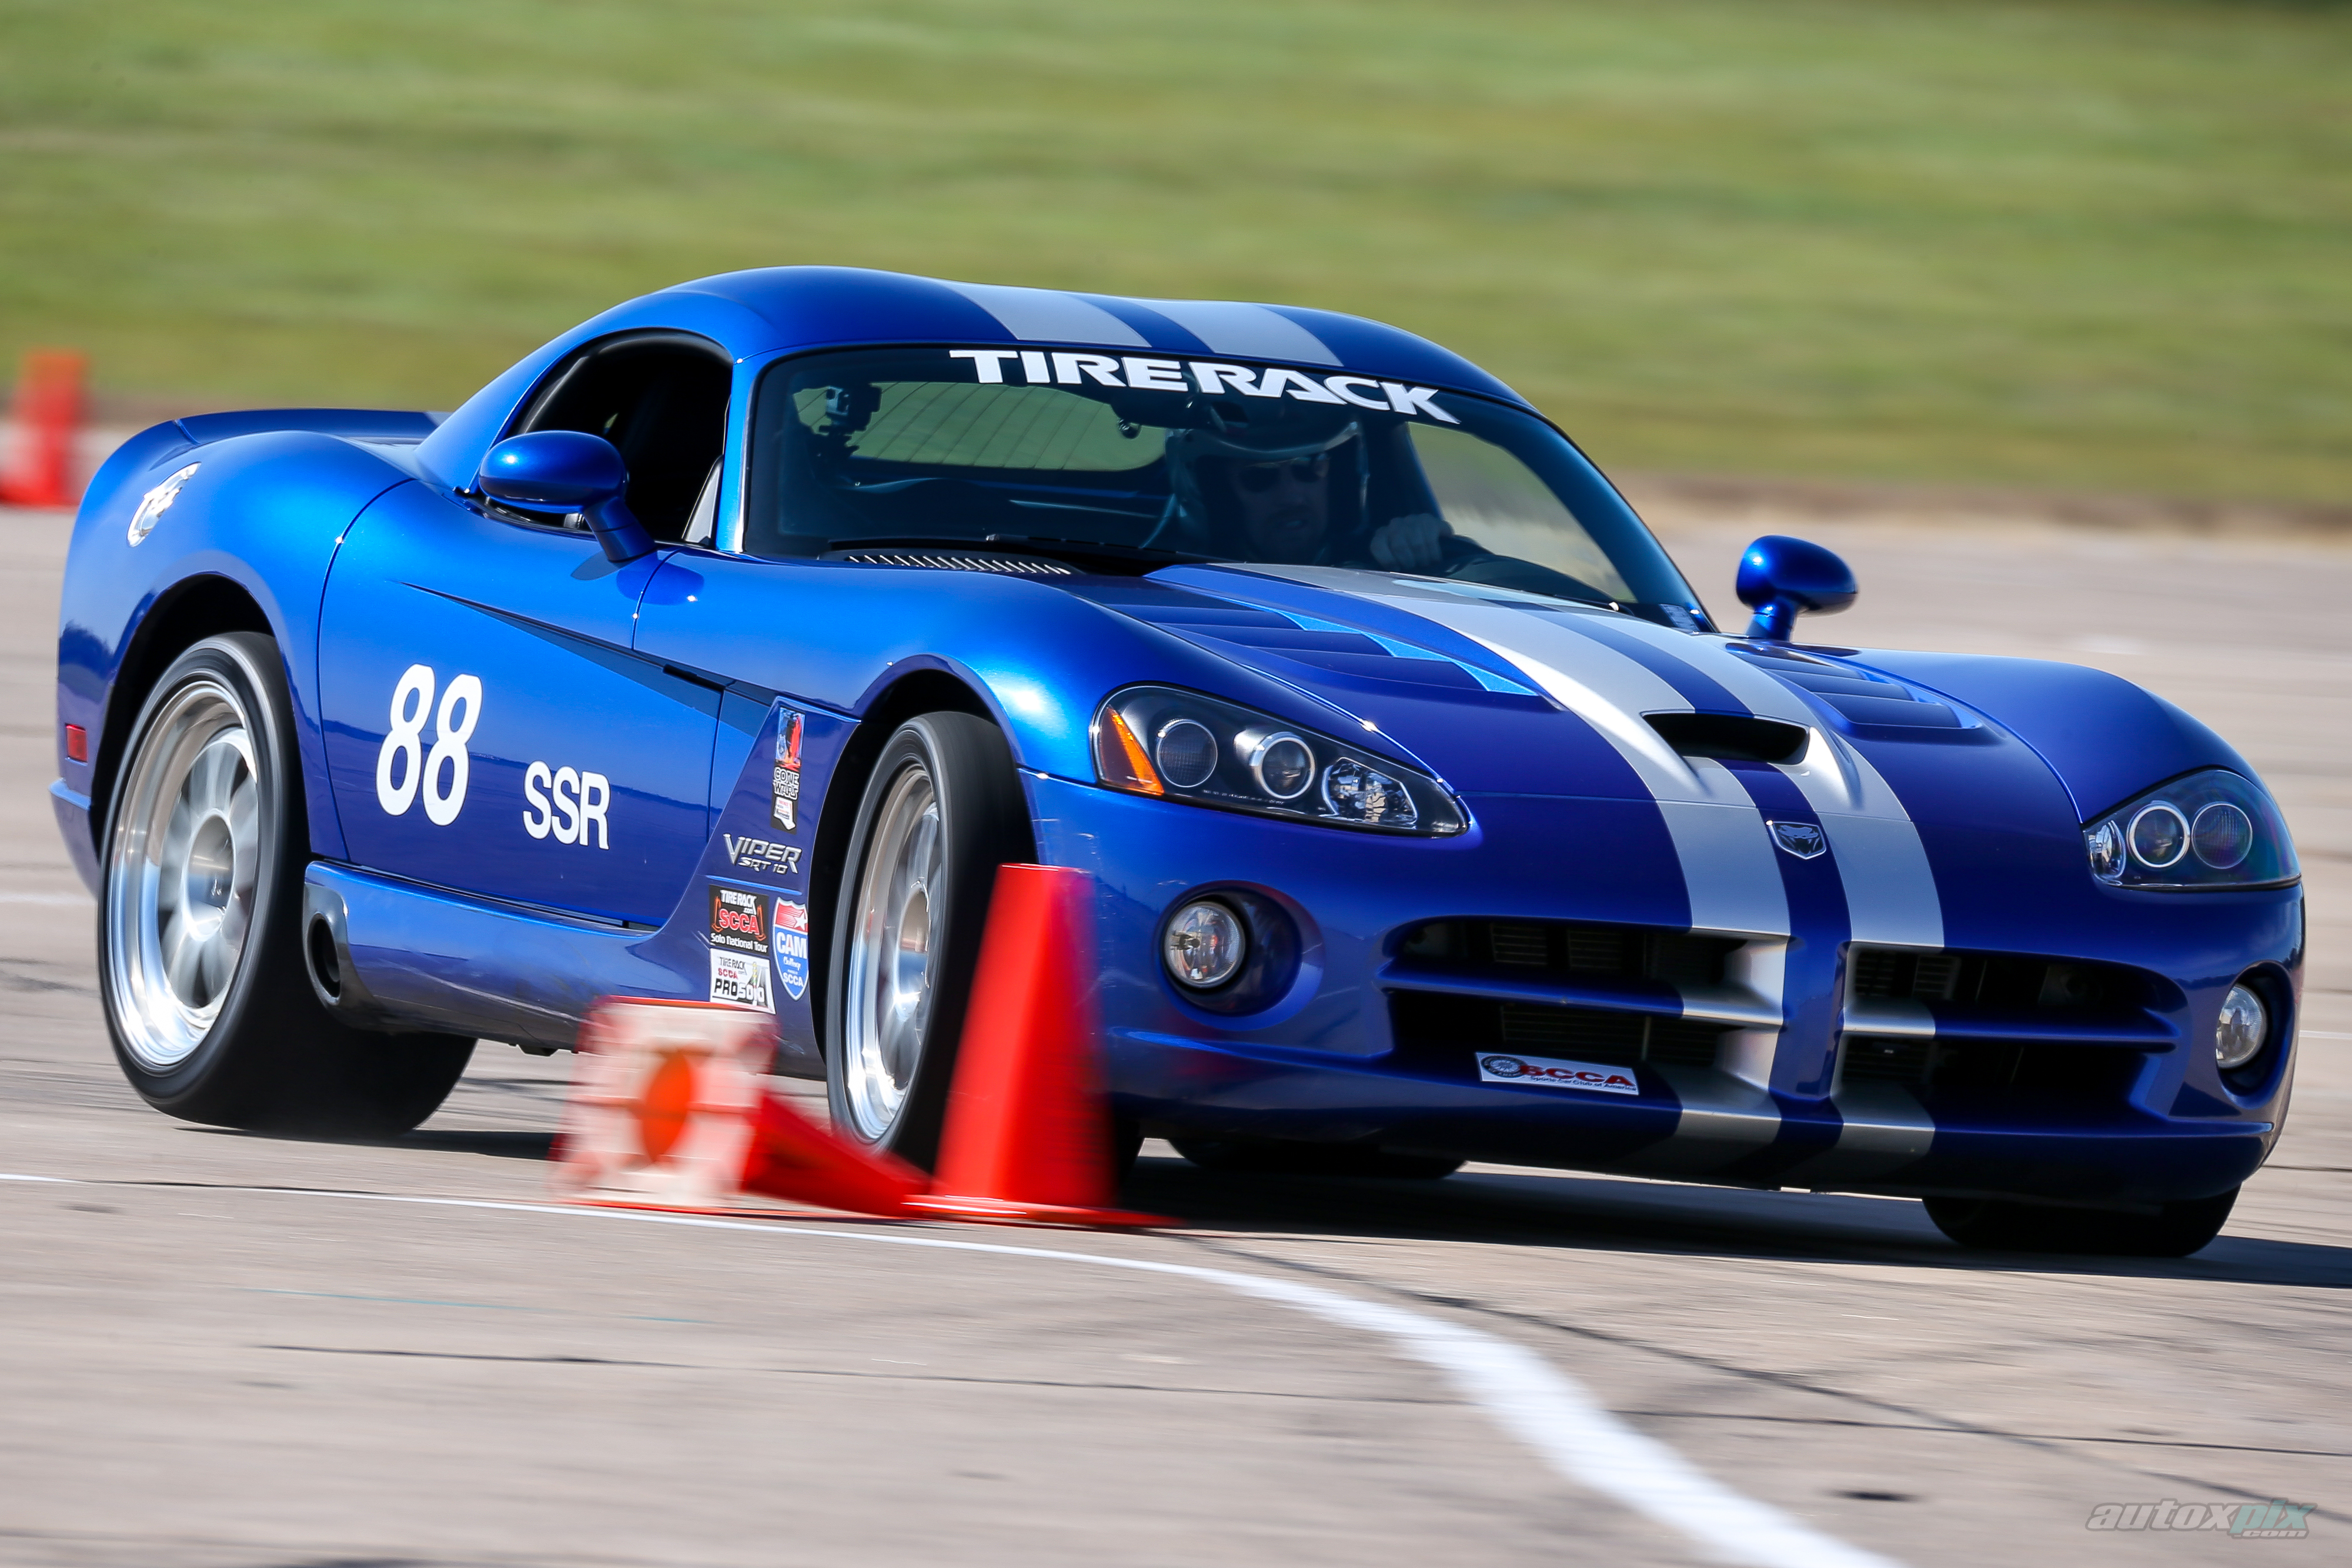
2008 Dodge Viper ACR conversion with ACRX canards on 325/25-20 and 345/30-20 Michelin Pilot Sport 4s on 20×12 and 20×13 BC Forged HCA167S.
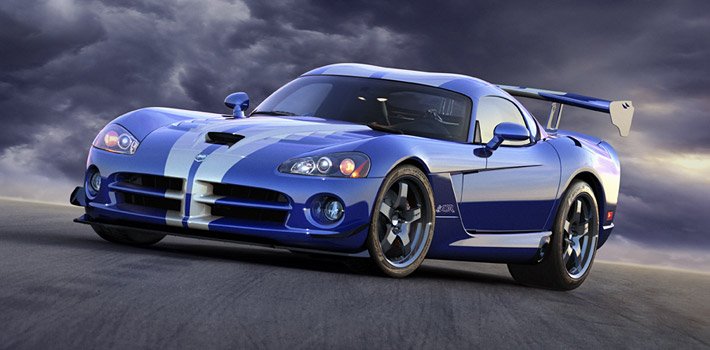
Cool photo found on Internet
I don’t think Dodge ever made the Gen4 ACR in blue, too bad as I think it looks pretty good with silver stripes.
Motor and goodies and getting it going again
Soooo…. what’s happened with the Camaro over the last 3 years…
What started as a fix-up-a-few-things quickly snowballed into a big mess. I’d really been burnt by all the valvetrain failures in STX trim and wanted to shore that up. The car was never going to be competitive again in Street Touring, and it didn’t/doesn’t really have a fit in Street Prepared or Street Modified either. There’s a lot of unlimited-style builds out there where the cars are legal for CAM class but not much else – I didn’t want to go that far, nor do I want to cut it up in the mold of a traditional CP car.
Much of the time spent over the years was just deciding on the vision for how the car will be in its next iteration. Where I arrived is at something like a light CP build, that can also run in CAM with some ballast. I’d like to get it down near 2700 pounds using a < 5.1 liter motor, so it’s CP legal weight-wise, but it’ll keep the lights and wipers and things that are needed for CAM. For now I just want to make it drivable again but it’ll get a quieter exhaust, bigger wheels/tires (with room to turn), and better suspension.
Ordered a set of AFR aluminum heads, sized a bit on the small side (180cc) to maximize midrange torque from the 302 short block. Mike Jones did a nice bumpity solid roller cam for it, and I had ProSystems build a mechanical secondary carb to match.
Was originally going to try to hot rod the thing with the block kept in the car, but with the trans out it all became a bit of a pain, so I pulled the short block out too, so I could assemble the new motor on the stand.
With the short block out, might as well check the bearings and things, since some metal had been through the motor once or twice with the valvetrain failures. Plus oil pressure had gone to zero – or very close to it – several times under hard braking.
Unfortunately in this check, found some pretty serious scoring on the rod and main bearings. The dilemma now, have this (old, 60’s GM, 2-bolt-main) short block repaired, or just get a new one? I opted for the latter, a basic Dart SHP cast iron piece, a 4″ bore 3″ stroke, from Chris at CNC Motorsports. Only special ask was to use 6″ rods over the default 5.7″, though it probably won’t make much difference.
So what had started as a simple bolt-on hot rodding project was now a completely new longblock needing assembly. A bunch of things you’d think would be simple and sorted in SBC, weren’t. Finding a set of rocker arms to clear the big retainers of the extra-zoot valvesprings I’d had AFR spec, was one tricky part. Had to use lash caps to get it to work with the right valvetrain geometry.
The other tricky part was the oiling system. Used a similar but new Milodon roadrace oil pan (dipstick on other side with this block), but had a hard time finding an oil pickup that’d clear the internal baffle system. Eventually found the parts needed to go along with one of the Melling shark-pattern oil pumps.
With it all put together it went into the car over 4th of July weekend 2017.
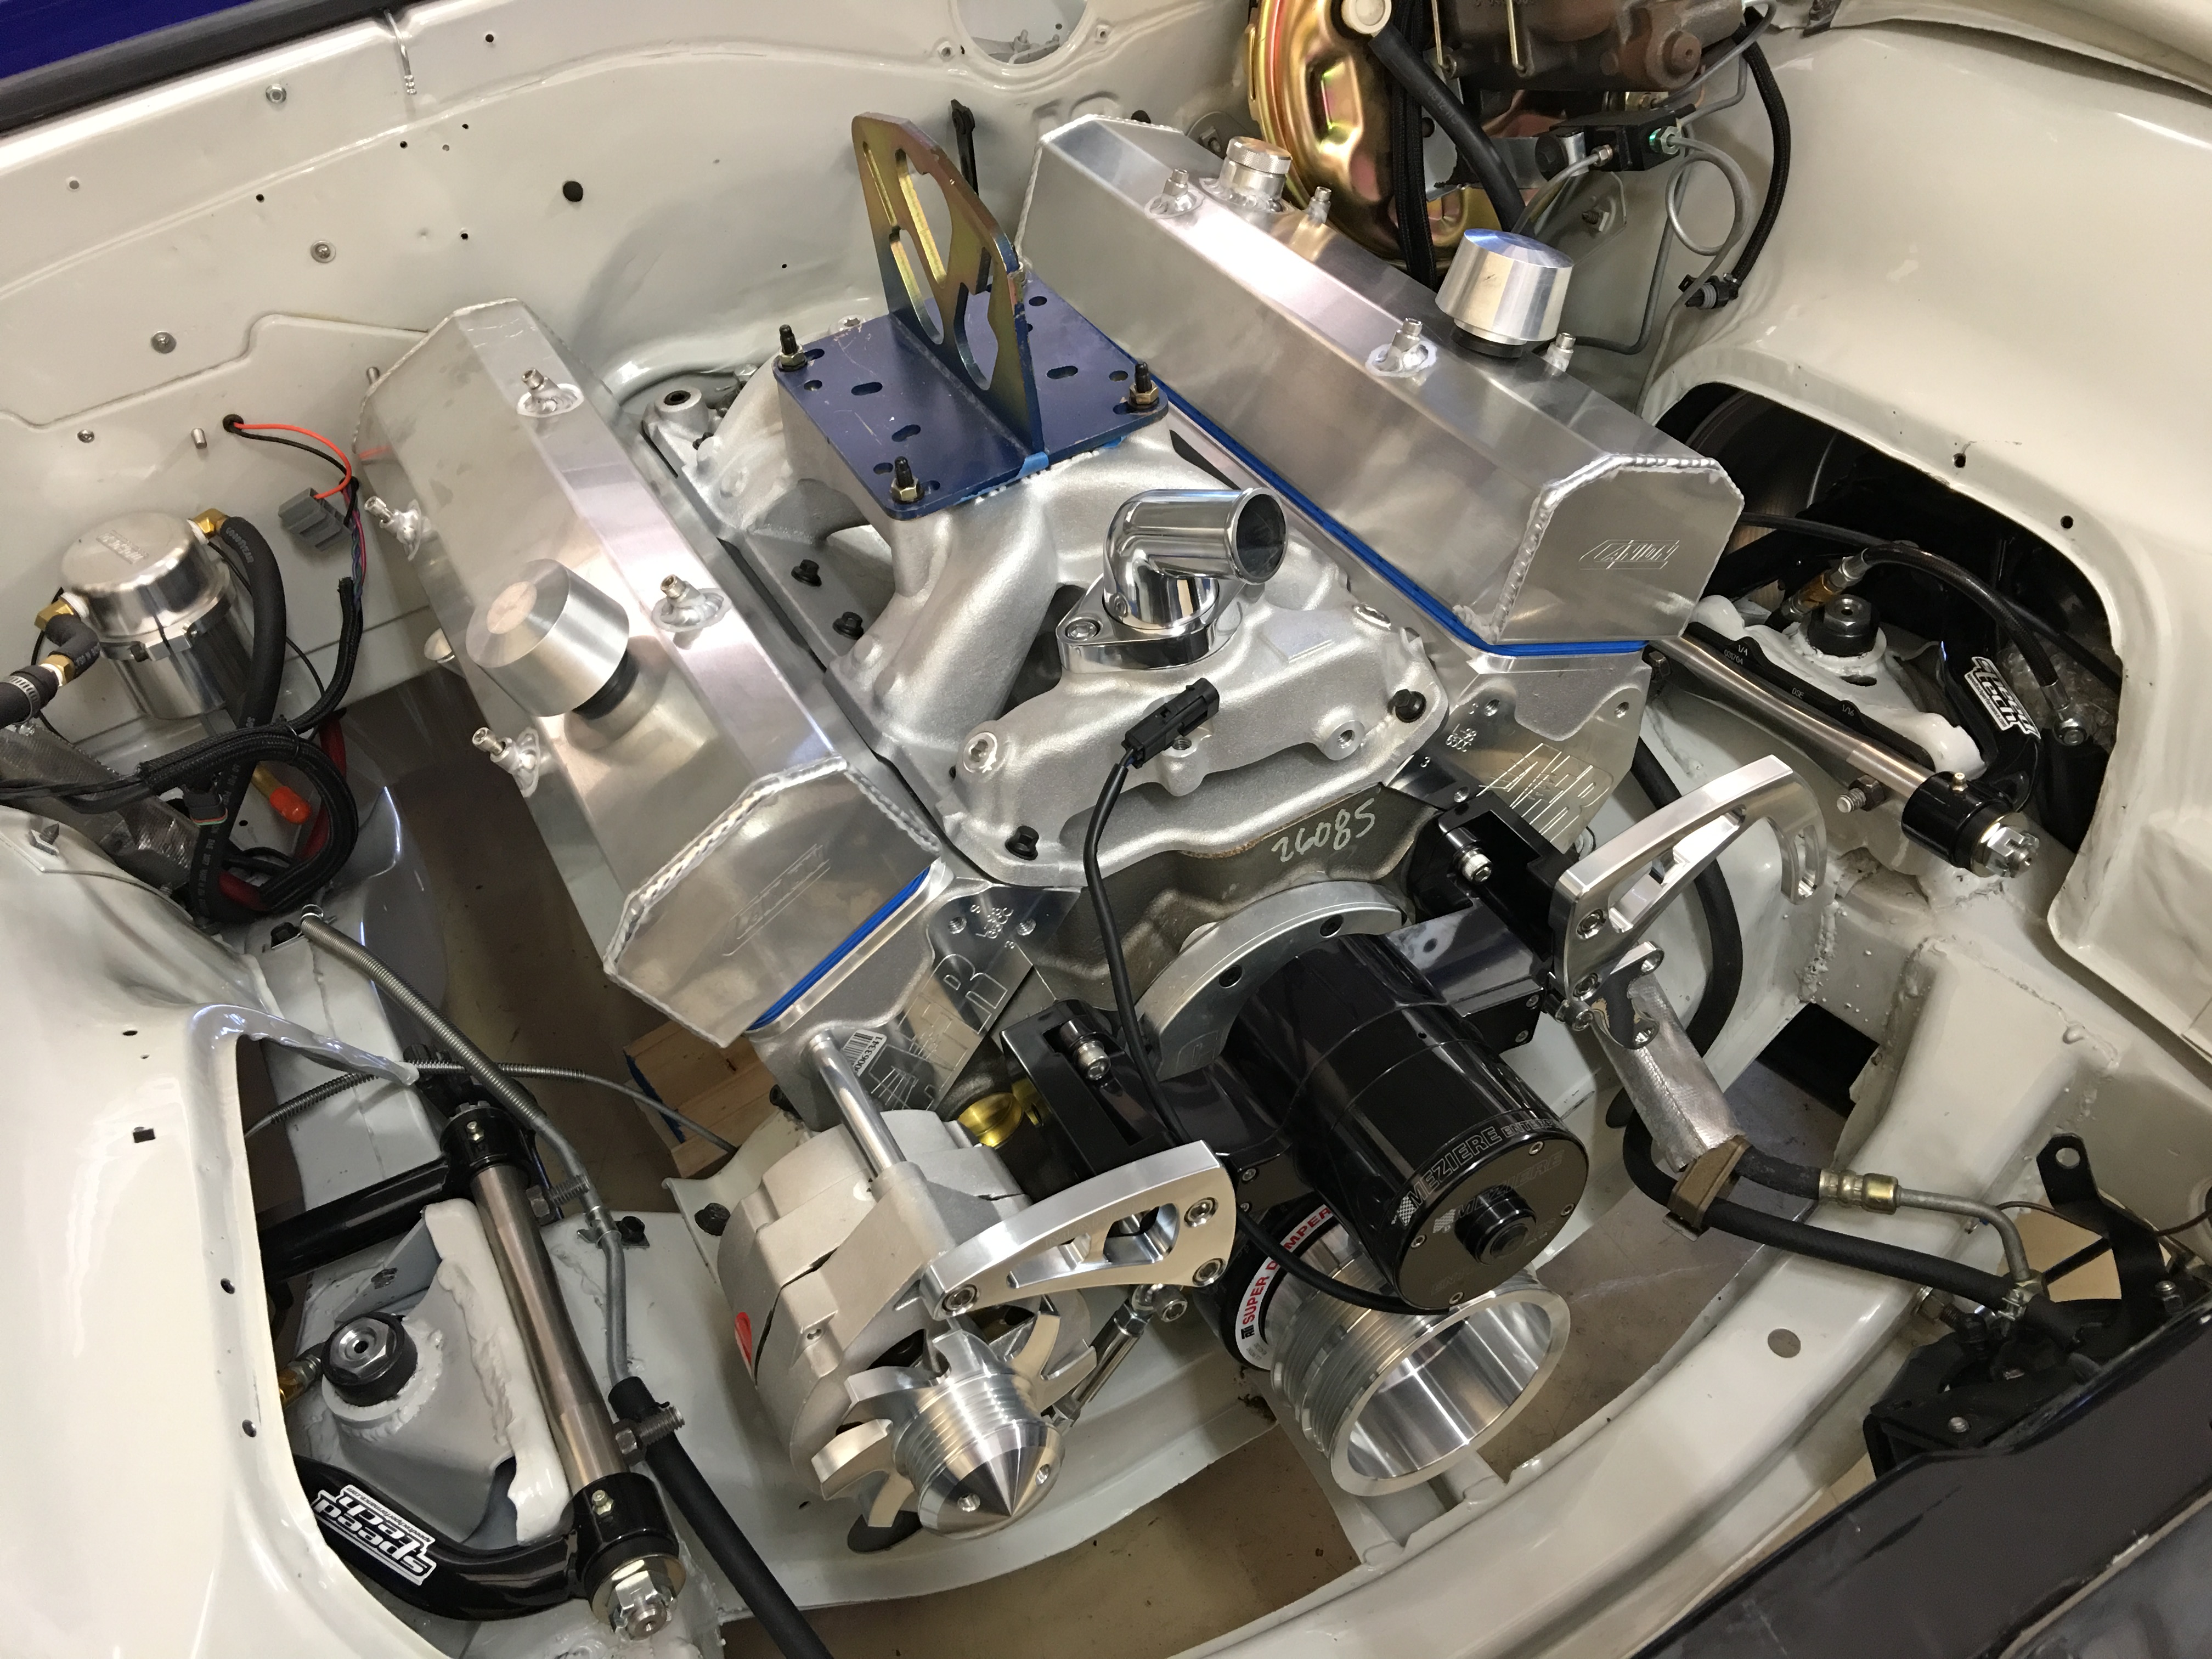
The OEM ’67 belt system was a catastrophe so a March setup replaced it. The old-school alternator is replaced by a high-output one-wire, belt driven water pump now electric. Valve covers provide extra internal clearance for the rocker arm setup. They should provide room for a shaft mount system if things ever go that way.
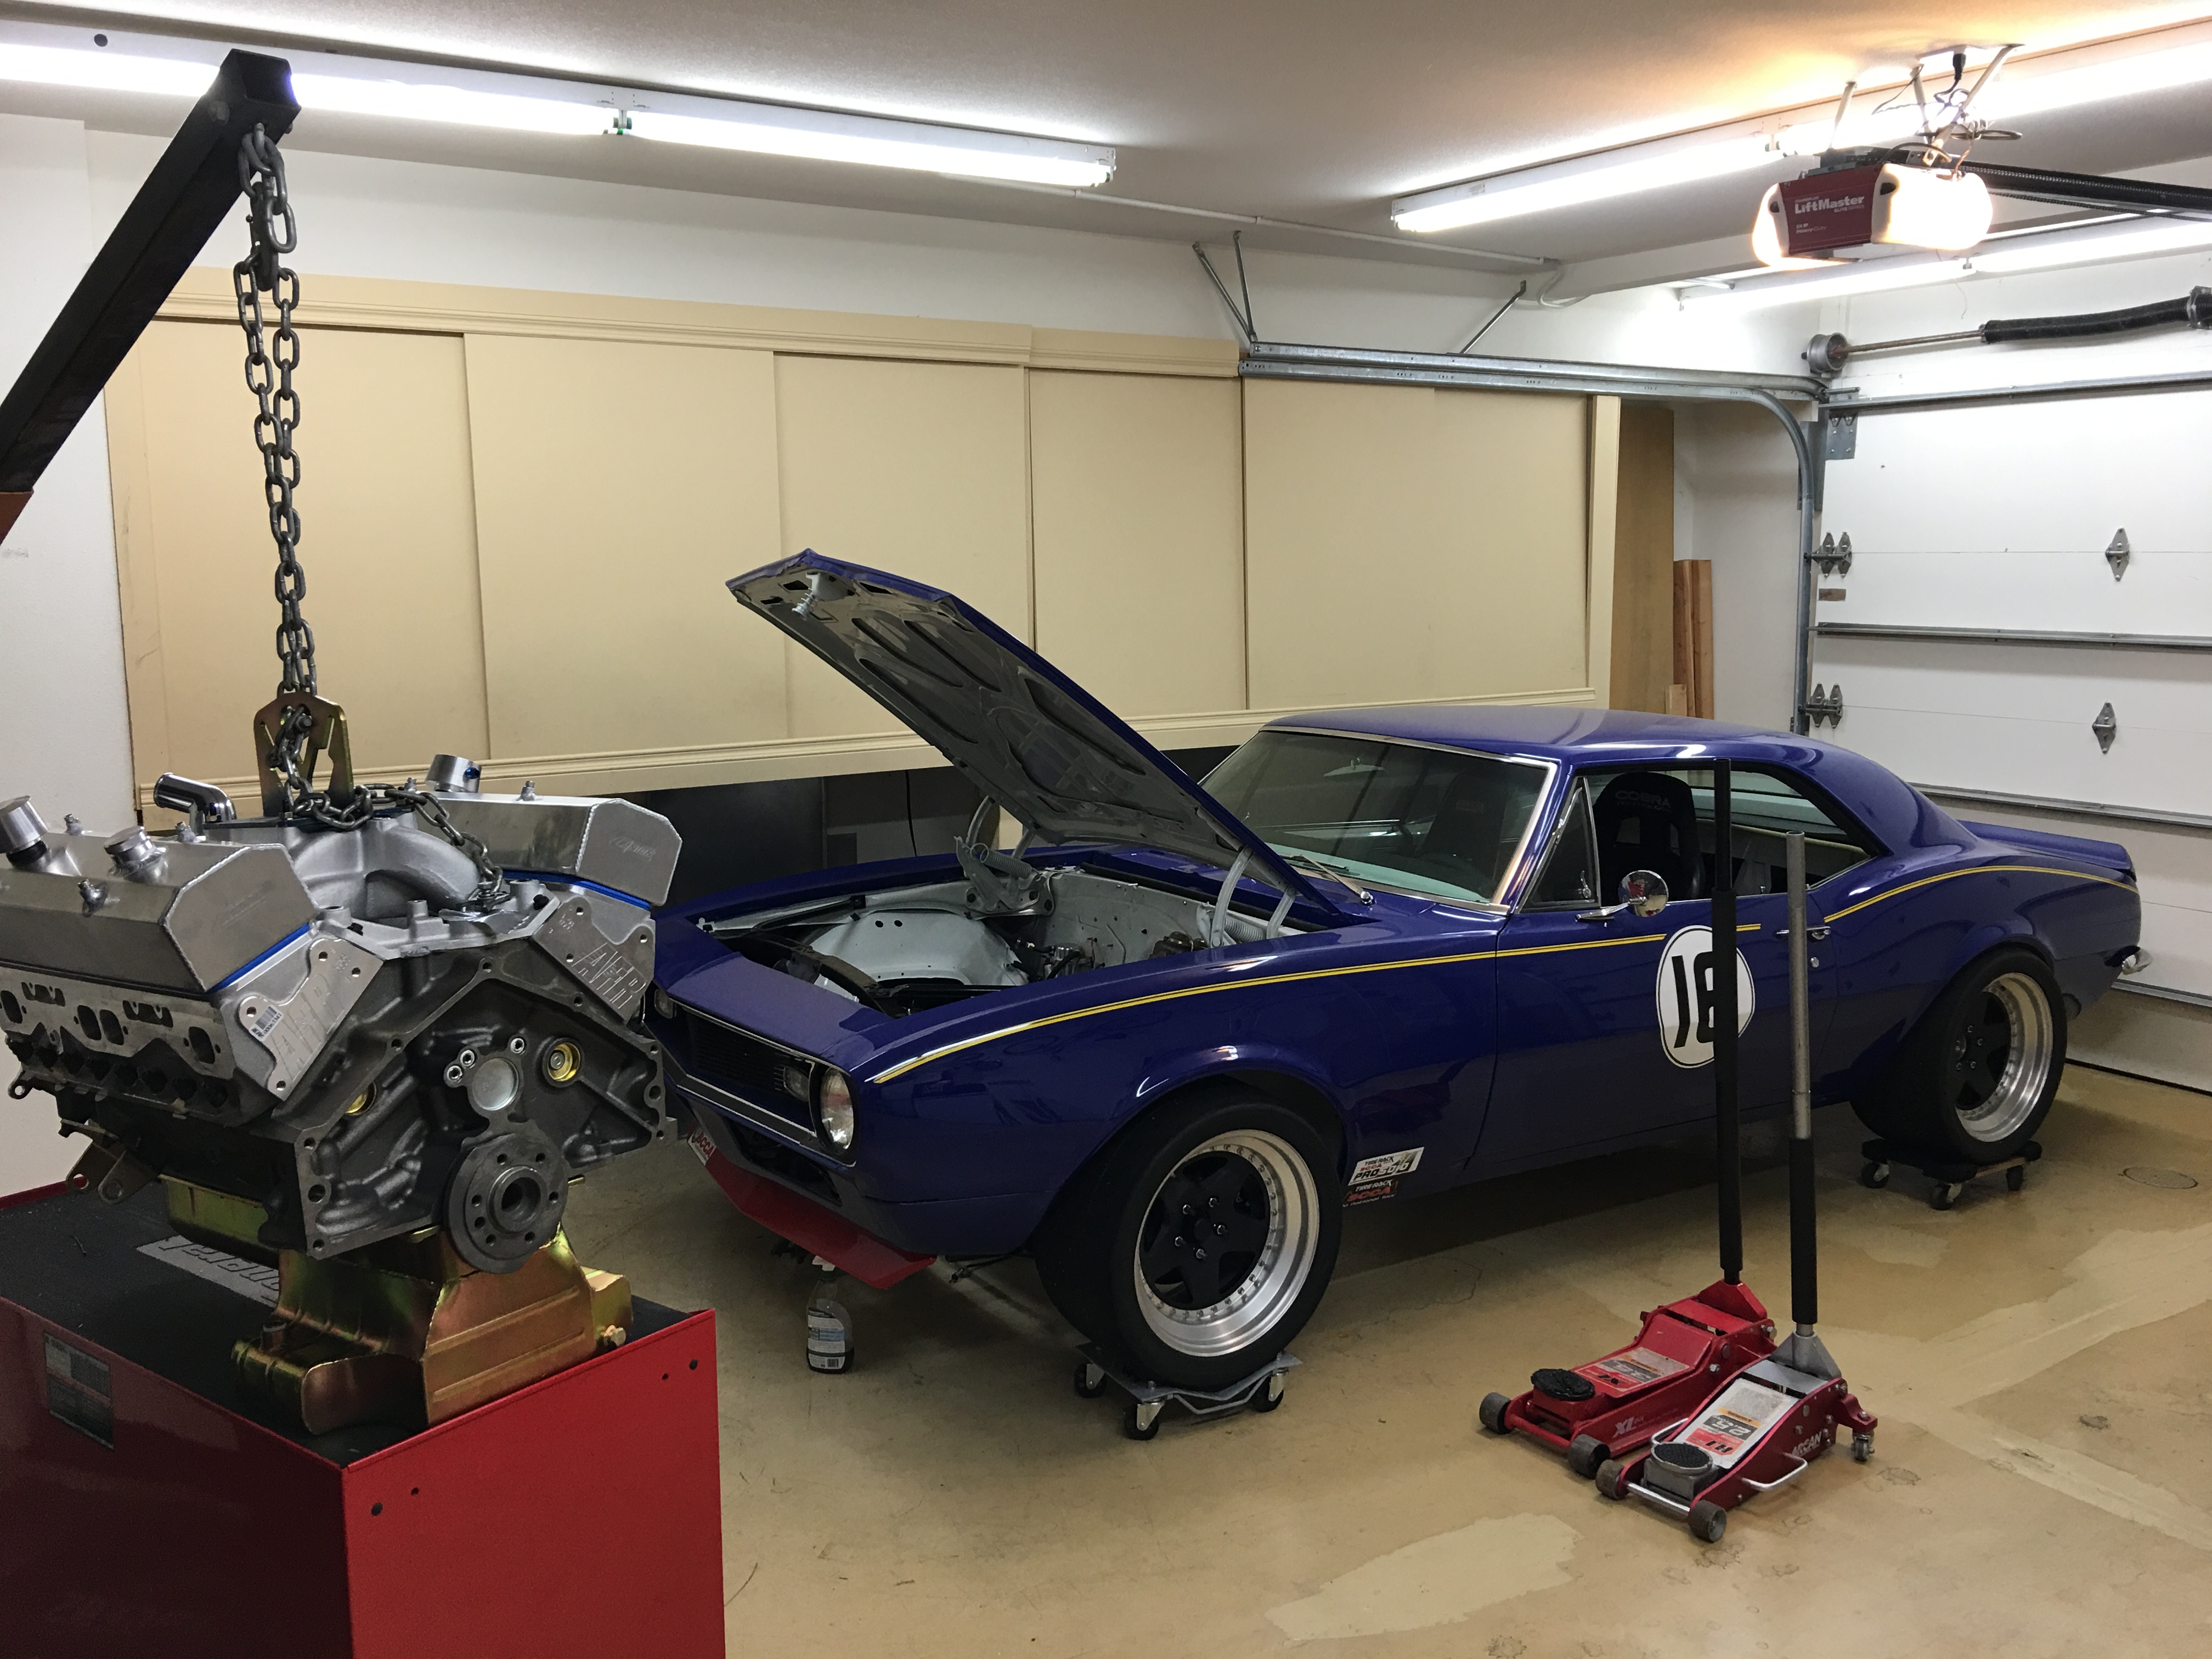
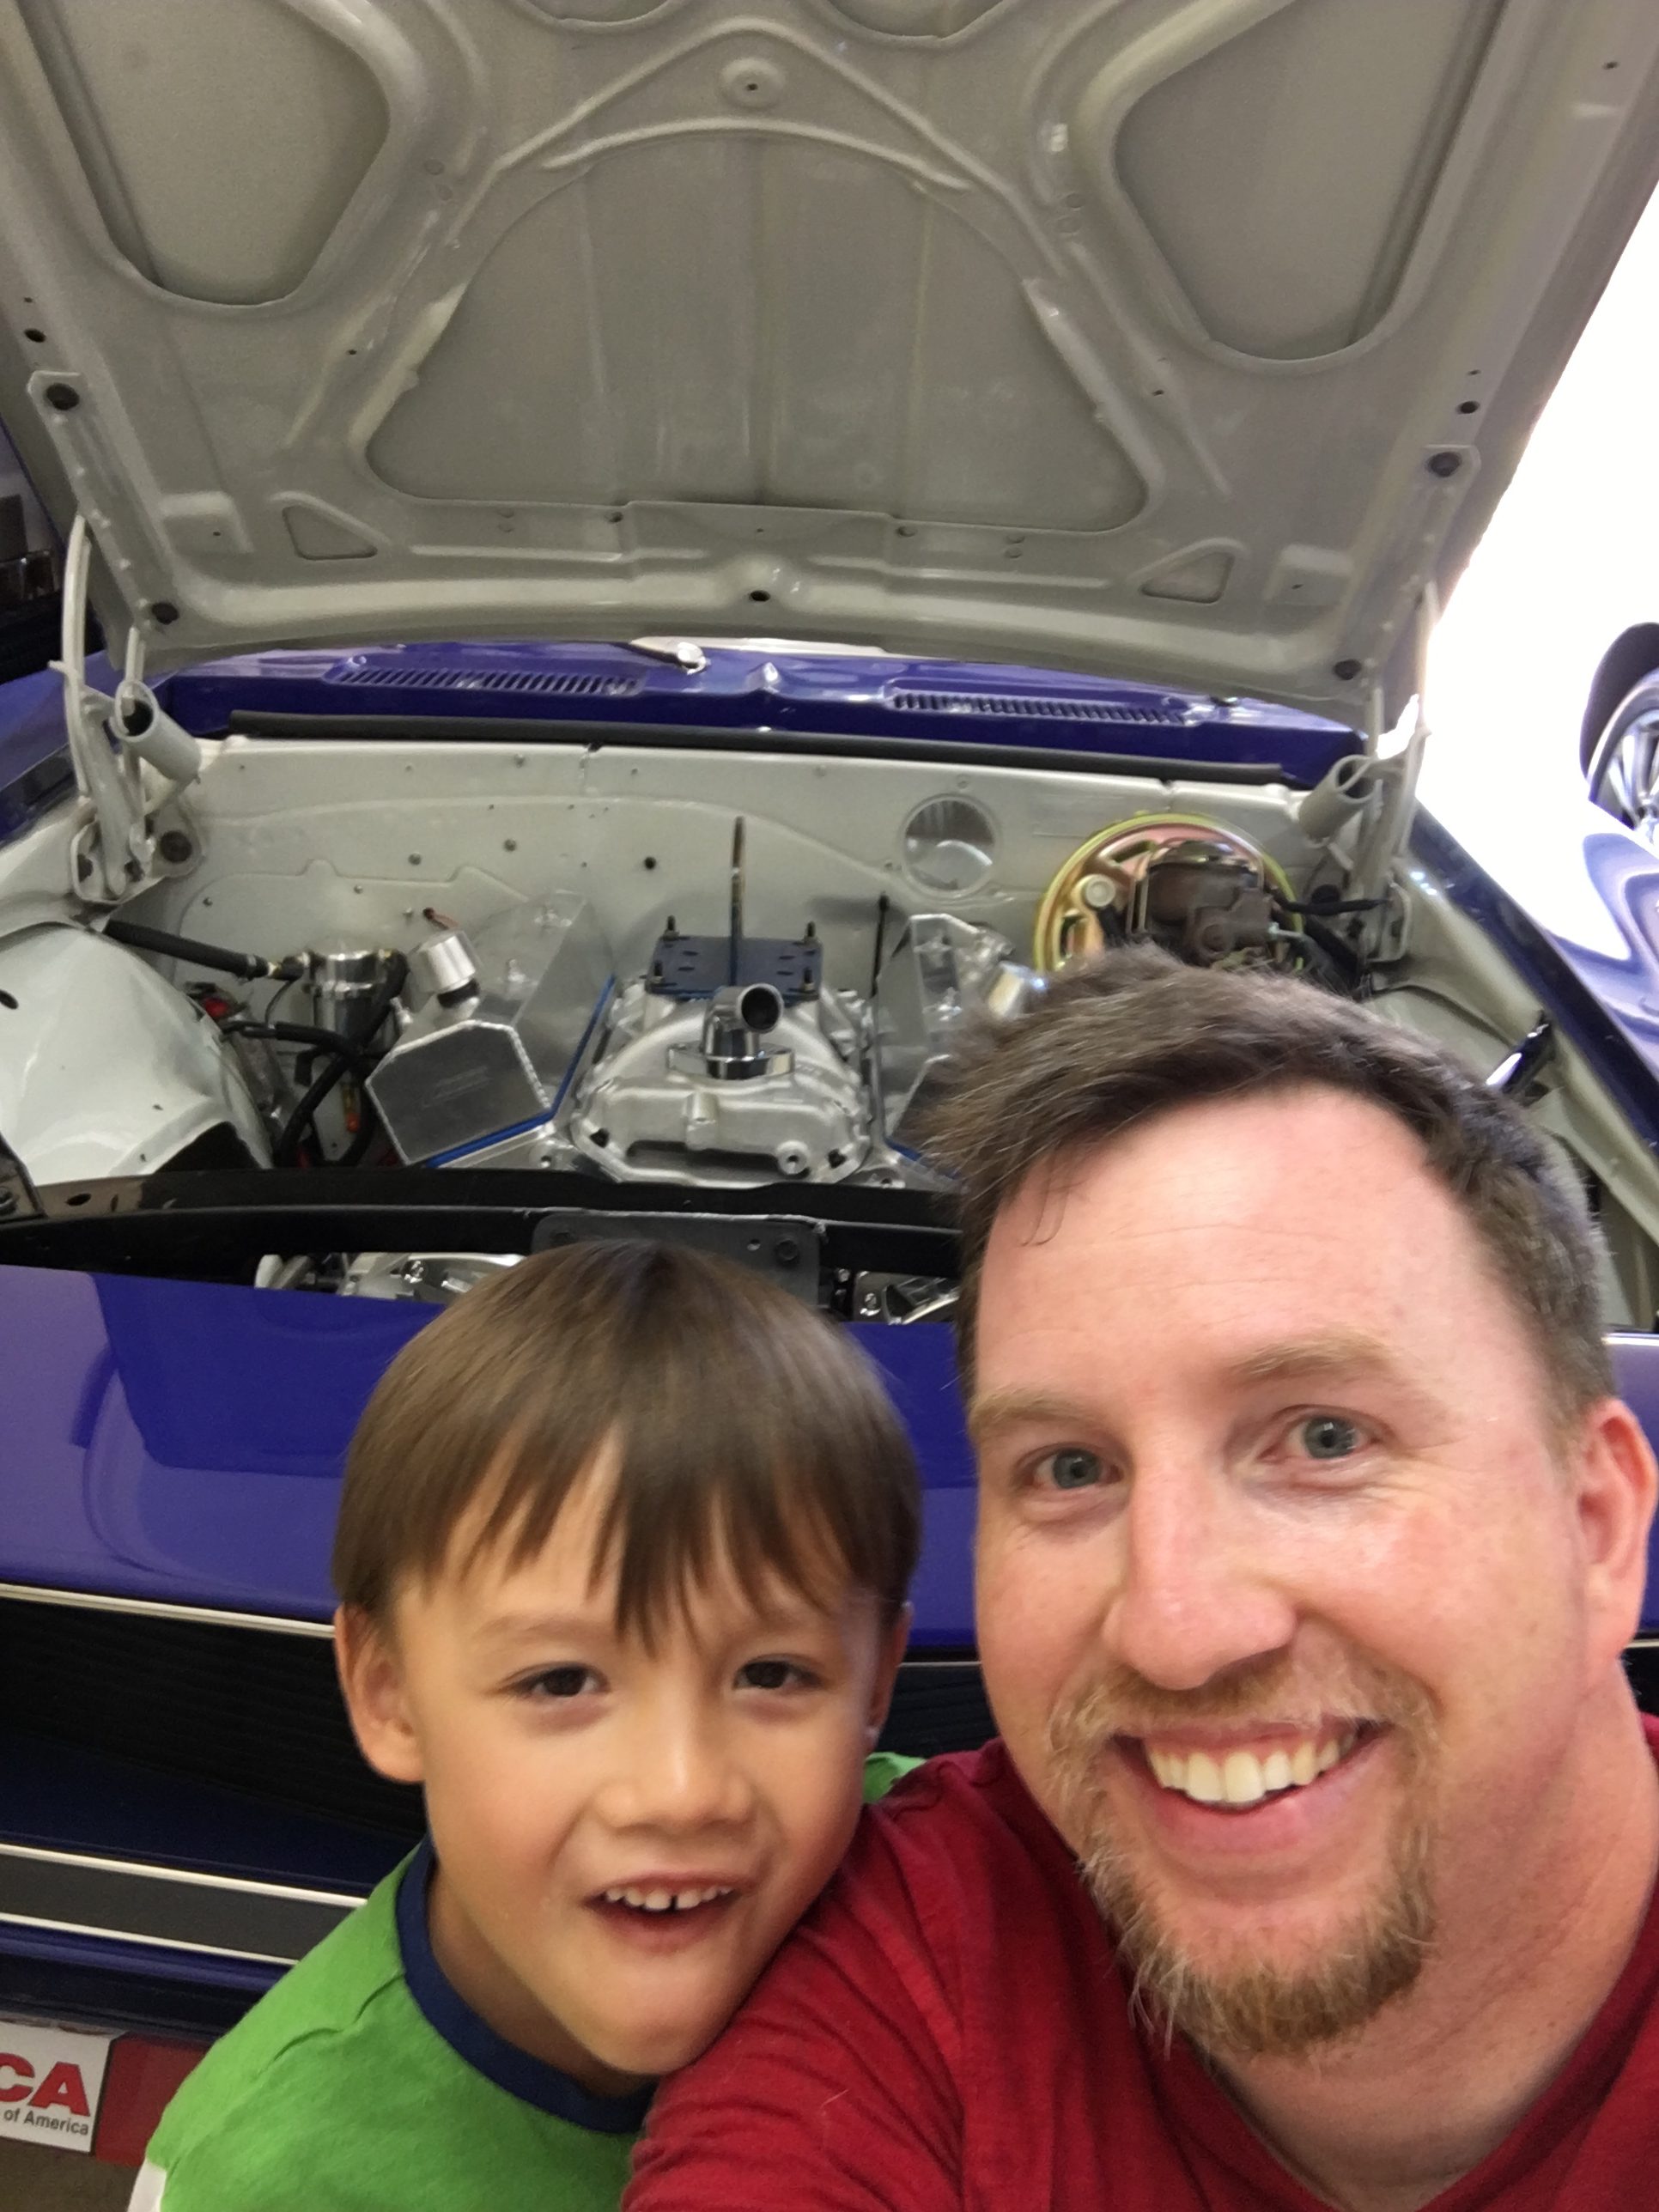
My invaluable engine install helper:
There was still lots to do. The fuel was years old at this point, the wiring was a mess I wasn’t happy with, trans needed install. Another sign of not having gotten over 2013’s valvetrain drama was my insistence there be room in the engine bay to pull the (oversized) valve covers quickly and easily without too much stuff in the way.
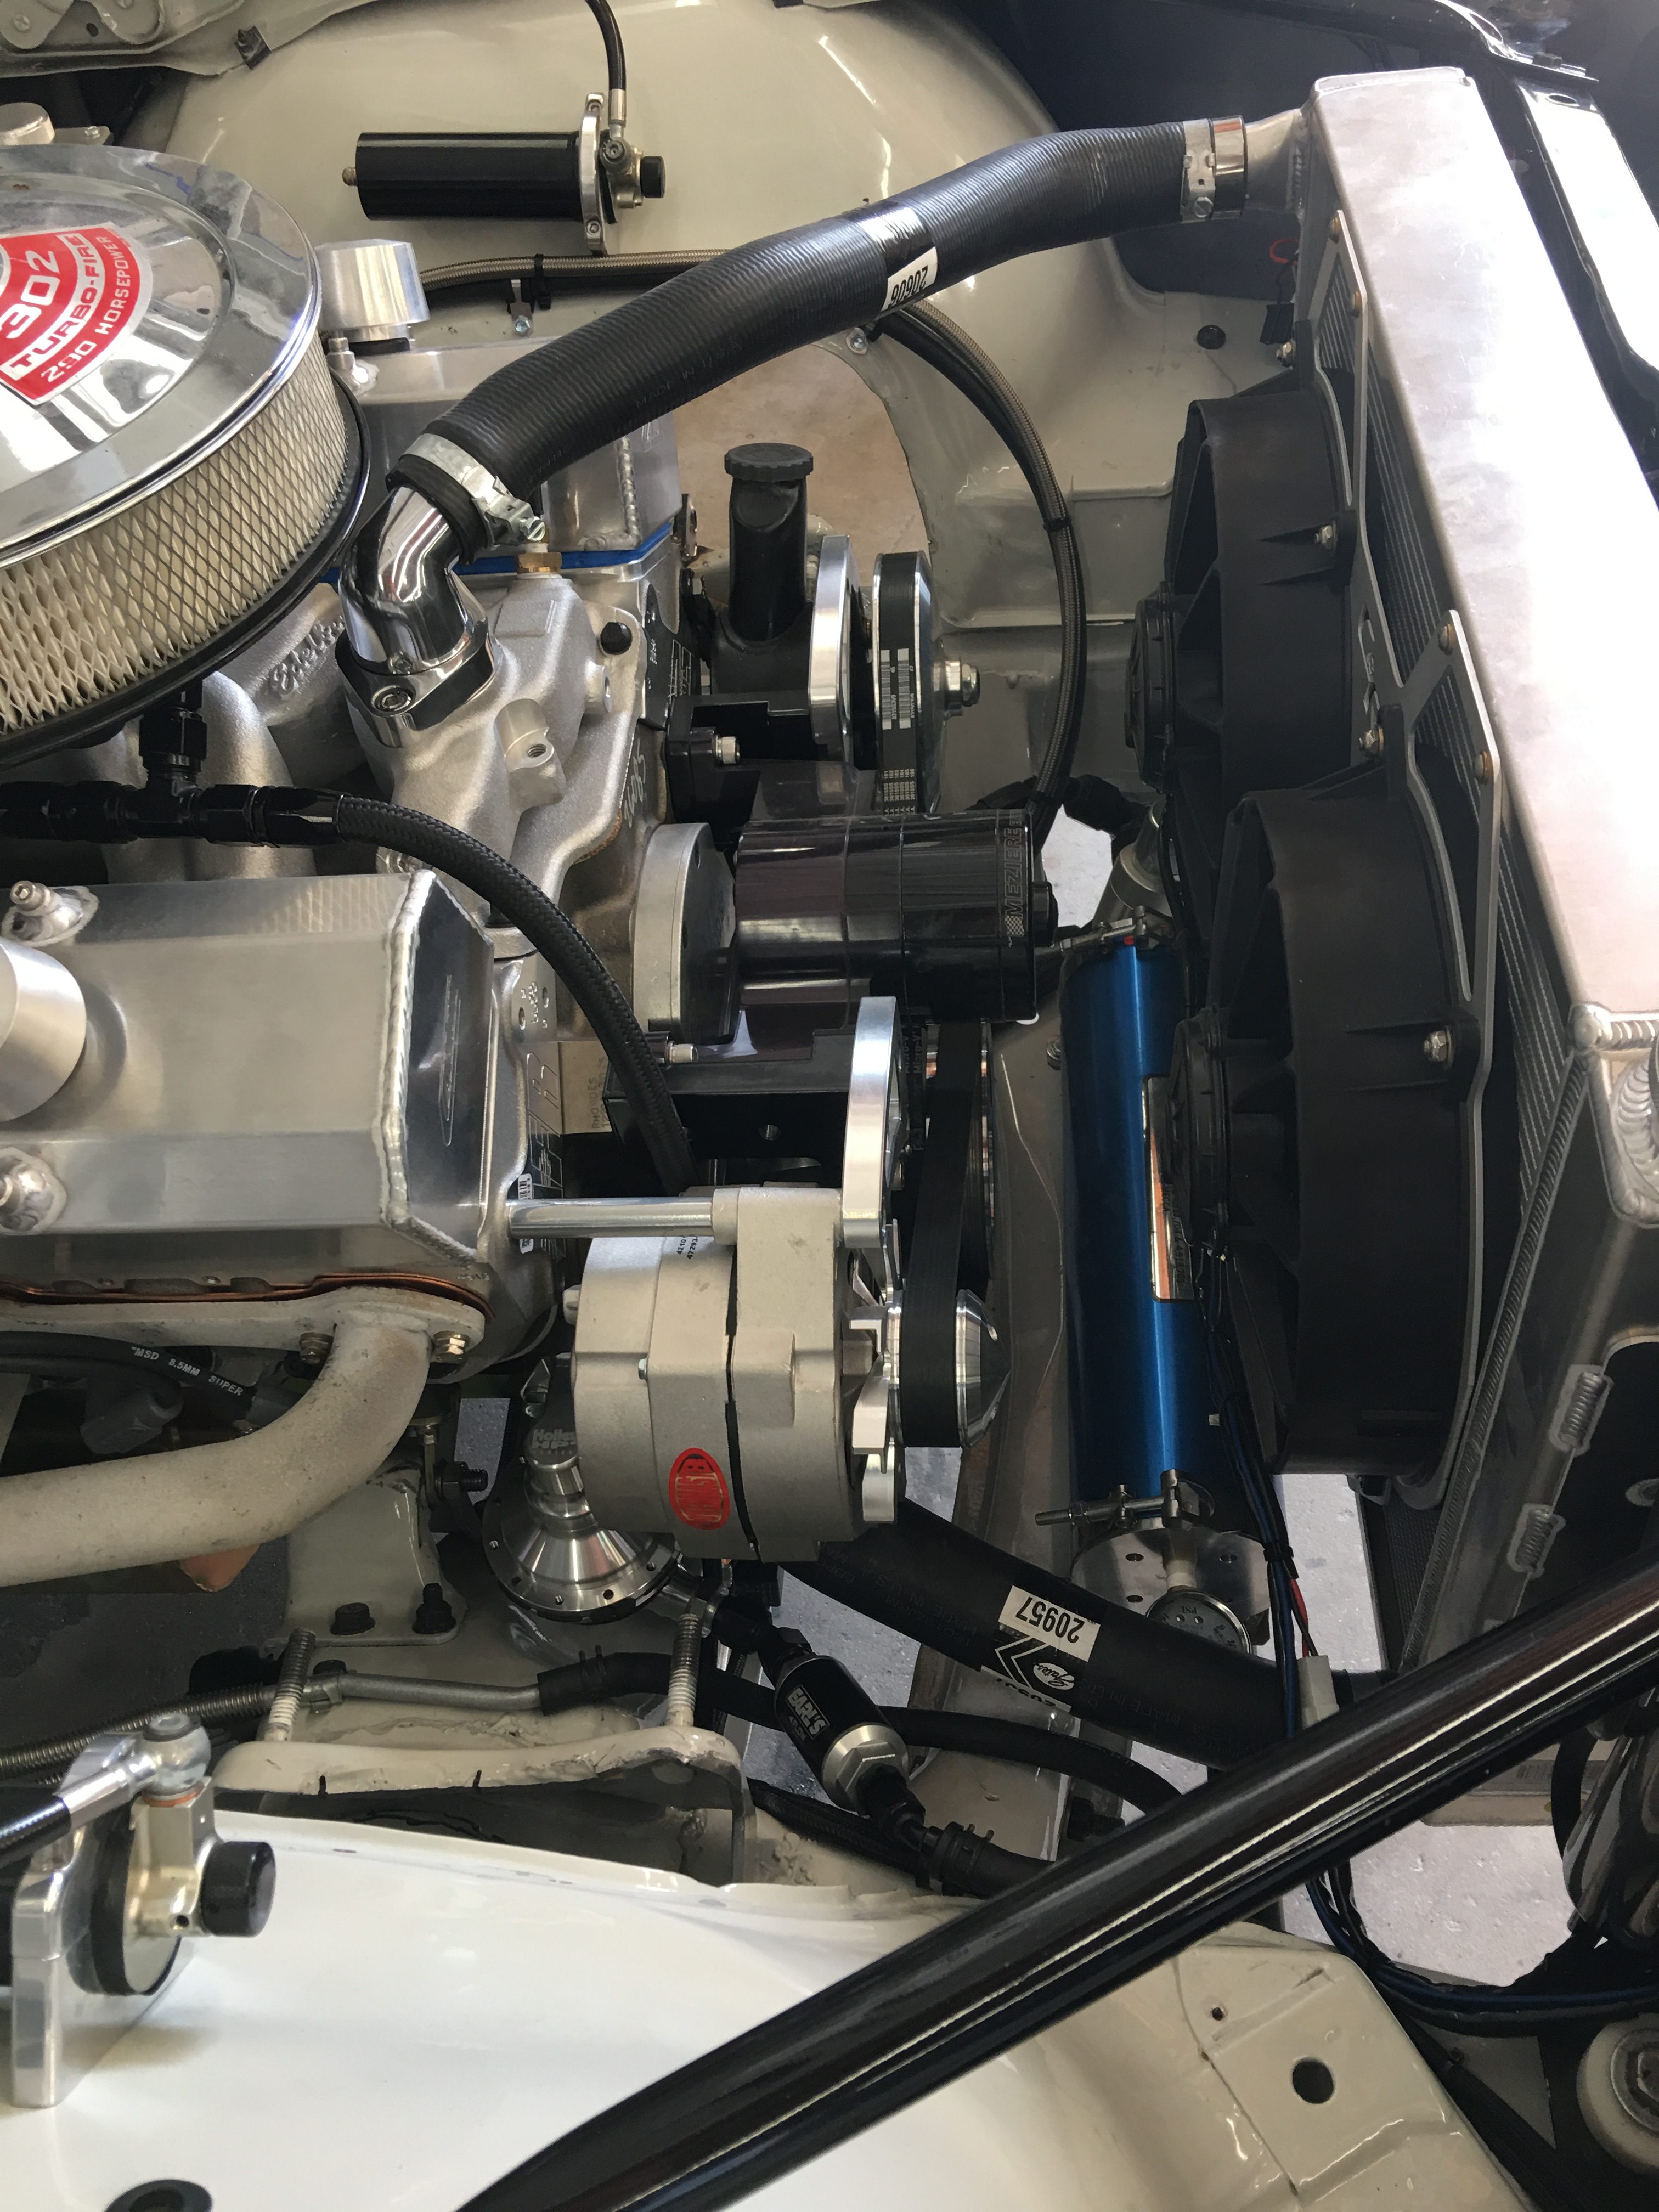
Here’s how it sits today – many many hours of labor later-
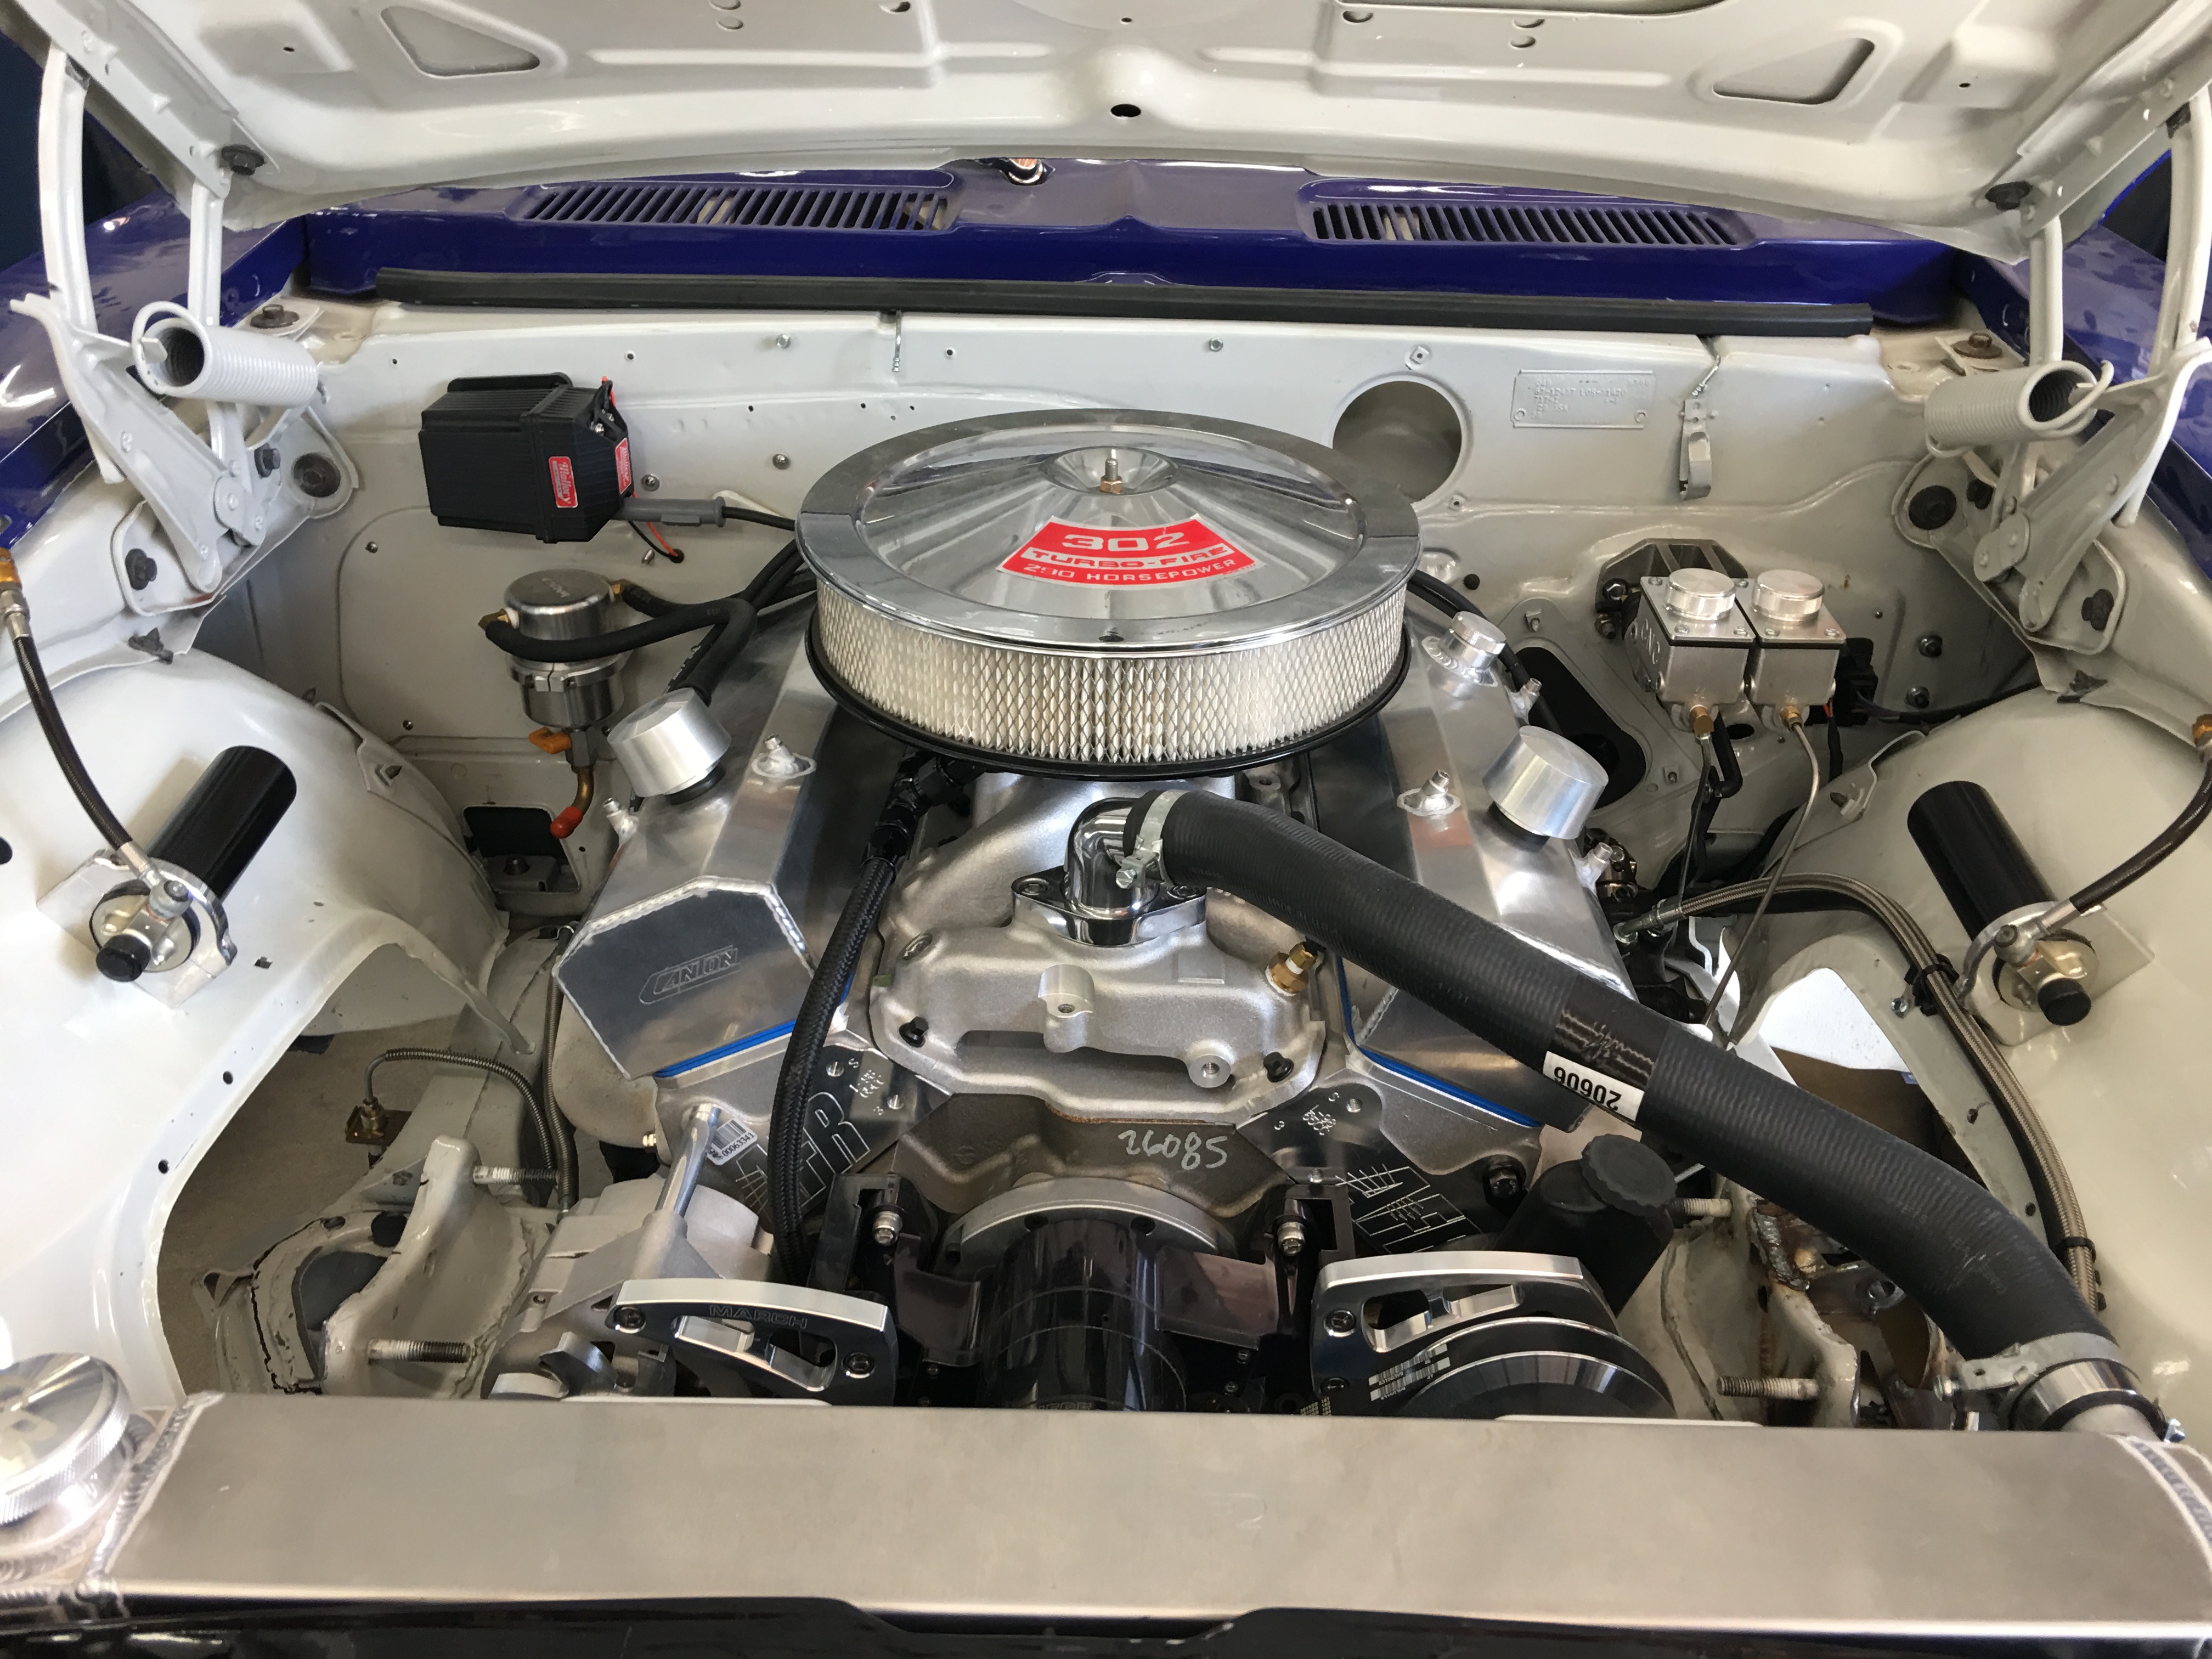
Coil is relocated up and out of the way. The big brake booster and heavy cast iron master cylinder have been replaced by a small and lightweight (20+ pounds saved!) manual balance-bar system.
The aluminum radiator and dual electric fan setup is from C&R. Can’t see it but in front of the radiator, there’s a modestly sized C&R oil cooler with remote oil filter mount. The filter was a nightmare to get to with those headers, should be tons easier now. I’d run a cooler on the 370z and saw what a tremendous difference it made in oil temps. This cooling system is overkill for a little 450-ish hp (hoping, not sure exactly) 302 but
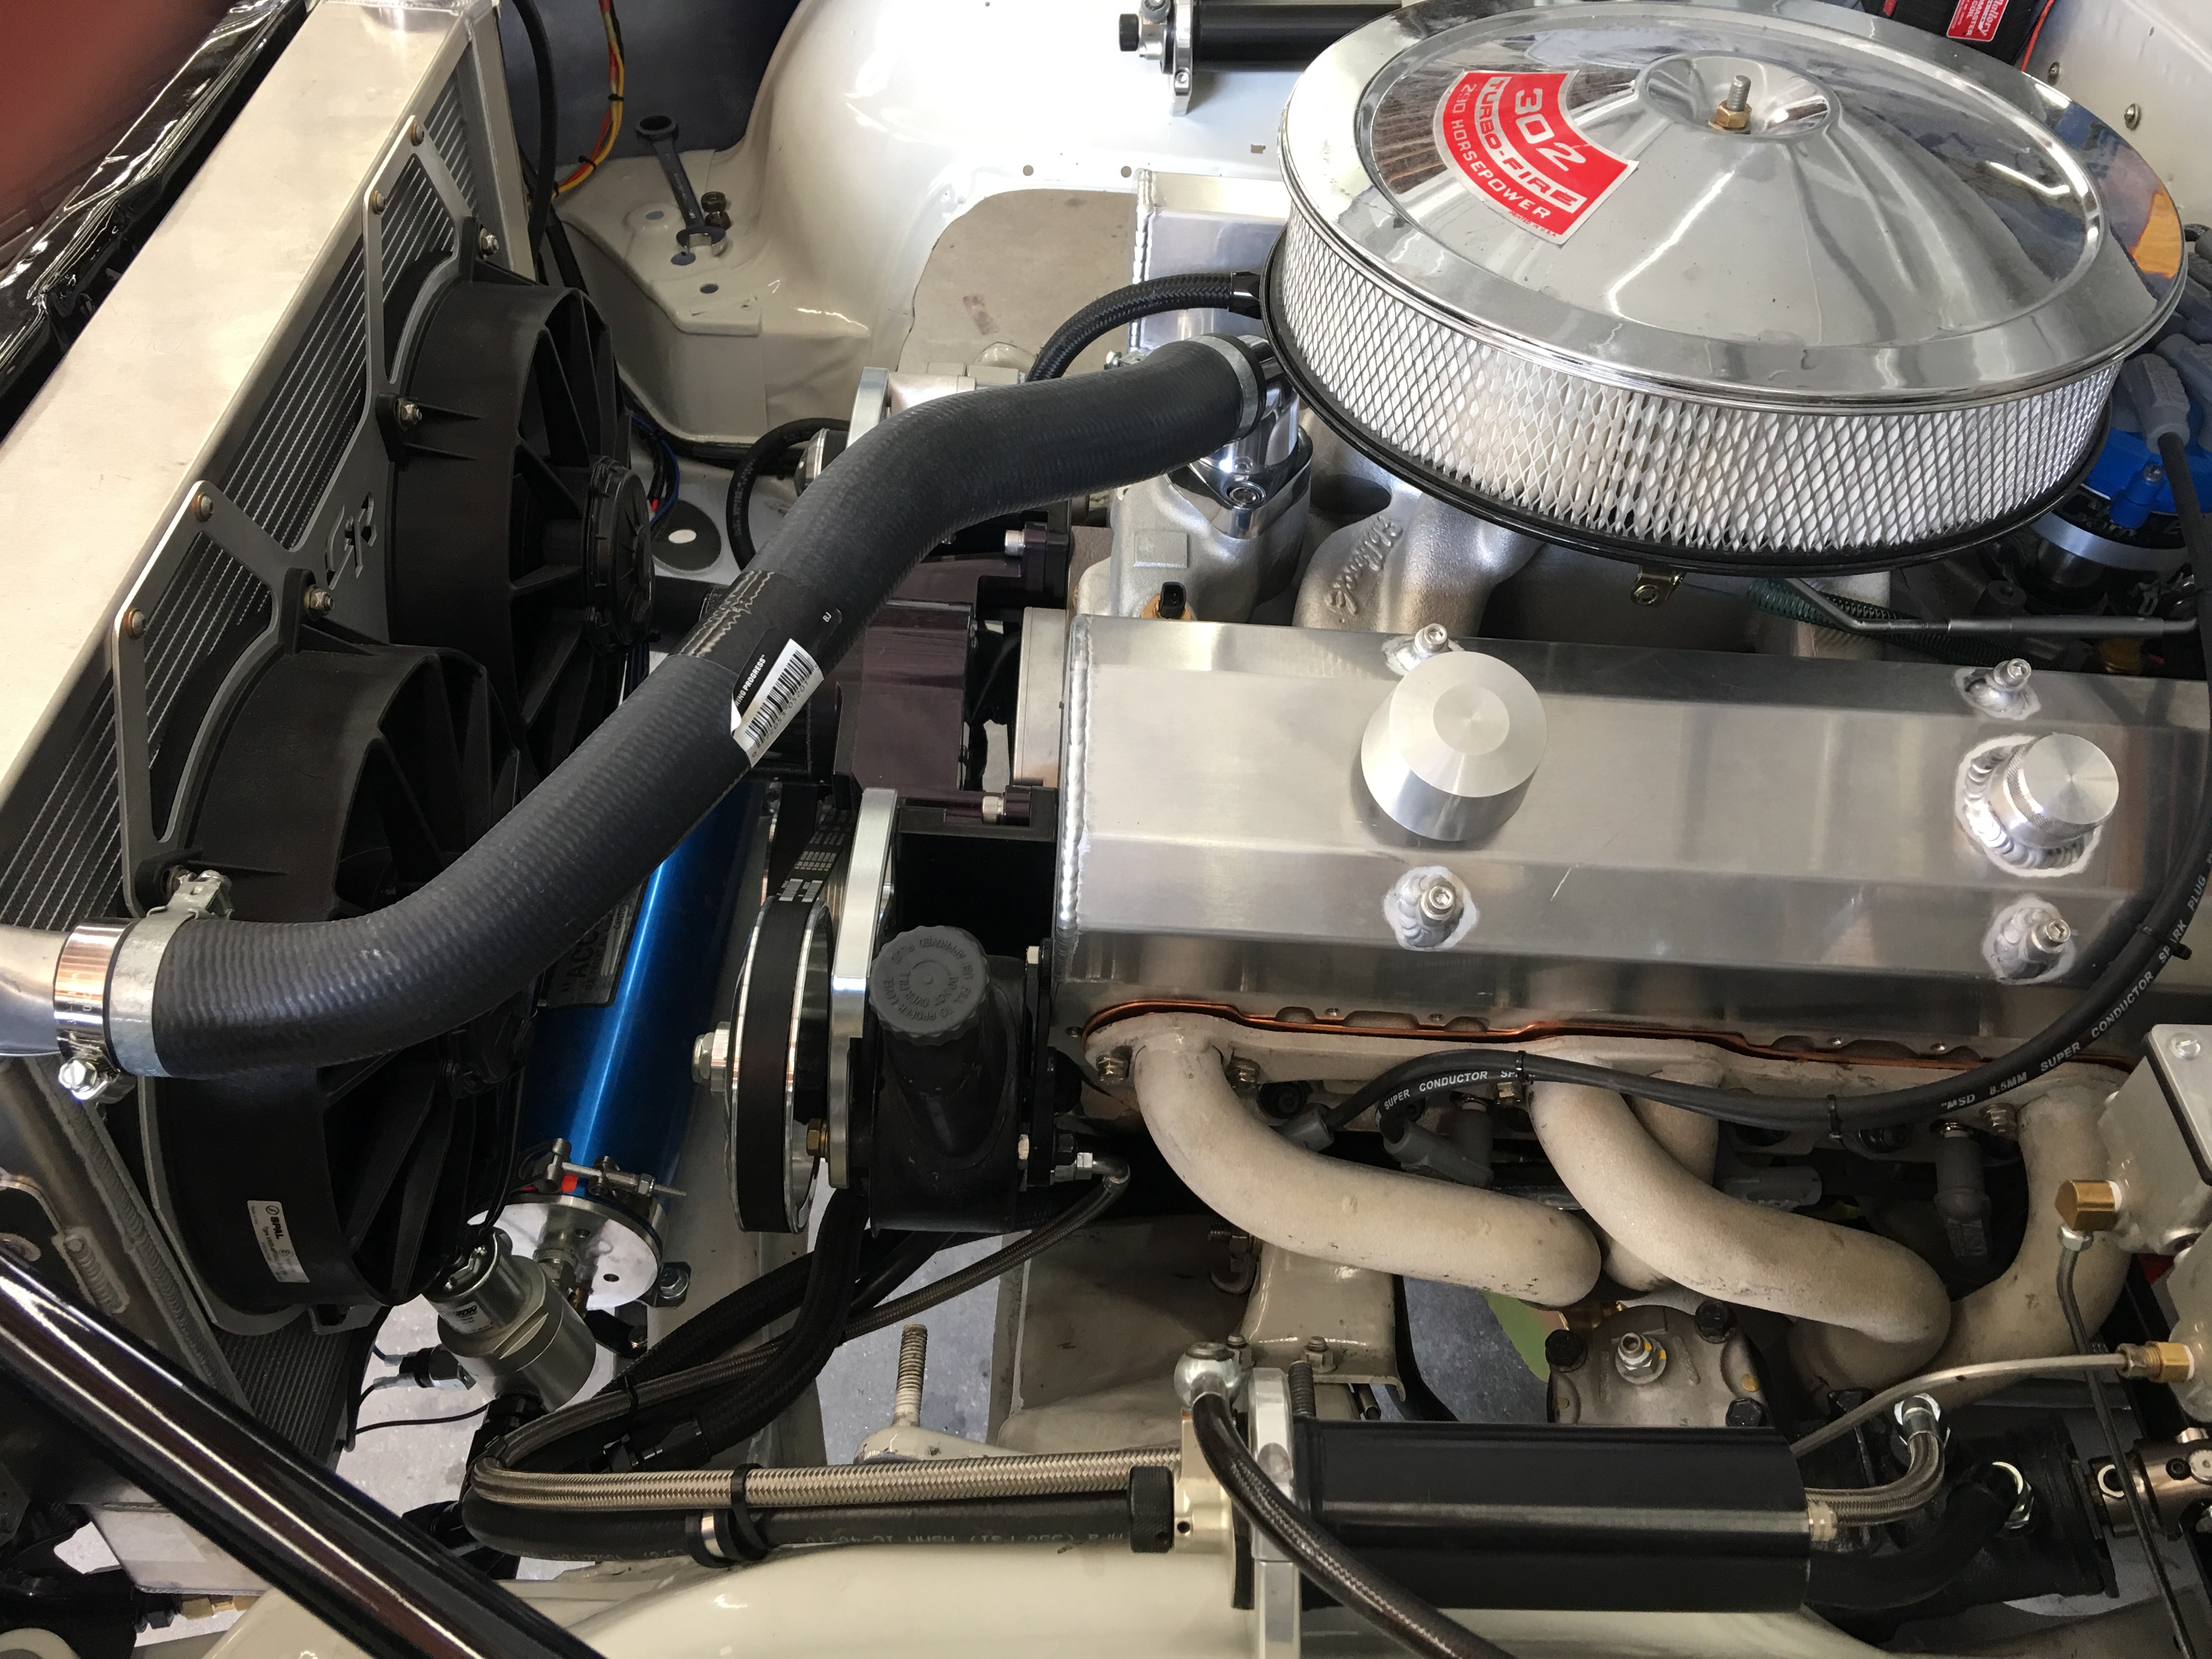
The Accusump with EPC valve is housed down there in front, nice short run to the motor from the unit. Placement of these things is always an argument between the chassis guy and the motor guy – motor guy wants it close to the motor, chassis guy wants it back to favor CG. Motor guy won here.
From the other side, showing the new mechanical fuel pump-
With work and life and everything I haven’t had the spare time to give the car what it needs. It’s at Best of Show Coachworks in nearby Escondido, where Dean (mechanic) and Matt (owner) are doing a really fantastic job with it. I’m much happier with their work and the progress being made than I thought I’d be, as a consummate DIY-er.
Motor should be running again soon..wiring is still being fixed up, I’d done some naughty things to get it put together on time, Dean is repairing all my badness…

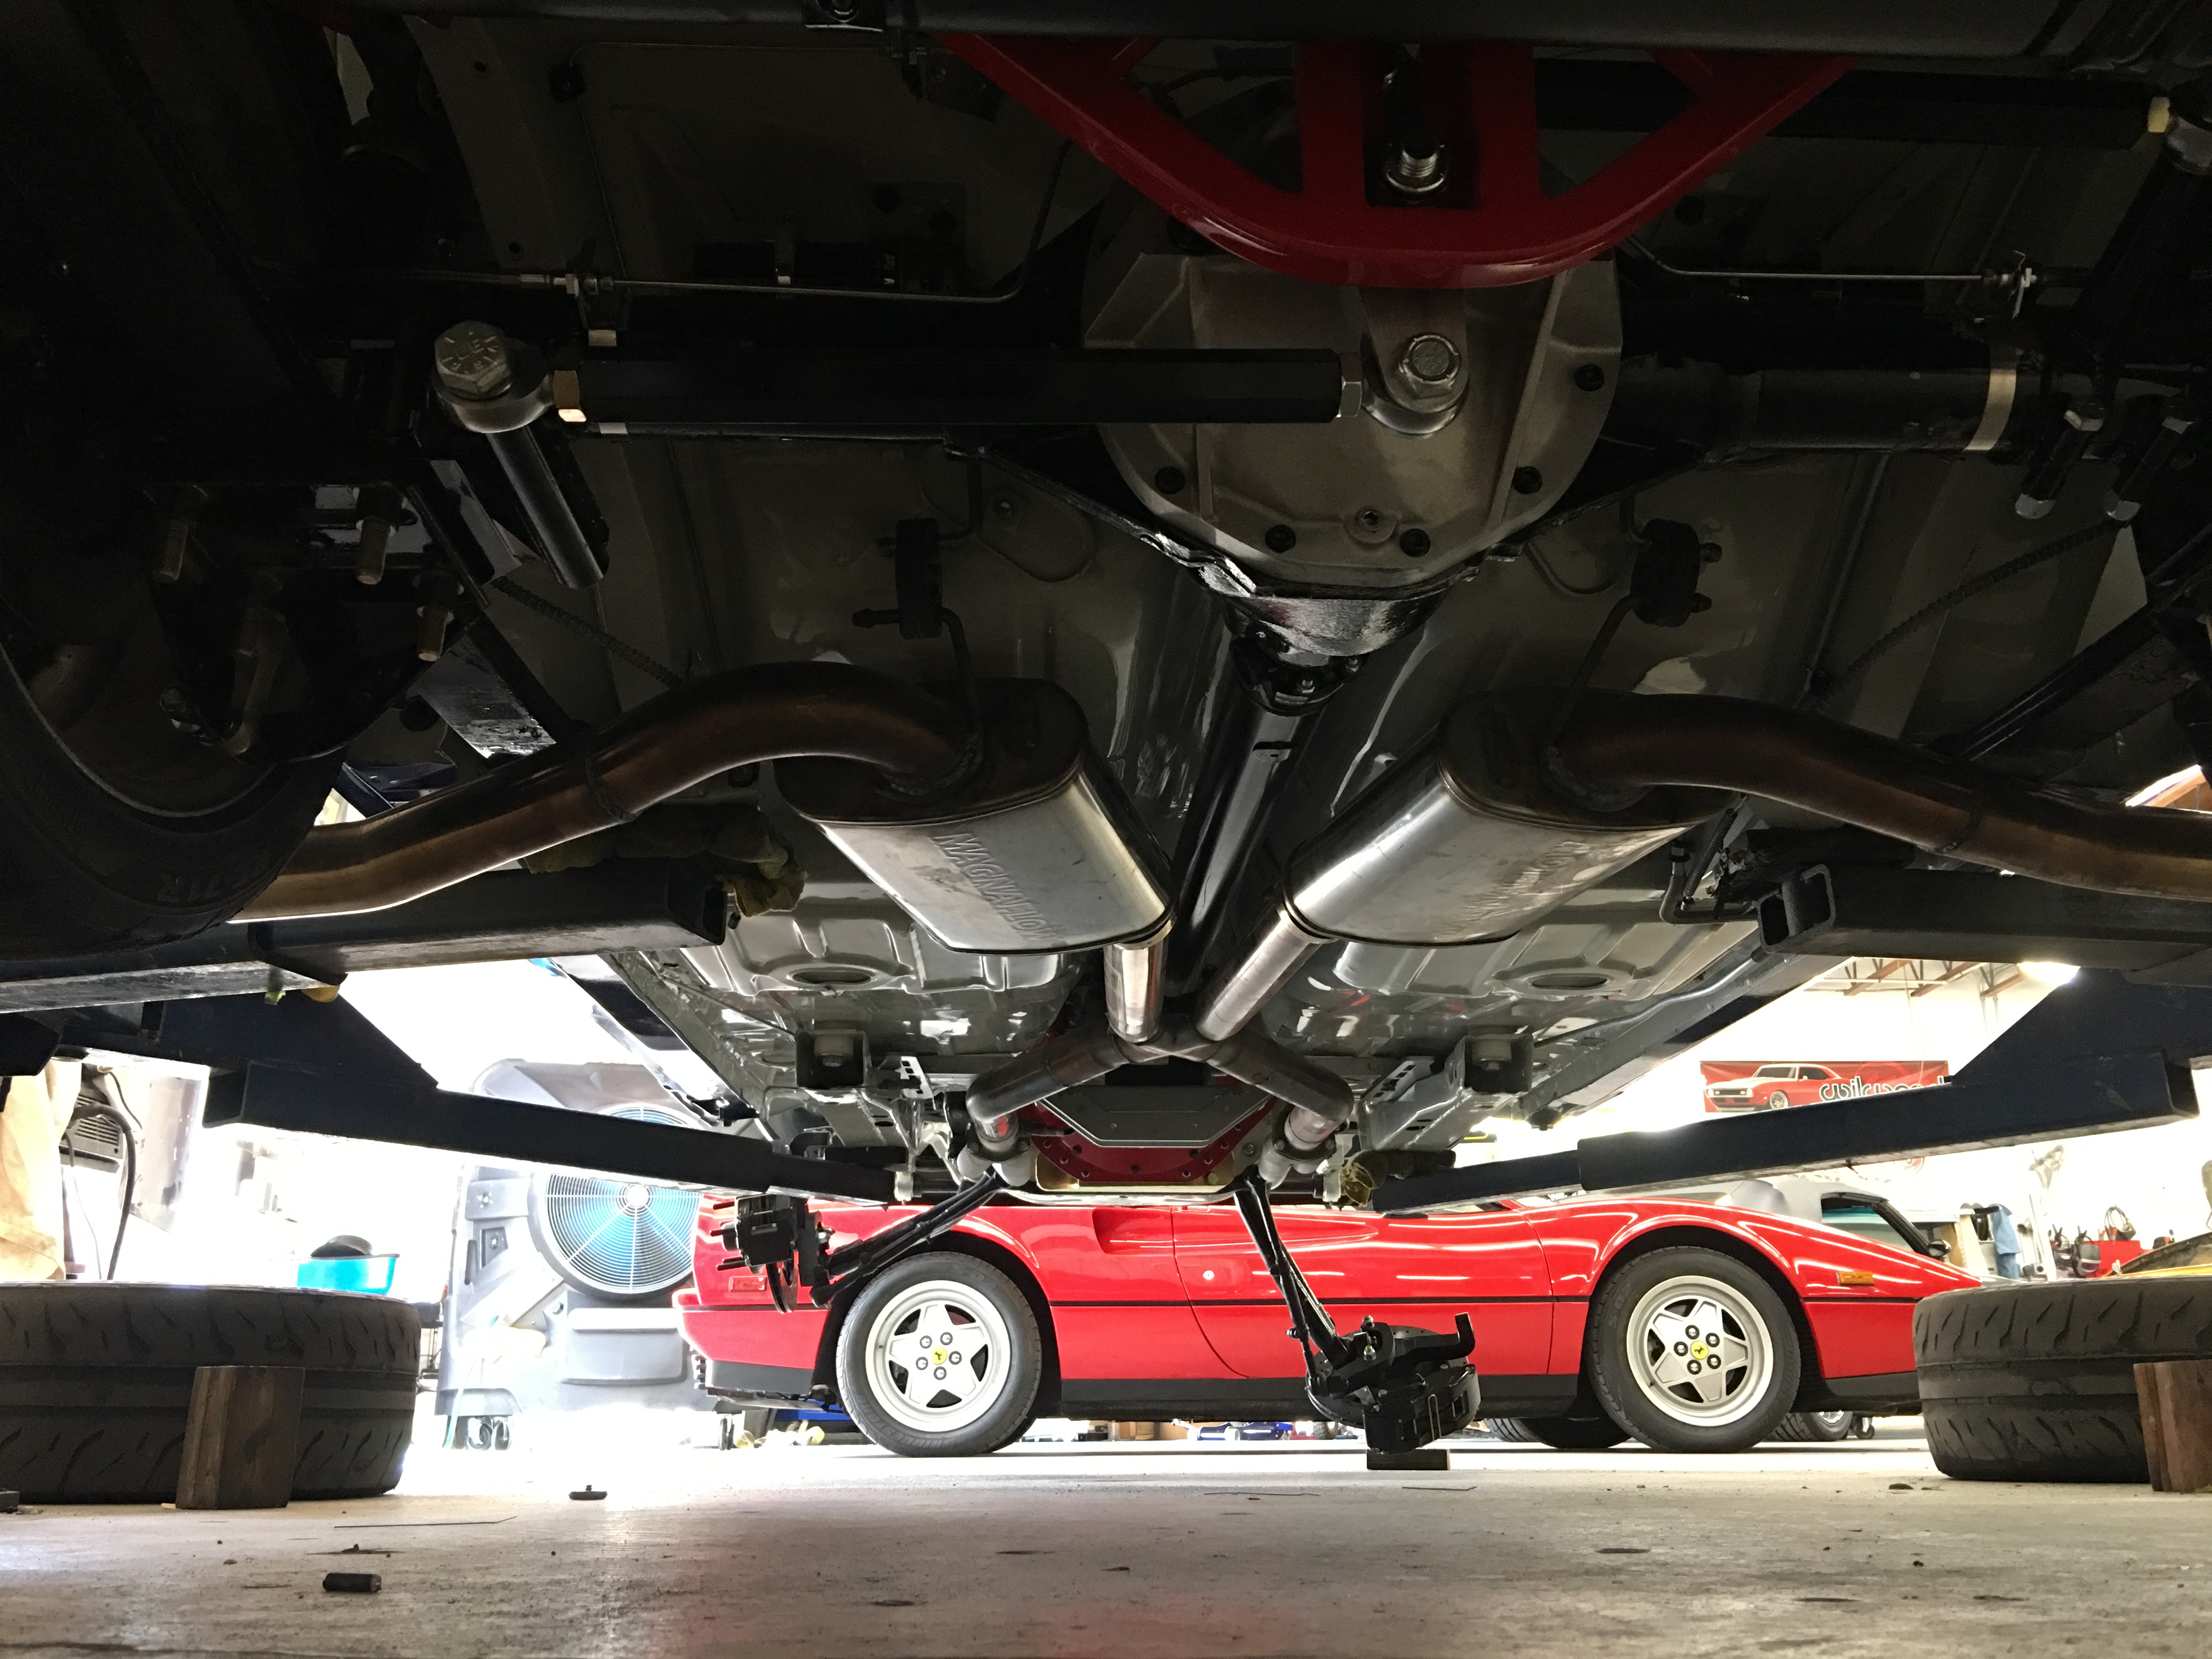
Exhaust buttoned back up:
Last bit is on the suspension. The OE style spring-over-shock thing was a mess I really didn’t like, so the car is getting the ATS upper coilover mounts. This will simplify and clean up how the what is now a front coilover, mounts to the chassis.
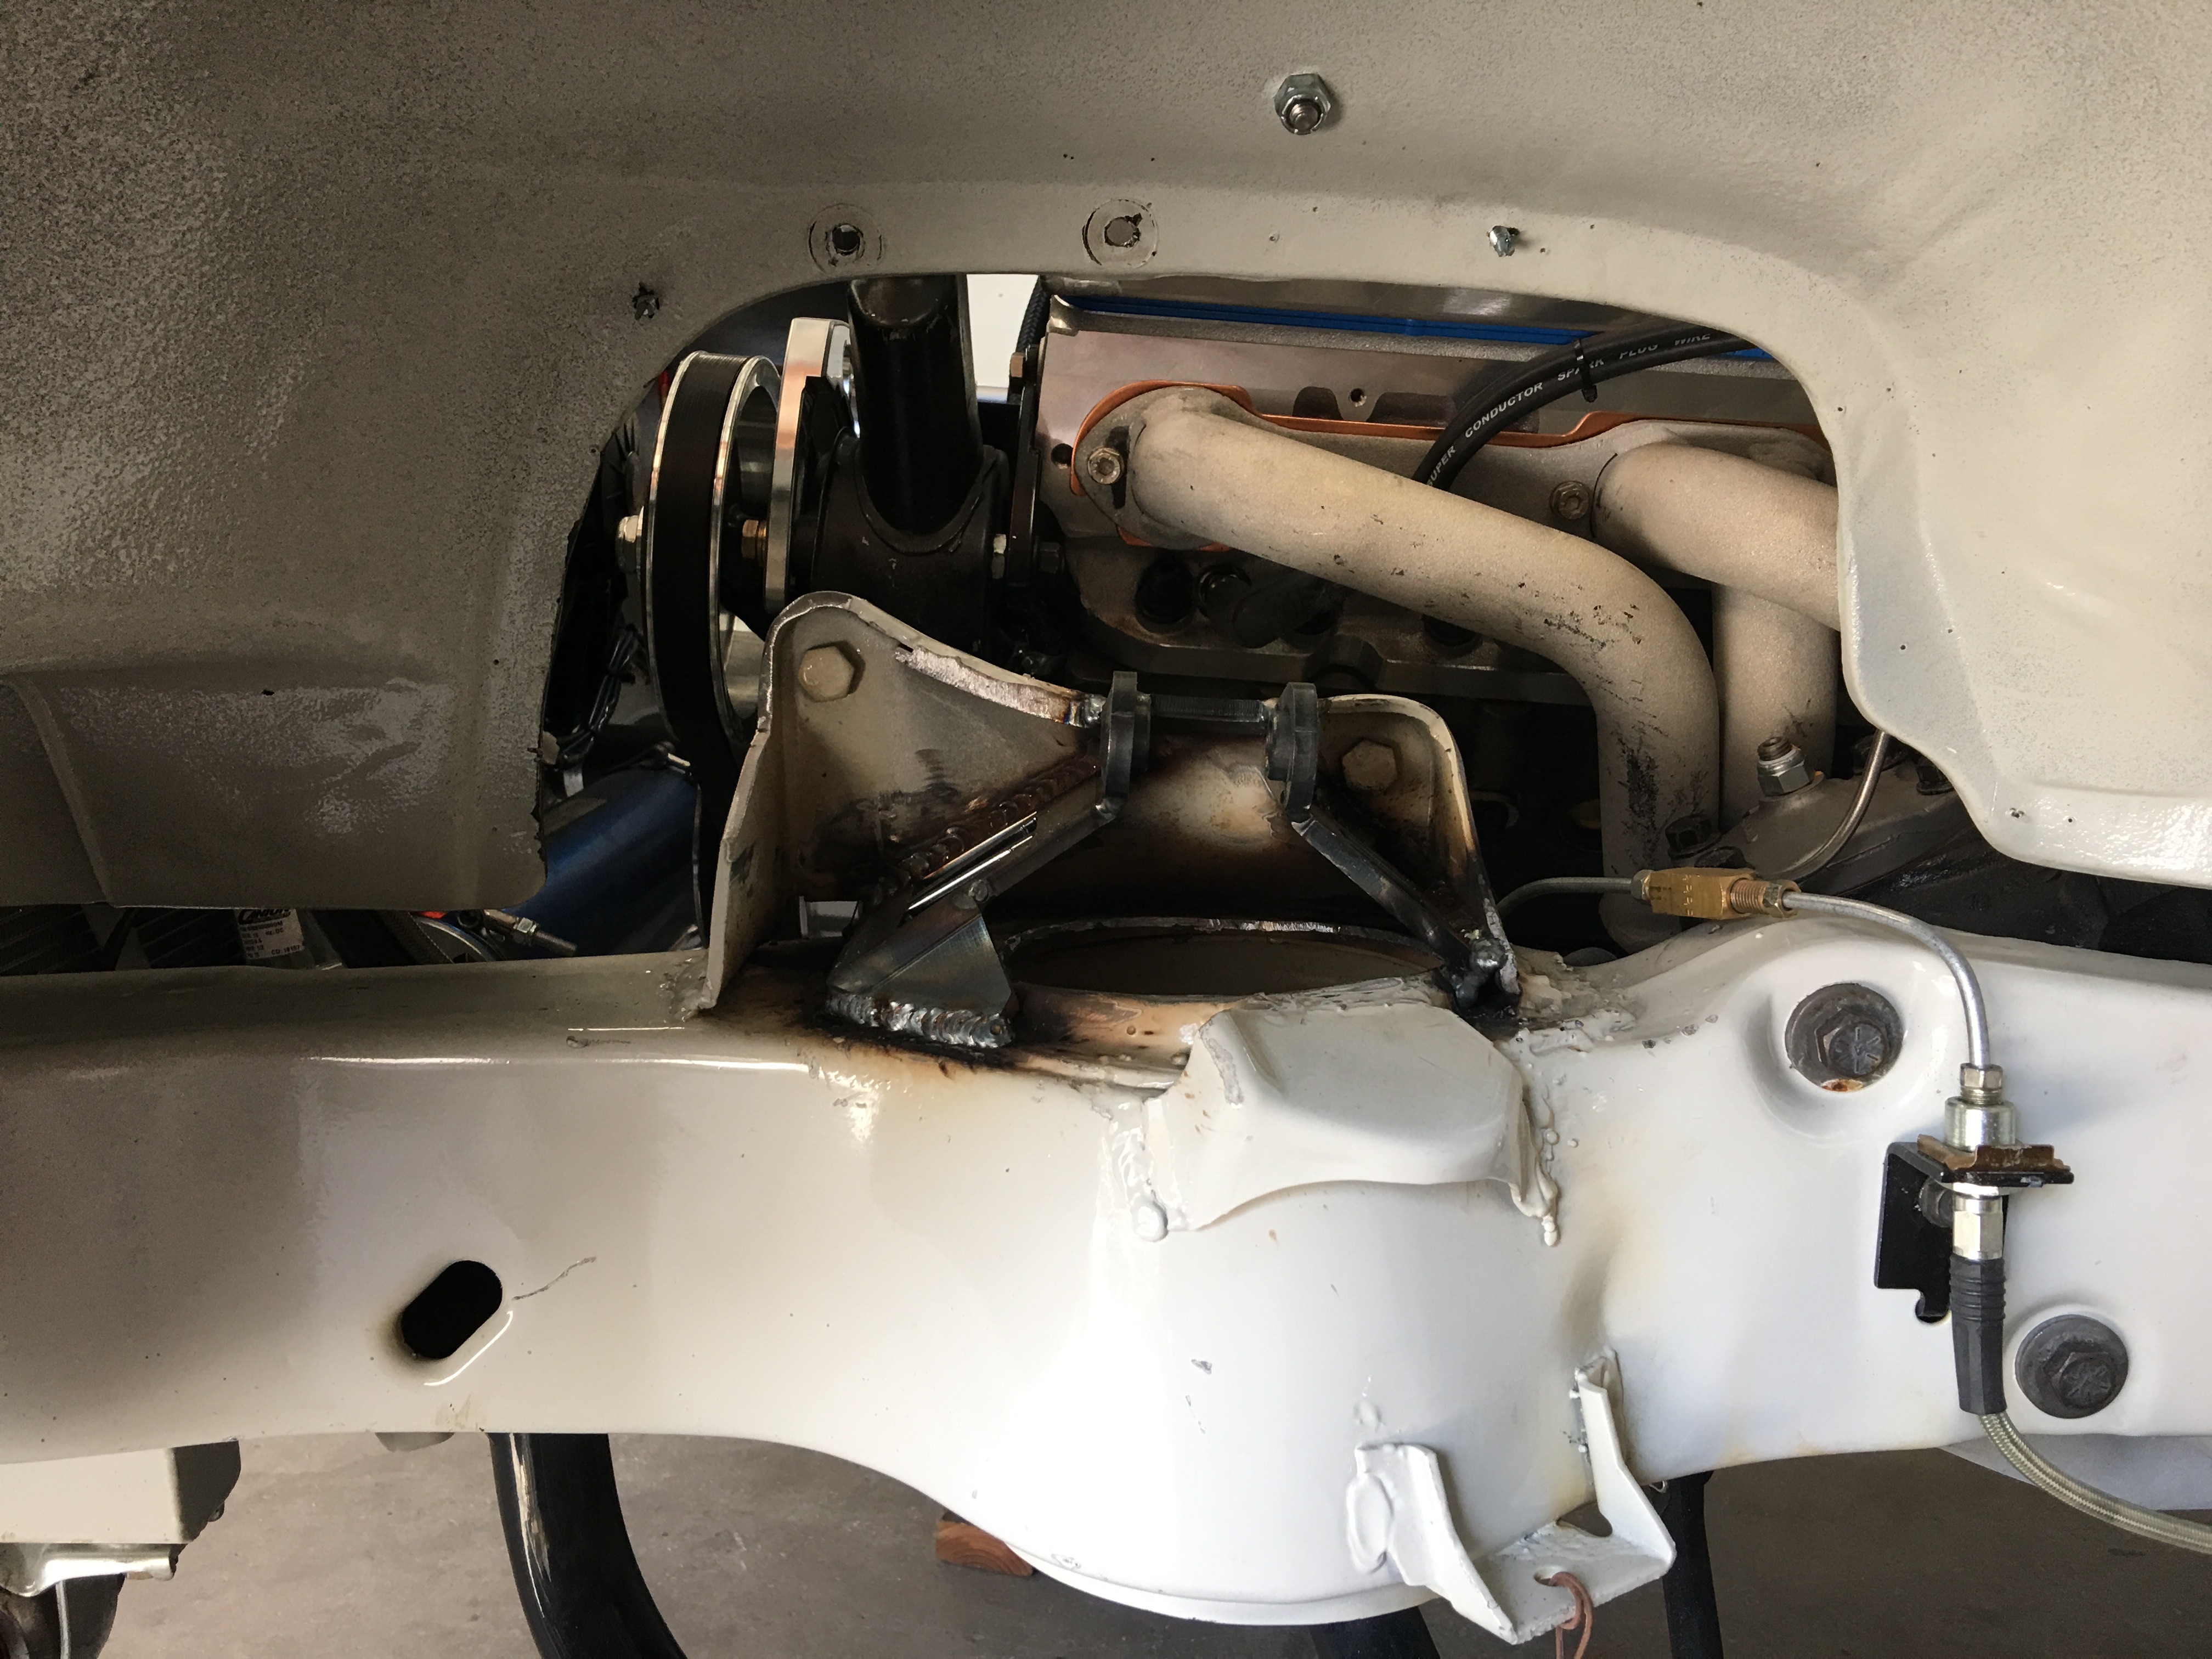
Still brainstorming with Matt on how to improve the motion ratio, by altering some aftermarket lower control arms to locate the coilover’s lower mount much further outboard, closer to the lower ball joint. May eventually do some custom fabbed arms and spindles and things but for now, looking for improvements to off the shelf pieces.
More to come in the coming weeks!
All blue
Whew, 3 years, been a while!
Some updates…
Returned that 370z to stock and sold it to a dealer, what a meh experience that whole thing was. So much for normal cars for me. It’s been reclassed to STU, where it’d probably be pretty fun on 285s on 11s, so if you’ve got one, don’t let my bad experience with 255s on 9’s be a deterrent.
Somewhere out there somebody’s riding around with powder coated chassis braces and a Quaife in what was probably presented to them as a stock 370 – lucky person.
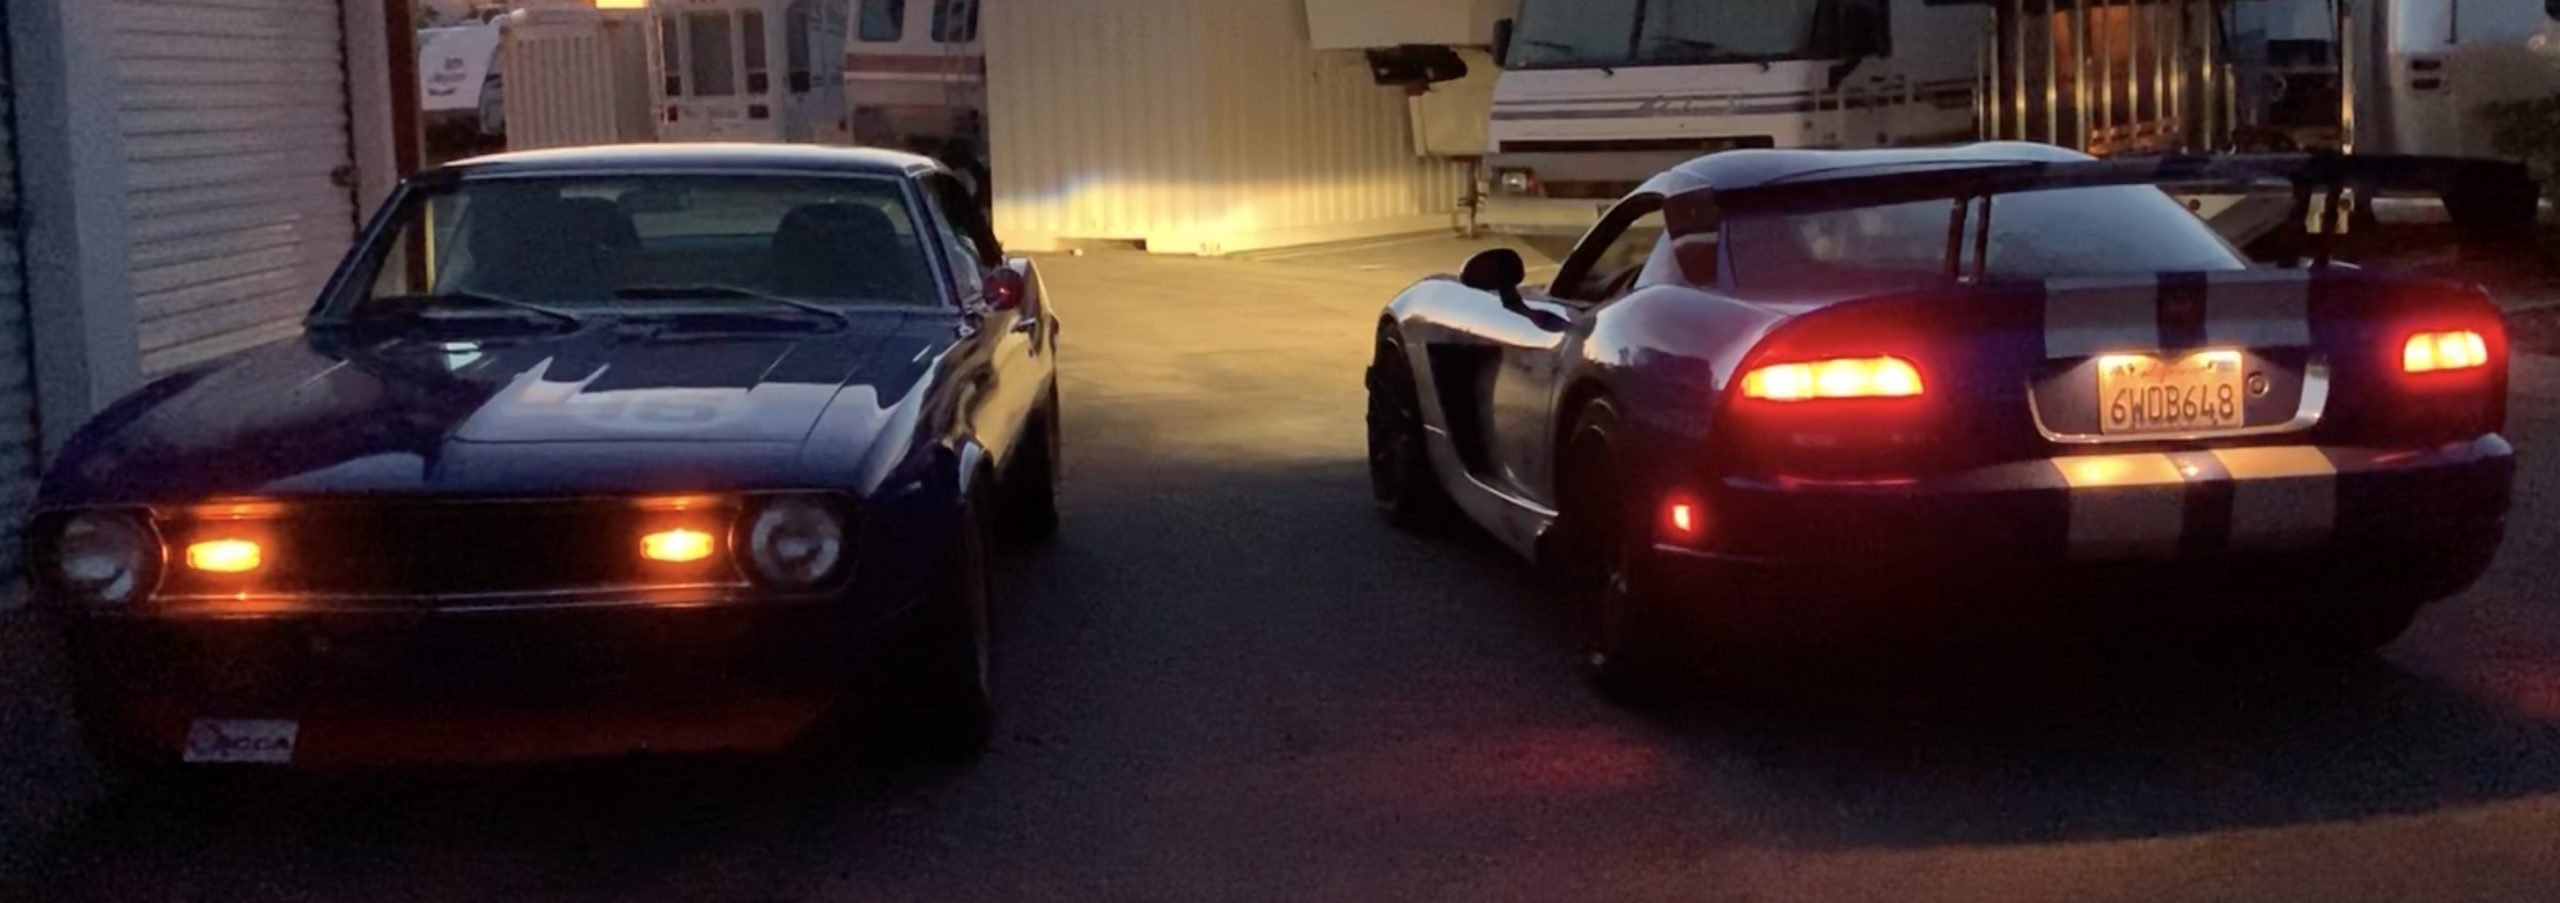
The Z was gray, but before that I’d had 1 red truck, 2 black trucks, 4 red cars, and 3 black cars. The Camaro (red when I bought it) once painted blue, was my first non-black-or-red car. Now, all my cars are blue.
Shortly after selling the 370, decided to buy my friend Gary Thomason’s blue 2008 Viper. I ran it at Nats in 2017 (6th, meh) and Spring Nats 2018. It’s got the Koni 28’s and front sway bar design of my old black Viper. This one has about 90hp more than my old one that comes on in a vtec-ish fashion around 4k. We rarely see those engine speeds in autox but when we do it’s a lot of fun.
Video from Spring Nats Pro. Didn’t finish where I wanted, but this is about the best I’ve driven it yet:
This car has a bit of a push that I haven’t been able to get dialed out yet, though I had in the black car. Perhaps due to the stiffer coupe chassis. Have some ideas of ways to get the car to work better I plan to try out next season. SSR is a tough class!
Another change is in trailers. Had been making-do with a dilapidated old Pace. The big box style trailers are like a garage on wheels. Great when you’re out at the event/track – lots of room for stuff, easy to get around the car and get to things.
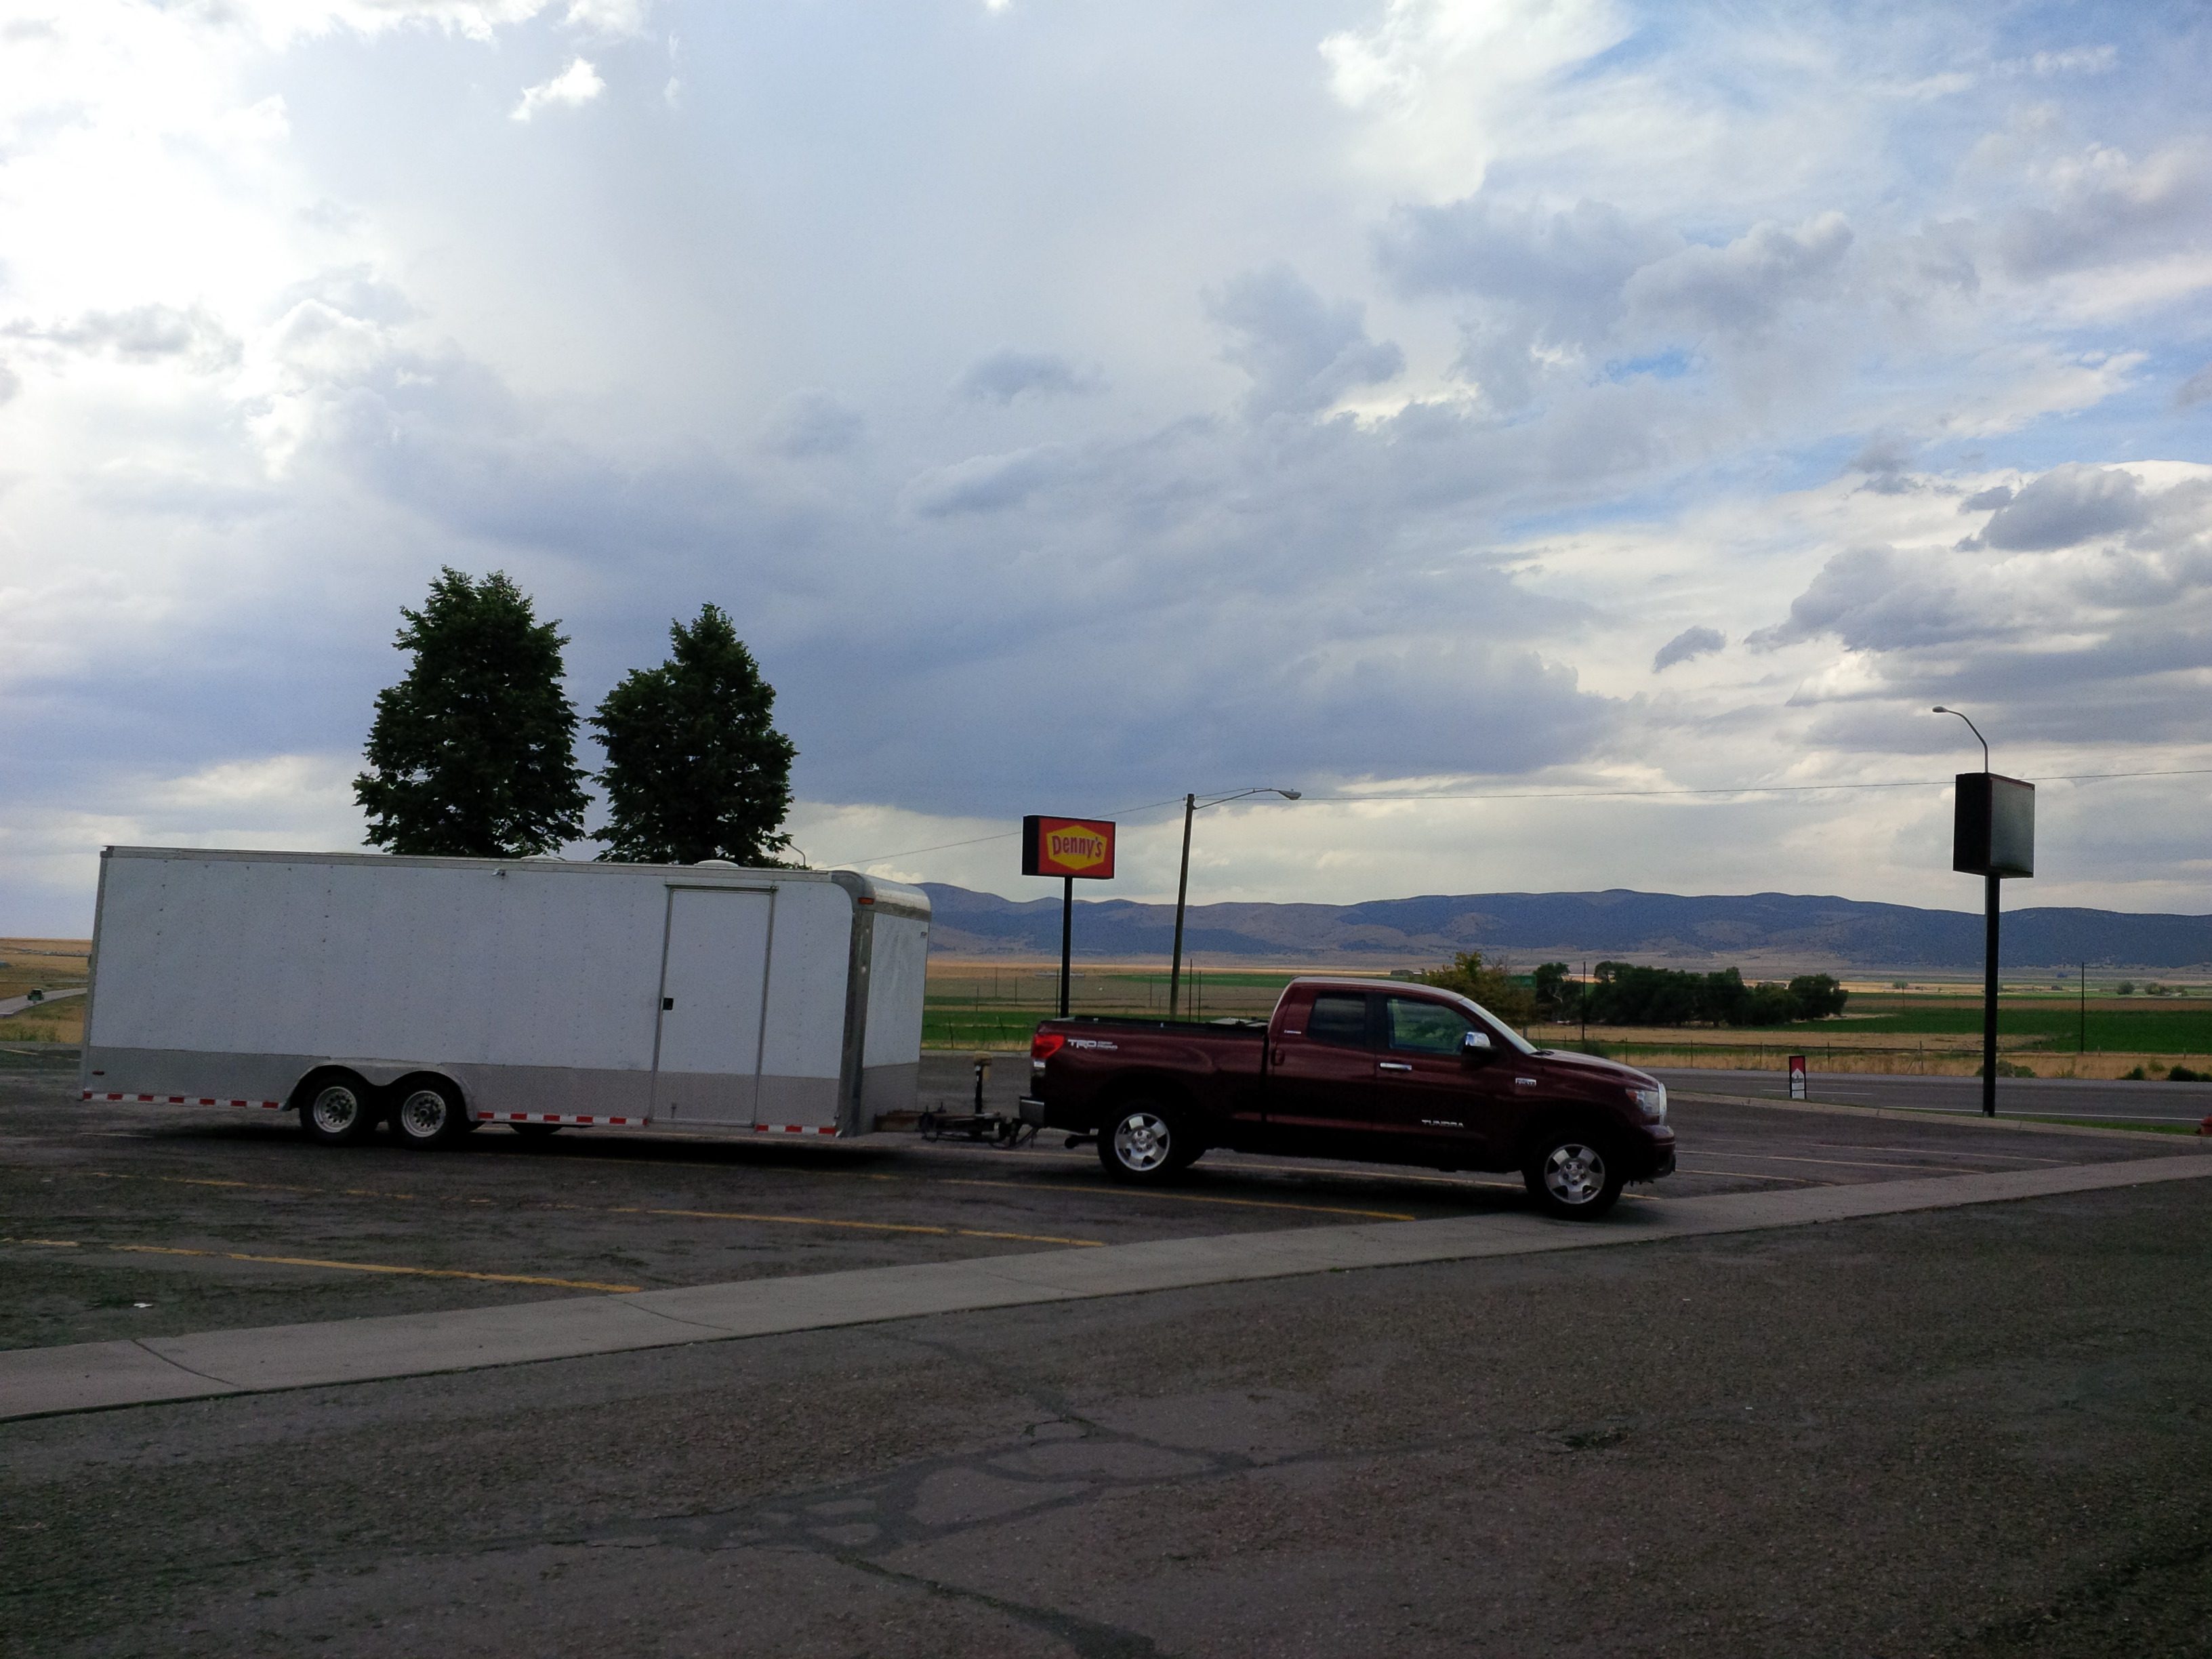
The problems are they’re big, heavy, and womp fuel economy. I wanted to eventually replace the Tundra with something smaller, more economical, and more comfortable – but such a beast would probably have reduced tow capacity. Towed out to Nats ’17 with the old girl, had arranged sale to a fellow from Texas, we’d meet up there.
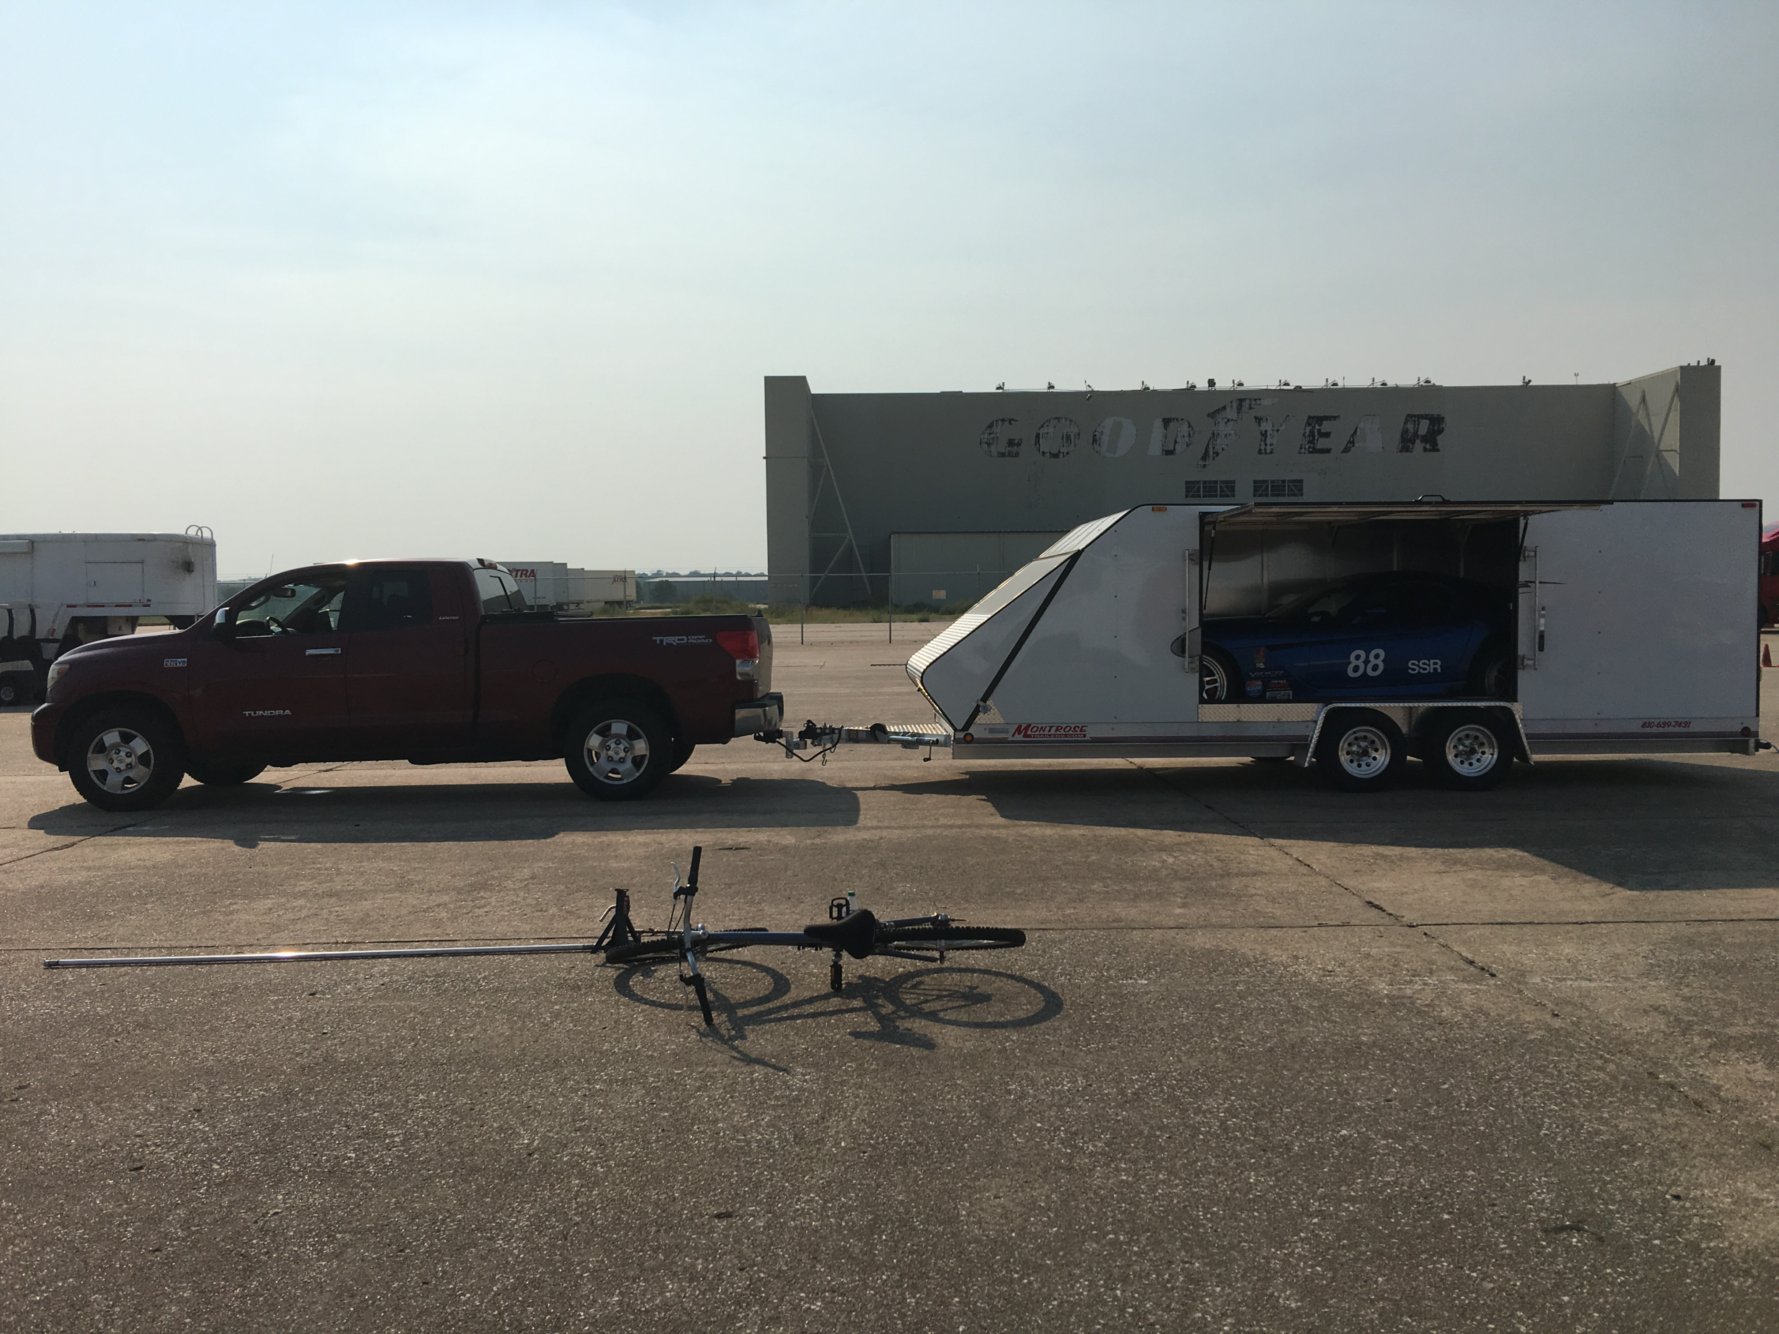
Purchased a Montrose aluminum enclosed, had delivered to the site so I could switch out there. They’re made in Wisconsin, so it was a lot cheaper having it delivered to Lincoln, than to San Diego.
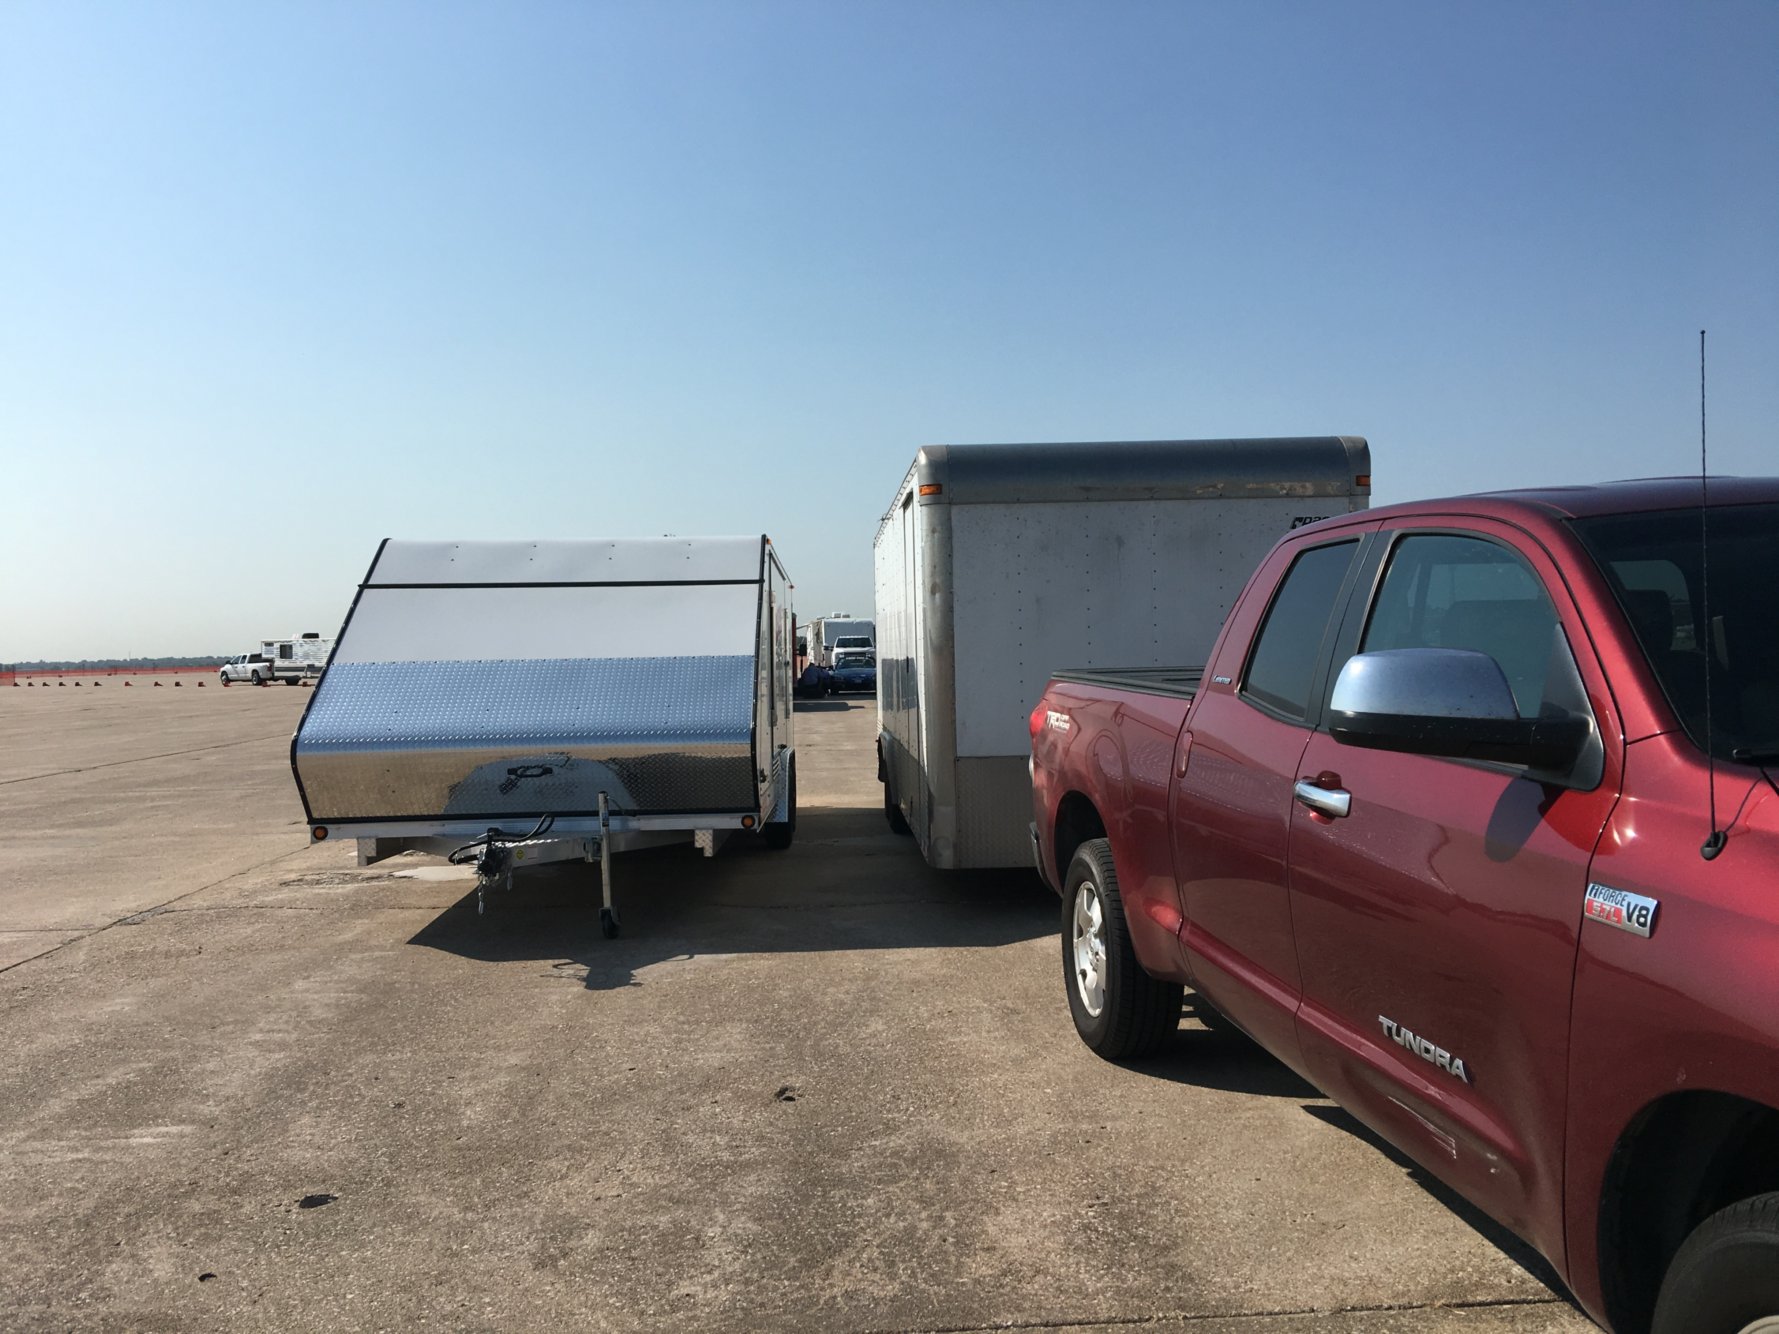
Moved from big old trailer to new small one while out there. A bit of an adjustment – definitely a lot tricker to live with out at an event. But on the road it’s great, closer to an open trailer in trailering dynamics, than a full enclosed. For Spring Nats ’18, towed up the Ike Gauntlet, which I’d purposely avoided with the Pace.
With the lighter trailer secured, the next change was to the daily driver. After 11 years, 160k miles, and ZERO issues, decided to part with the 2007 Tundra this year. It was everything you’d hope for from a Toyota, a paragon of reliability.
Part of what triggered the Tundra’s departure was a family trip done in a modern rented minivan. We loved all the accommodations, especially the power doors. Started researching minivans to see if any of them could tow – 5k would be the absolute minimum to be useful. Unfortunately they’re all limited to 3500lbs. It might have been possible to beef things up with airbags and tranny/oil coolers, but it might also just be pushing things too much. The MB Metris had 5k capacity but no amenities, it’s like a broom closet on wheels.
Much research went into SUVs, a gigantic spreadsheet showing the stats of every almost new SUV available was compiled. Nothing really appealed. The Toyota Land Cruiser was a top pick due to how happy we’d been with the Tundra, but with more comfort and amenities. But they still guzzle gas and probably wouldn’t be that much fun to drive daily, on paved roads.
The wife wondered if there were any electric ones, since I have free charging at work. Eueka! Isn’t there a Tesla SUV that can tow? There is, the Model X (in blue!), rated for 5000-ish pounds-
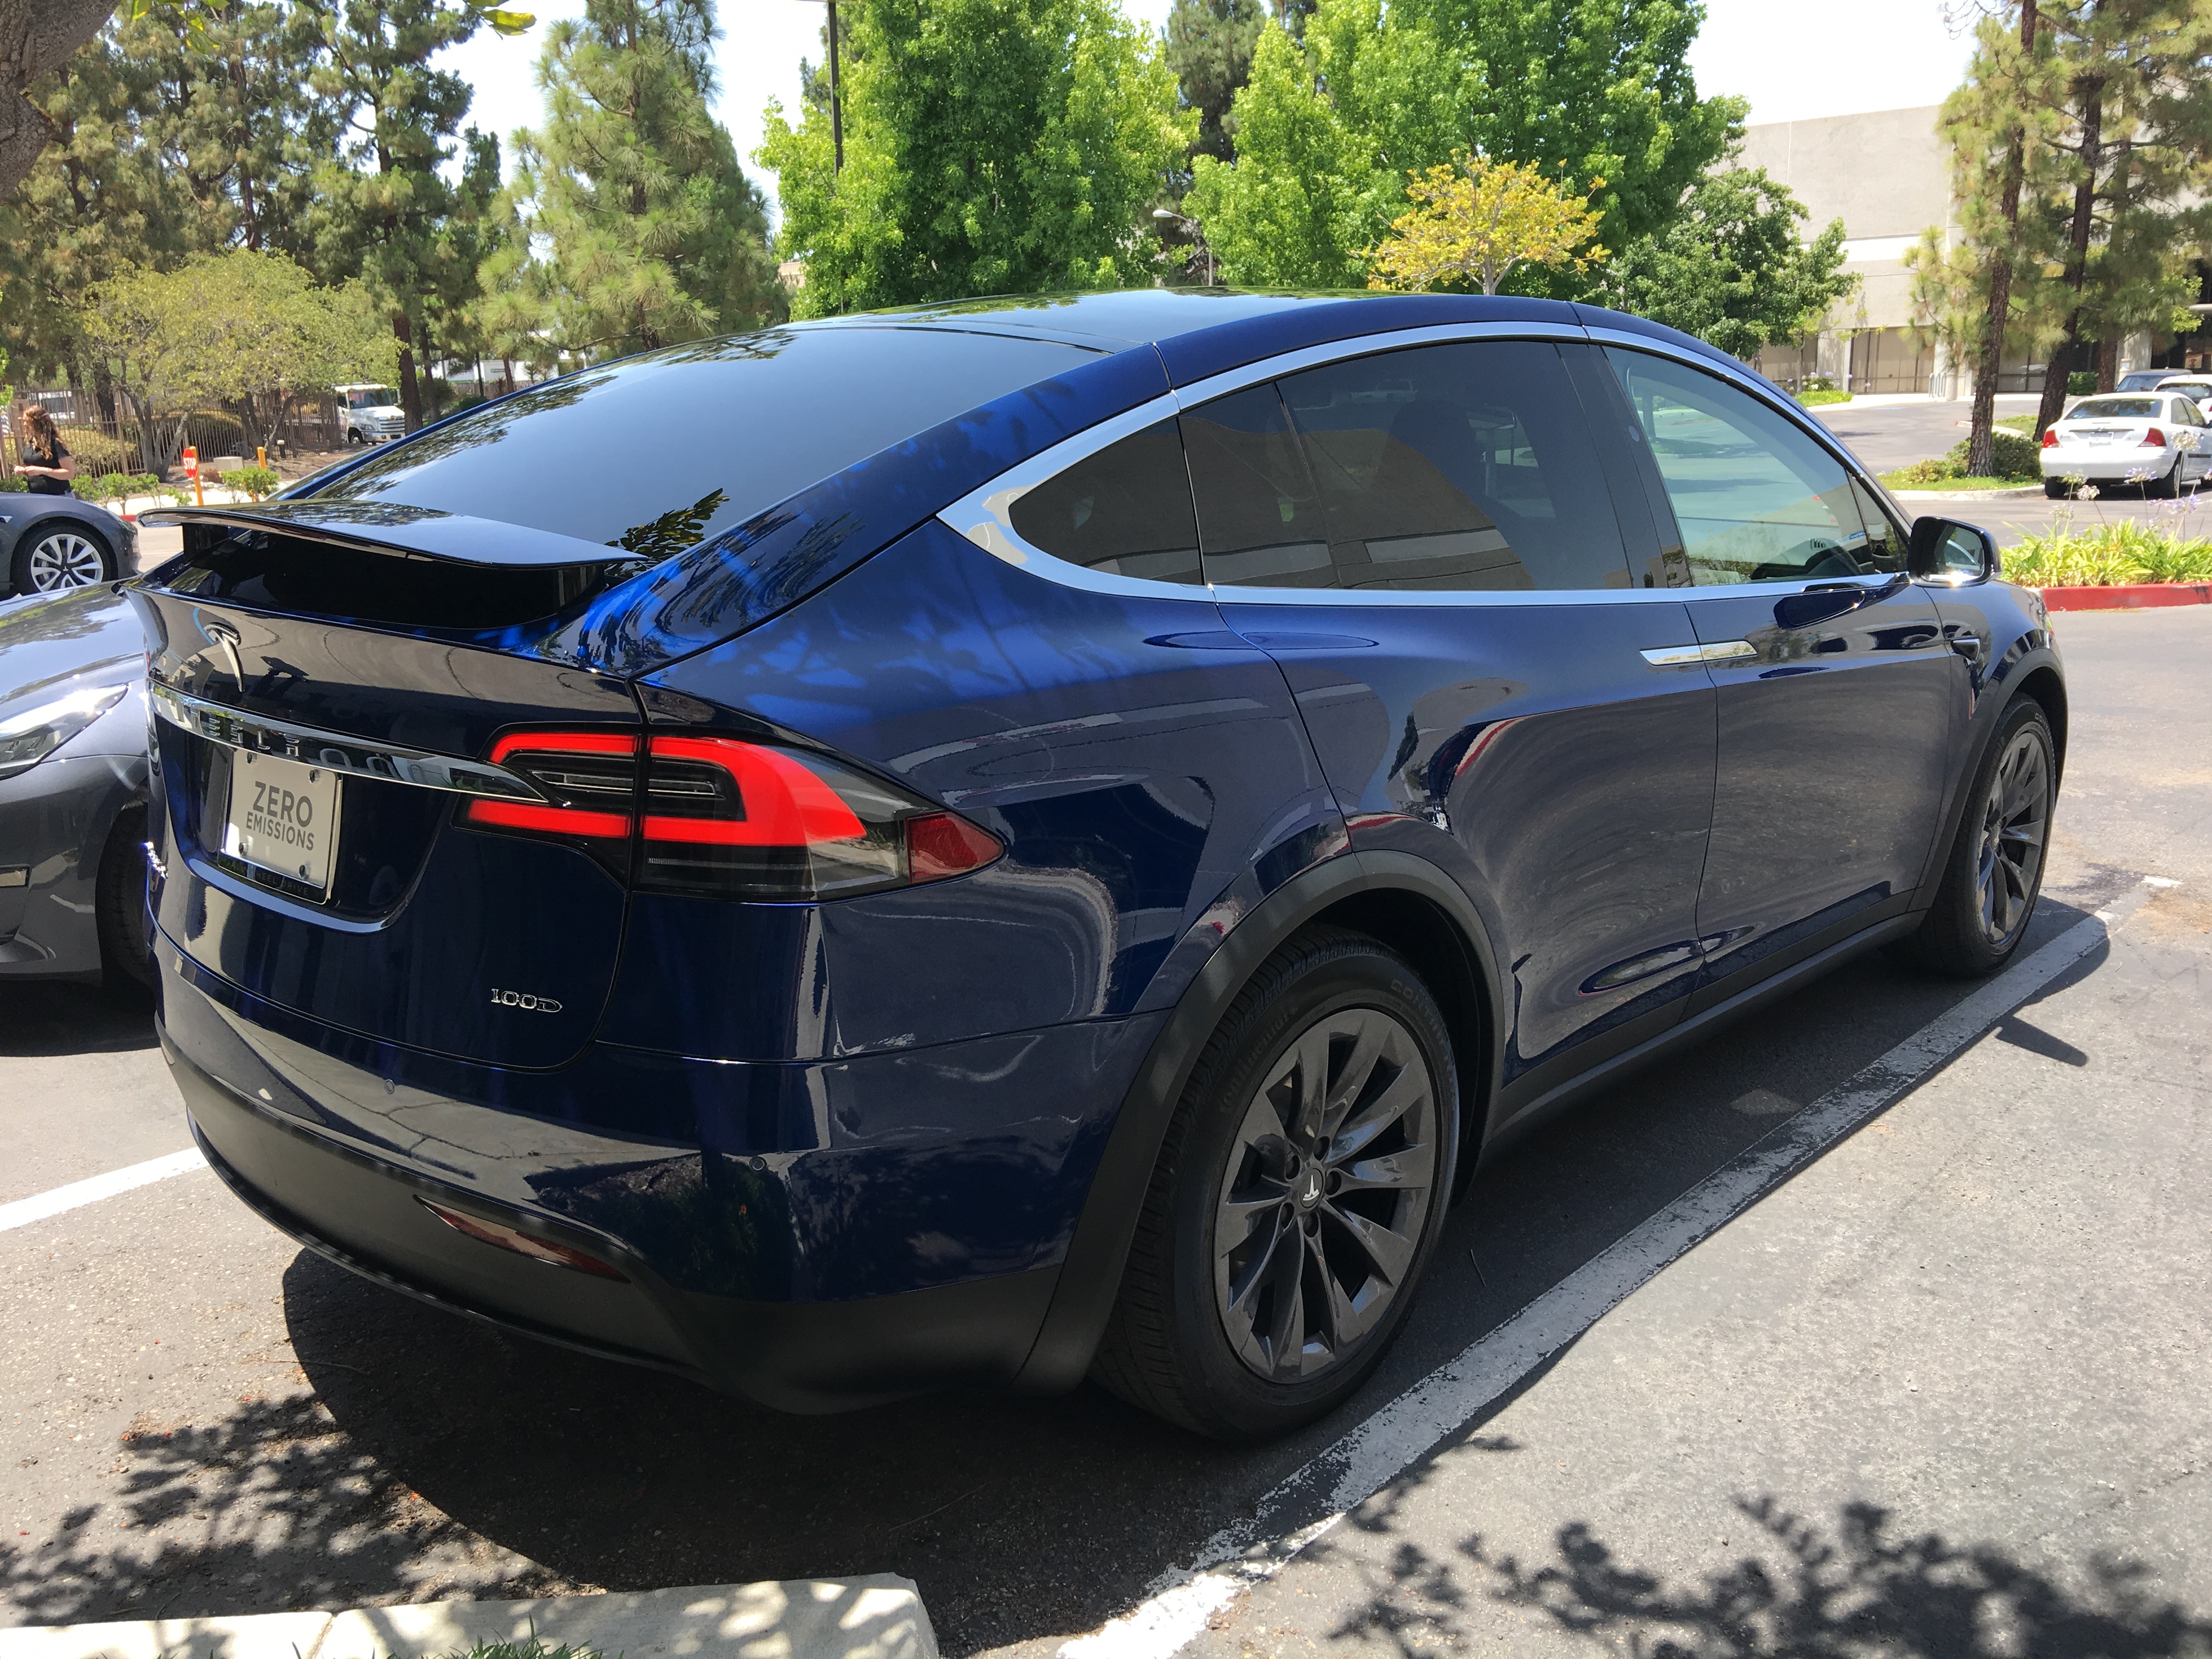
This 100d has a 100KWh battery, which will take it close to 300 miles on a full charge with normal/sedate driving. Maybe a bit less at high speeds, but 250+ miles in So Cal weather we’ve done in it already.
It’s seriously quick too. Didn’t opt for the big-extra-$ Performance model (which is much faster still) but this one will do the 1/4 mile in 13.0, 4.7 0-60, but its real strength is freeway merging speed, 40-70. It feels like this thing folds space when presented with a yellow light – you make lights you couldn’t make in anything else, with no external drama (tire spin, engine noise).
Towing, the range is going to get cut way down – remains to be seen, but probably 100-120 miles. Thankfully Tesla has a fairly well distributed “Supercharger” network out on the highways which makes this just enough range. It’d still take a lot longer with all those stops to cover any significant distance. Plan is to use the Tesla for in-state races, but rent a truck for anything further.
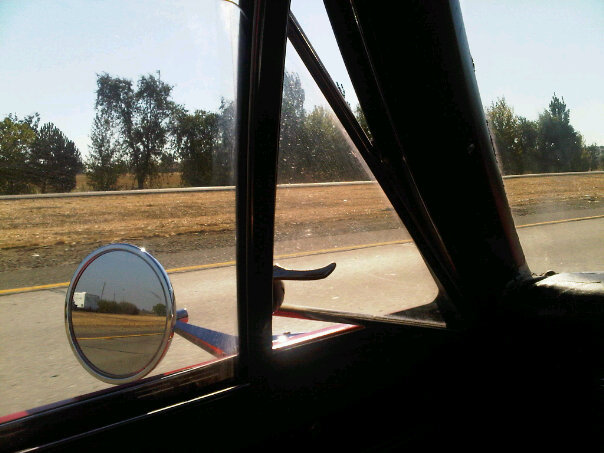
When the weather is right, with some clouds, the view out the panoramic aircraft-style windshield is killer!

Then, there’s the Camaro…
More to come in the next post…
Gear jammin
Back in the day, The General provided first gen Camaro owners a wide range of choices in final drive ratio. I’ve seen everything from high 2.xx’s to low 5.xx’s available as factory options.
For this thing in 2013 STX trim I went with 4.88, which netted high 60’s mph at the top of second gear with the original redline and rear tires I’d chosen. About right for an STX car. With eventually shorter rear tires and a lower redline after a lot of broken valvetrain parts, the max speed ended up in the low 60’s, not so good.
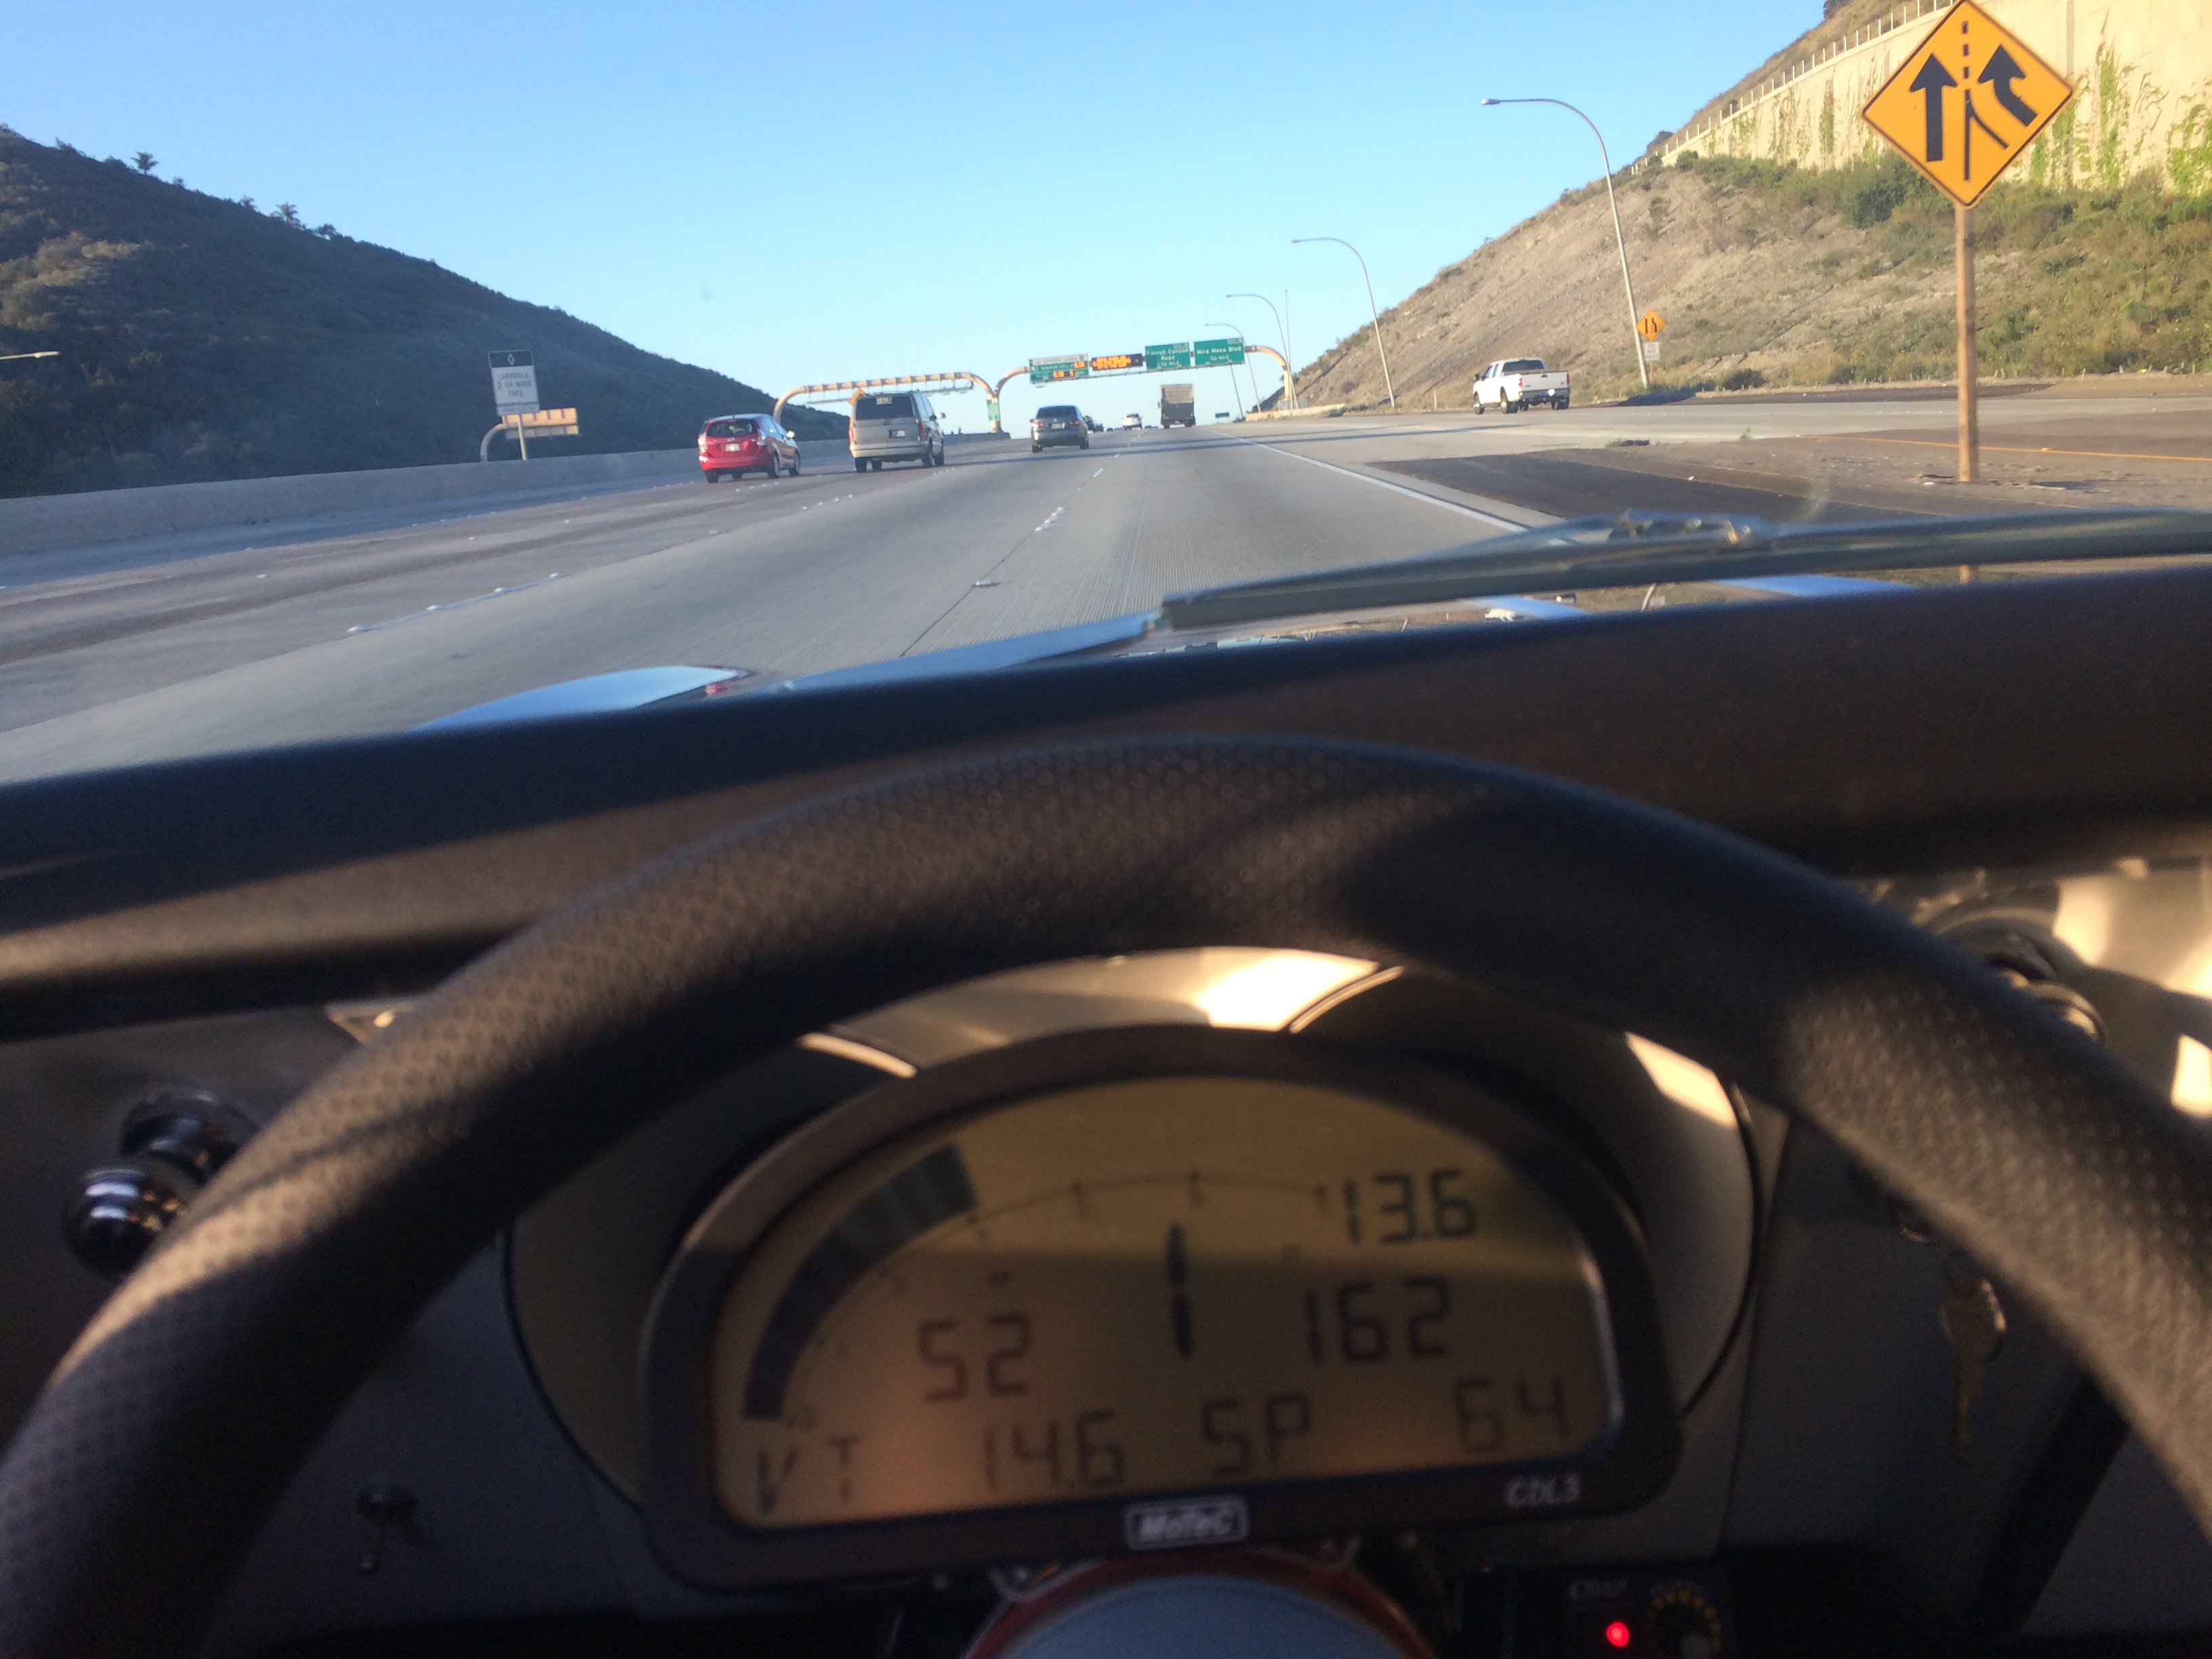
Another shortcoming revealed itself the following year when I took the car on the freeway for the first time – with the >27″ tall vintage tires, 4000rpm in top (fourth gear, 1:1), netted 62mph. Not very relaxing.
Not looking to track the car any time soon, I only had two requirements of the gearing situation:
- Produce the right top speed in second gear for autocross use
- Produce a reasonable cruising RPM for any trips on the freeway
Below is a cut from one tab of my super-duper everything-I-know-about-cars spreadsheet. Getting gearing right is important and key to understanding thrust. By messing with the stuff in green I can see the resulting outputs. Column K, 2nd Gear Max, is important to ensure your car has “long enough legs” for autocross. Column M, RPM @30mph, tells you about where the engine will be coming off the slowest of corners – especially important for peaky or boosted engines. Plugging the highest transmission ratio into the second gear column and them multiplying column M by 2-2.5, gives me a quick idea of cruise RPM.
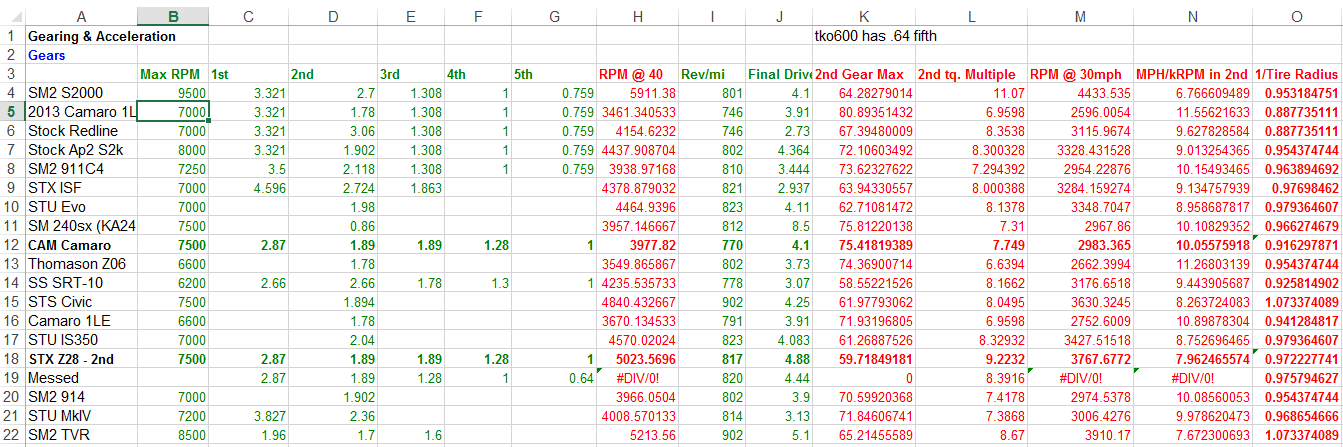
The problem with the old school Muncies is second gear (1.64 typical) tends to be too close to top gear (always 1:1). So while 10mph per 1000rpm is perfectly reasonable for second gear (column N), with a Muncie that means you’re only getting 16.4mph per 1000rpm in top – which puts you in a situation like the above.
This is where the world kinda explodes for me. Every car I’ve monkeyed with in the last 15 years, has been done within the tight constraints of an autocross ruleset. The only exception maybe was building the 240sx for Street Mod in 2007, where sizing and building a turbo system was a ton of fun – but where I also learned that there was such a thing as too hardcore of a race car for me. Every time before and since, the rules had kept me from going too far – and in my current frame of “just don’t do anything that’s illegal in CP or CAM” – the sky is the limit.
One option would be to stick with the Muncie. To produce a good autocross gear and a decent highway gear, would mean having to autocross in first gear. For regular Solo that might kinda work but for anything with a launch it would not. The little 302 just doesn’t have the beans to get off the line with a 70+mph first gear. An 8 liter Viper with a 60mph first barely does.
Another is the Gear Vendors overdrive unit, which adapt to the Muncie and give a quick overdrive at the touch of a button. Thought about this for a while, and it might be neat in an autocross setting, to basically be able to paddle-shift up or down on course between second gear and “second-over”. The biggest concern I had with this, is the “upshift” into overdrive wasn’t instantaneous (“down”shifts out of OD are) – the engagement of overdrive is actuated by a pump on the transmission output shaft, and the faster it’s turning, the quicker the engagement. In videos where they show it engaging in first gear, there’s a delay of maybe three quarters of a second before it kicks in. That maybe doesn’t sound like a long time, but when you’re trying to time that on an autocross course, it’s an eternity. Seemed likely that it wouldn’t be totally consistent either.
The other issues were the unit is pricey (more than a good new 5 speed trans) and the overdrive is “only” .78. Better than nothing, but not as much of an overdrive as offered elsewhere. Lastly, my M21 leaked like oil was going out of style. Not an easy fix either, a worn countershaft hole in the case, the only way to repair is to drill out the hole and put in a new bushing, or buy a whole new case. So to fix the M21 and do the GV Overdrive was quickly becoming a $4k proposition
Elsewhere, there are some really beefy 4 speeds, like the Jerico transmissions commonly used in circle track racing. Common now in Street Modified and Prepared classes autocross, they are strong and light, and for this common RWD Chevy application, not that much more than some of these other options. Their non-synchronized straight cut gears sound great too. Problems there, they’re quite noisy, a bit of a pain to use on the street, and I’ve heard stories of them actually having a hard time with extended durations at light load, like cruising on the highway.
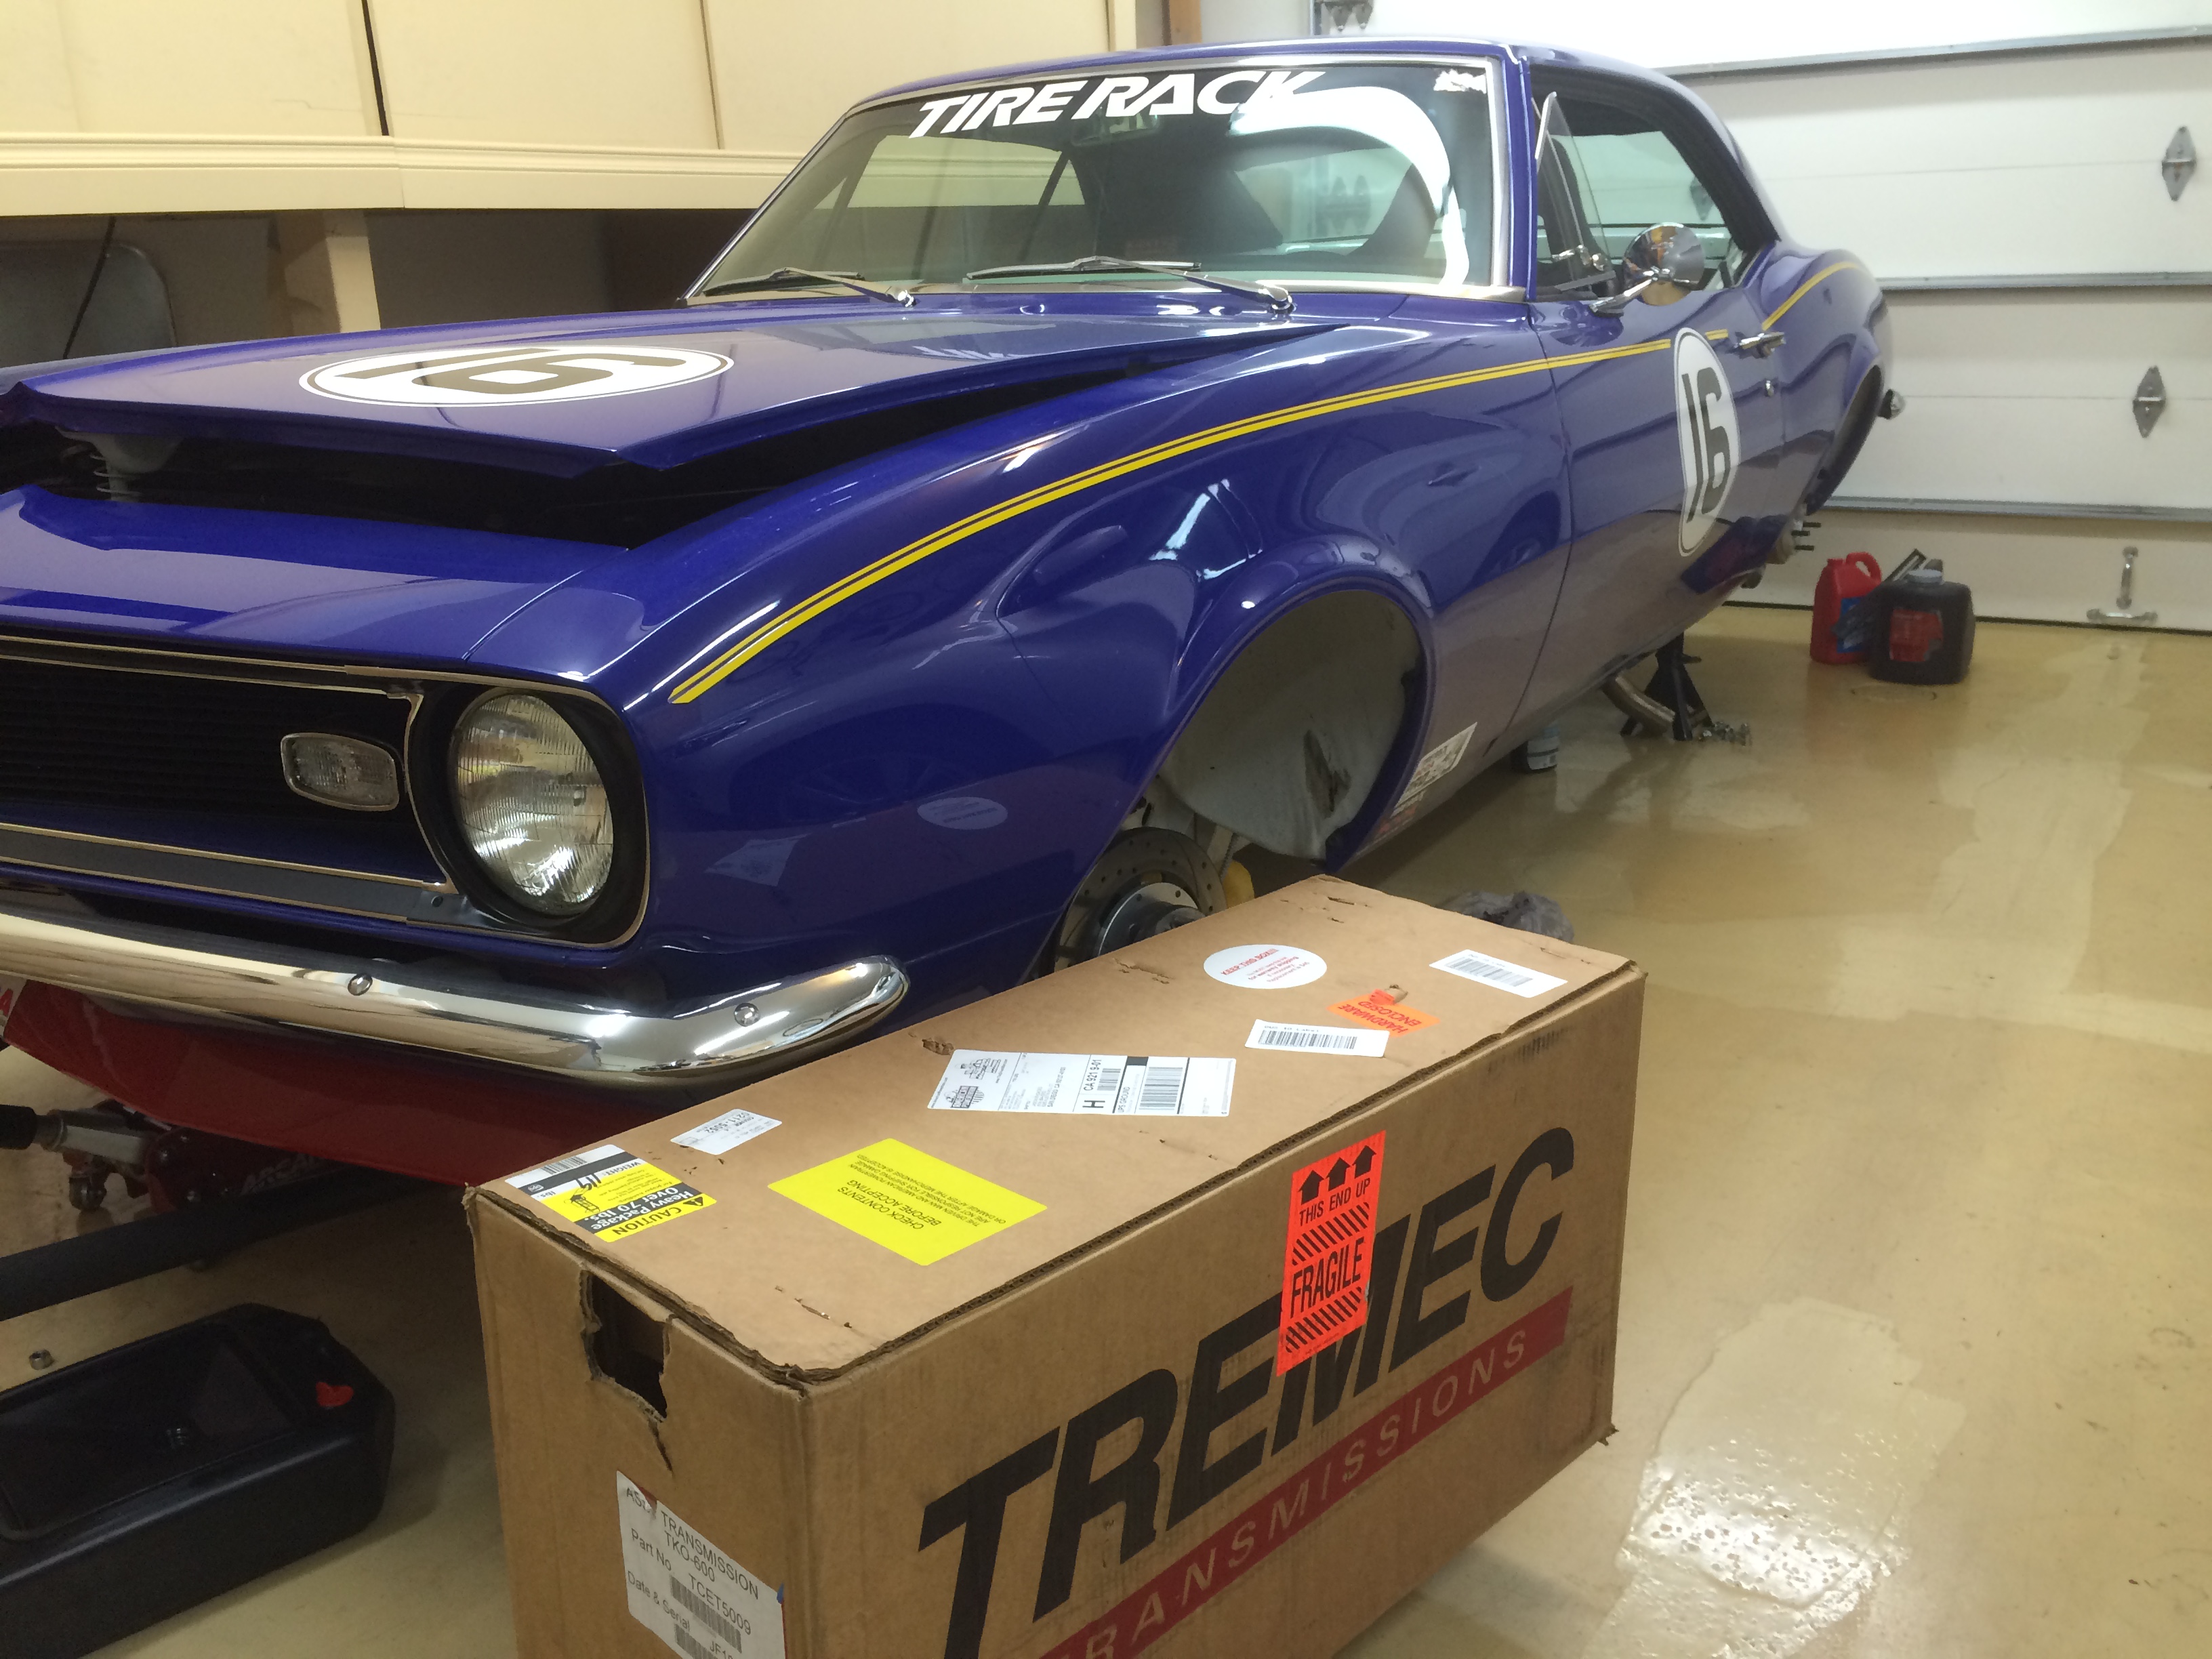
The most common swaps for these cars are Tremec 5 or 6 speeds. The 5-speed come in the TKO500 and 600 flavor (the number representative of their steady-state torque limits) and the six speed is the T56 Magnum, good for ~700.
An advantage of the T56 is you get 5 well spaced gears and a good cruising overdrive. If you want your car to stay in a narrow rpm range from 50 to 150mph, you want a 6 speed. With the 5 speed you get 1-4 similar to the 6-speed, but you have to choose whether you want your fifth gear to be like a T56’s fifth – maintaining good acceleration on a racetrack, but a bit buzzier on the highway (.82) – or more the like the T56’s 6th, where acceleration on track would be feeble, but you get a more relaxed cruise (.64).
For its superior strength and flexibility across speeds the 6-speed can’t be beat. The cost isn’t that much more either, only a few hundred bucks more than a TKO600.
There are some downsides though. First, is it’s a physically much larger transmission than the 5-speeds, which themselves are already a fair bit bigger than the 4-speed Muncies. While the TKOs can fit these old Camaros without tunnel mods, the same isn’t really the case for the T56. The other, is they’re heavy – over 130 pounds.
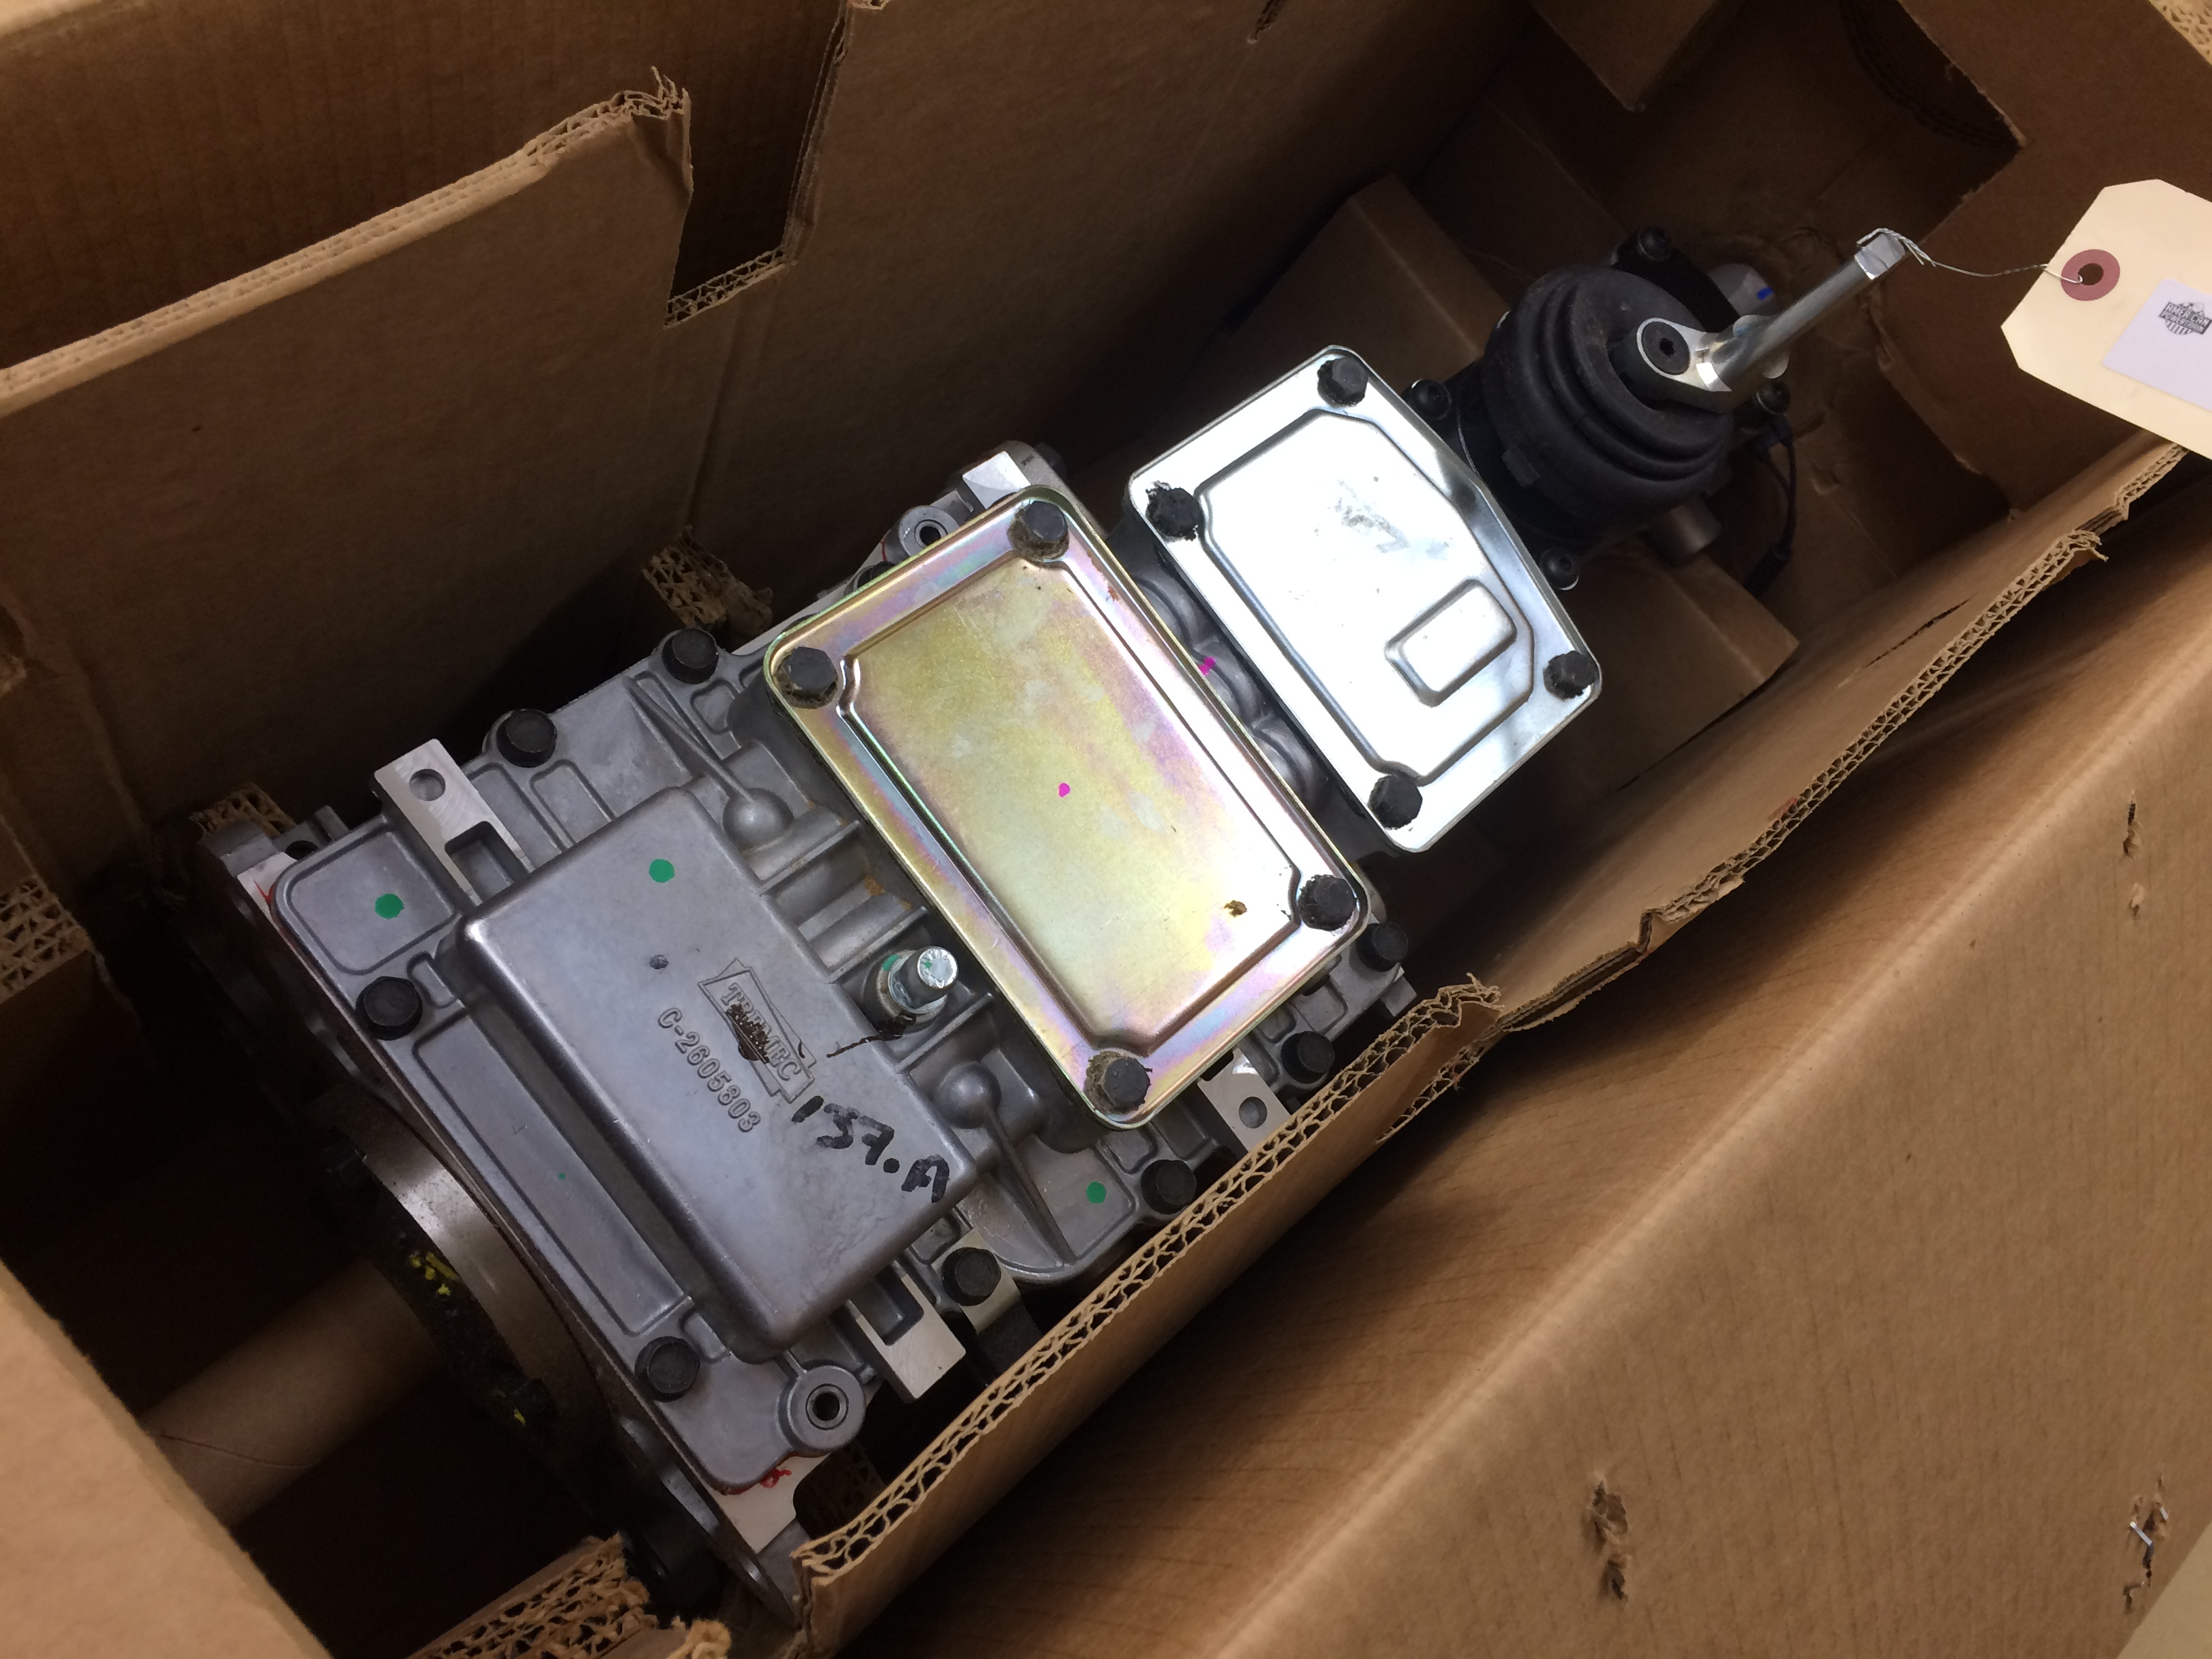
Long story coming to an end, I went with a TKO600. I don’t plan on acceleration above 4th gear speeds to be something I need to worry about (just don’t want to go that fast in this old thing) – and the fitment and weight benefits sealed the deal.
My motor is nowhere near 500 ft-lbs. of torque even after its planned upgrades so the TKO500 would have been fine, but the 600 was only a little bit more and should provide some future-proofing if things escalate in the future.
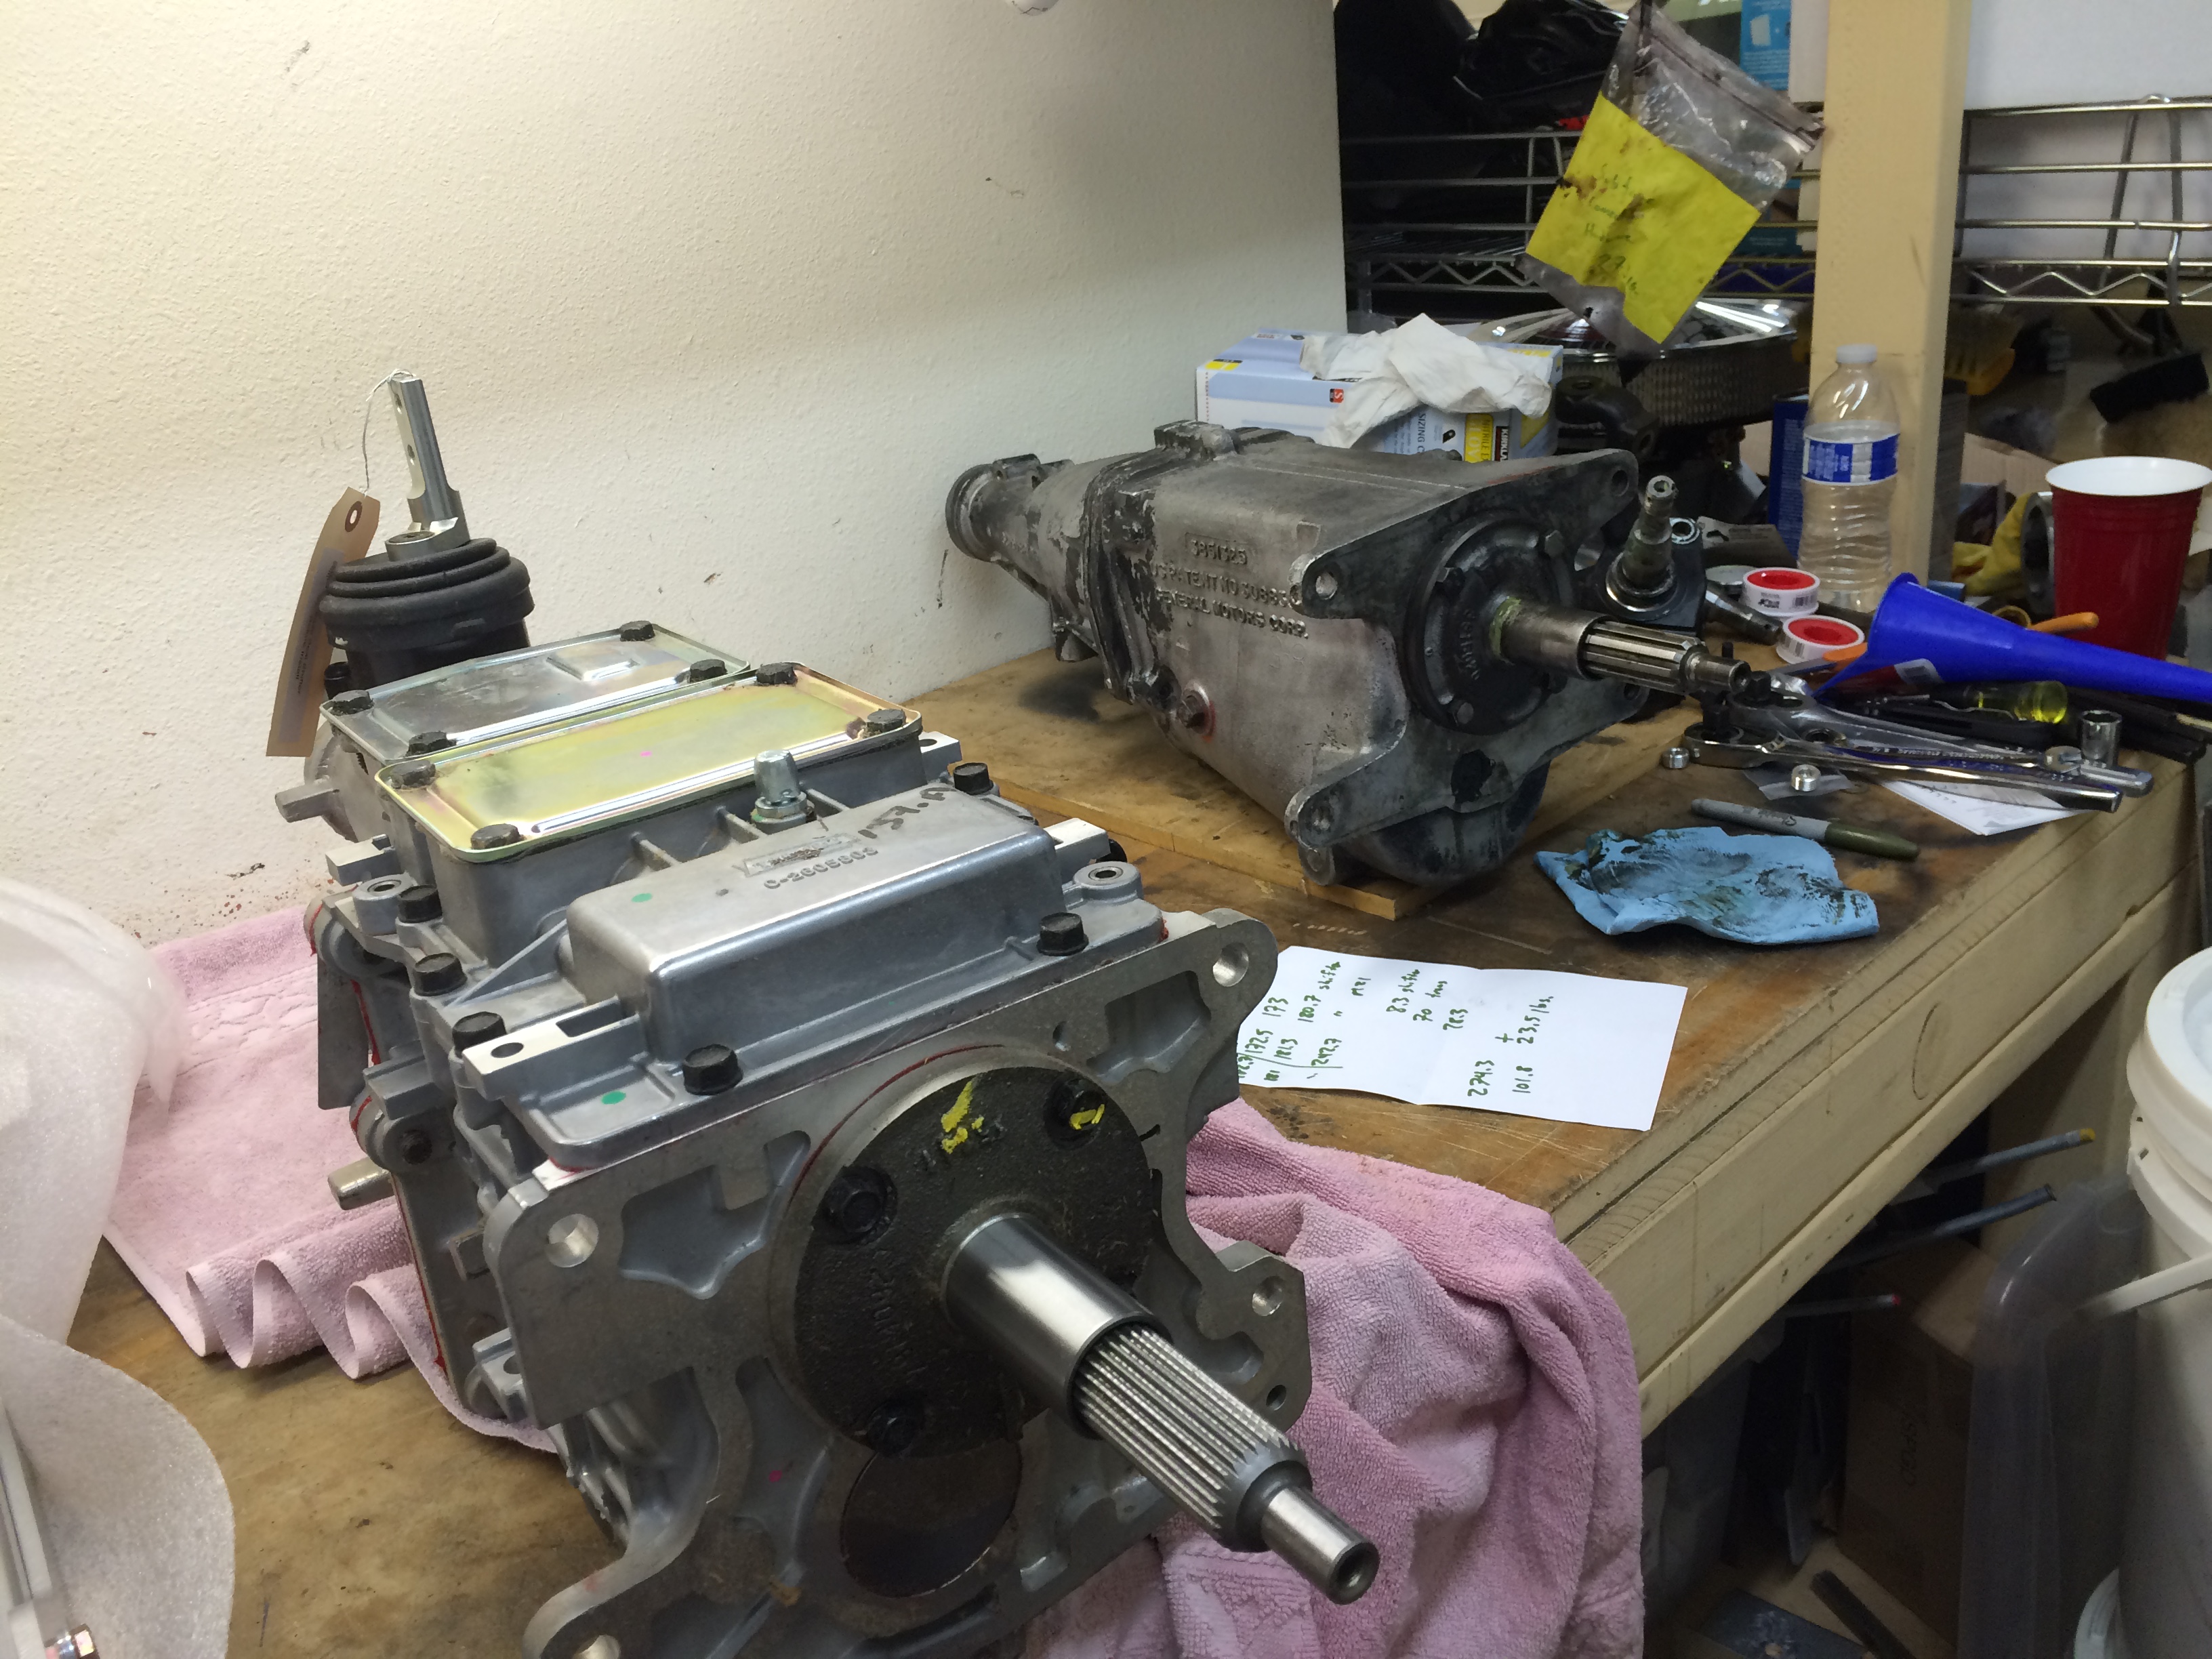
That paper has my notes on weight:
Stock M21 Muncie: 70lbs.
TKO600 with shifter assembly: 101lbs.
Hurst shifter assembly for Muncie: 8lbs.
So, in a heads-up comparison, the TKO is 23 lbs. heavier than the Muncie. The TKO installation kit comes with a new crossmember for mounting in the car which saves a couple pounds, for a net +21.
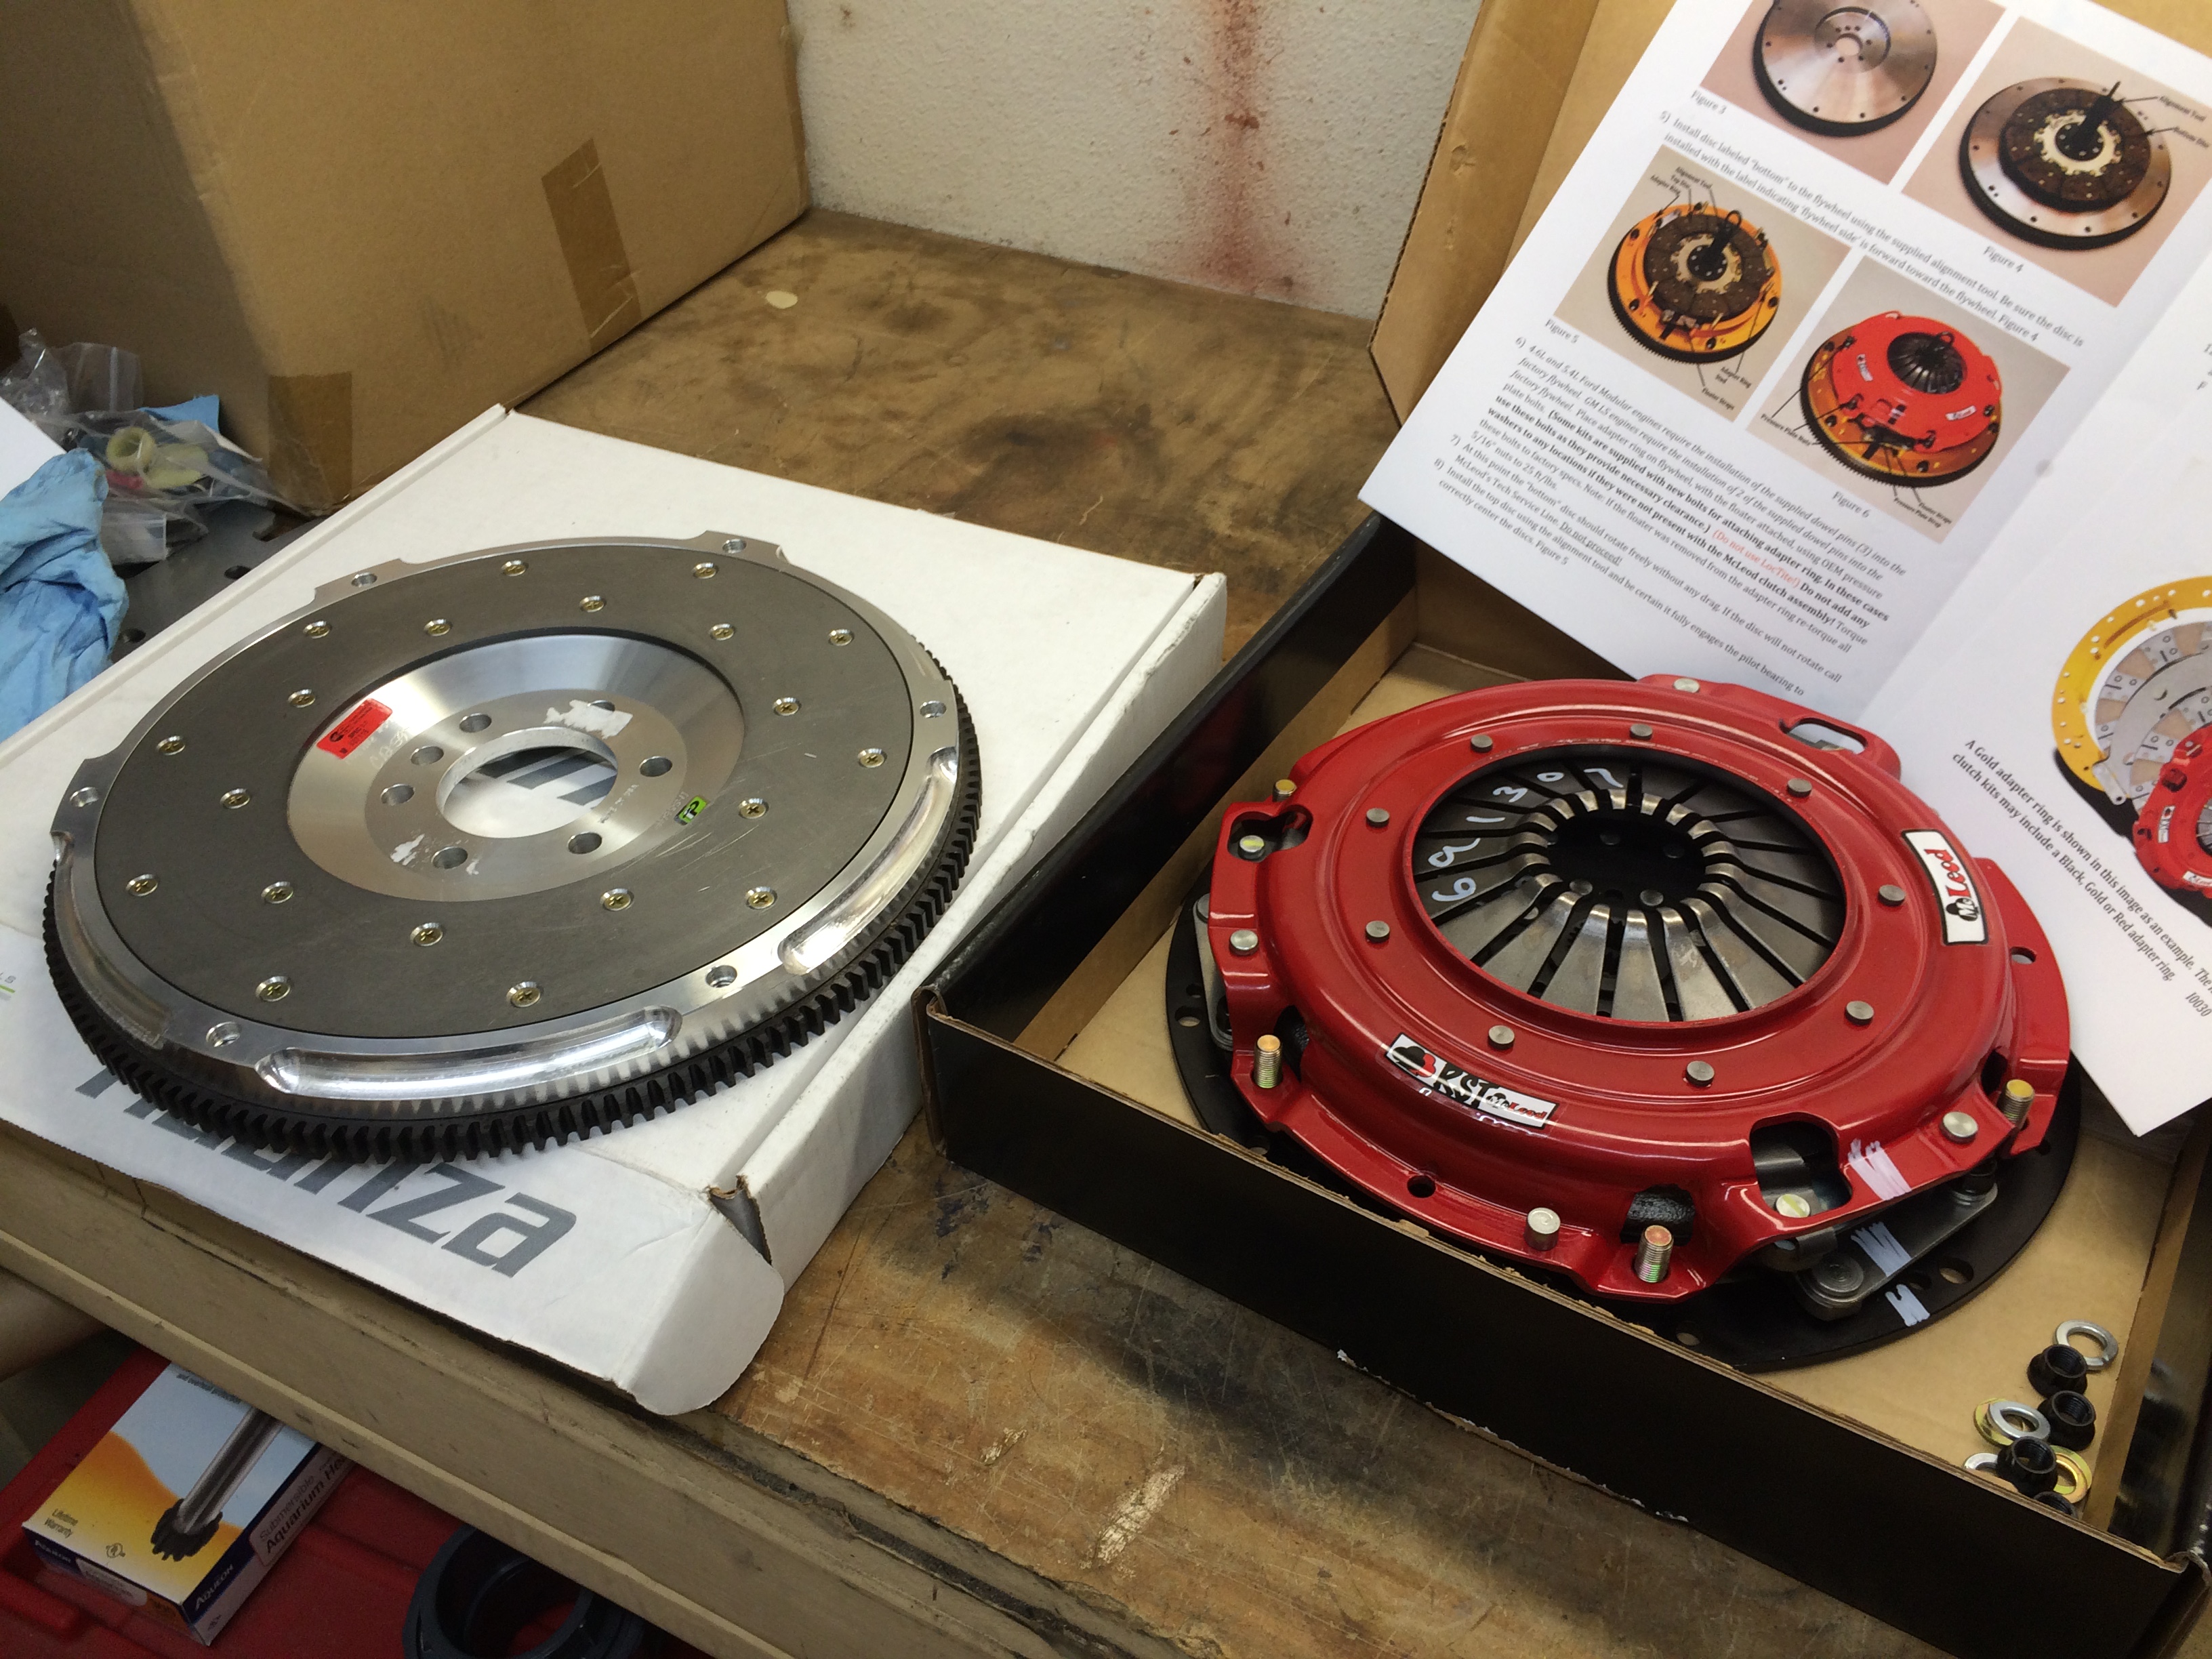
Last bit in this space are a new flywheel/clutch/pp. Flywheel is an aluminum Fidanza, clutch kit is a McLeod RST street twin disc. The clutch is rated to 800hp (future-proofing again!) but by virtue of being twin-disc, retains a lightweight and smooth, streetable engagement. The cost is the clutch assembly is heavy! Every pound the light flywheel saved over the OE iron piece, the clutch takes back. Oh well, at least no net gain there.
Looking forward to eliminating the biggest leak on the car, and taking the revs down to a reasonable place on the freeway. Lots more to do though!