Staying sharp in the off-season – sim racing
The “sunshine tax” we Southern Californians pay affords us year-round opportunities for autocross and track days. Still, since I won’t have a car for a while, and there’s some free time while the car is out, decided to do a little more sim racing this winter.
There are several sims out there, the two I’m most familiar with are the SimBin GTR series of games (GTR2, GTR Evolution, Race07), and iracing.com.
The SimBin games are fun and a tremendous value – for $20-30, you’ve got unlimited access to 100+ awesome cars and dozens of neat tracks. Within a few minutes of installing, I was driving a Team Oreca Viper around the Nurburgring. Their Porsche 935 is by far the most fun sim car I’ve driven. You can download even more cars and tracks from sites like nogripracing.com. They also have a “Hot Laps” section, where people can post up their fastest laps, so you can see essentially the world record laps to compare to.
iracing.com is a little more hardcore. When you sign up you only get access to a small handful of cars, on an even smaller handful of tracks. The only real car you get when you start is a crappy Pontiac Solstice. You’ve got to keep paying a monthly fee, and you have to pay more every time you want to try a new car or a new track. Still, the simulation aspect of iracing is even better than the GTR games, which makes the subscription-based iracing a worthwhile endeavor for a few months in the off season. From within the iracing website, you can look up the world record laptimes for a given car on a given track, to compare to. No excuses here – with an average PC and wheel/pedal combo, you should be able to run with the very fastest guys in the world, once you’ve had some practice.
The sims always feel a bit cartoony and obviously the sensations are missing, but anecdotally it seems helpful. It helps you remember how to stay focused, how to stay smooth on your inputs, and if you race against other people, it even feels like a bit of exciting pressure at times. Some of my best driving in 2010 was the year’s first event – the San Diego Tour, when I hadn’t driven the Viper for 5 months, but had played a bunch of iracing after Santa brought a Logitech G27 wheel for Christmas.
Also, I look at a guy like Bryan Heitkotter. Bryan was already a really good autocrosser, then he got into iracing and rose to be one of the gods amongst its ranks. Meanwhile out in the real world, the guy is now just plain unstoppable, winning every race he enters, in a tough class against some really great drivers.
This isn’t an advertisement for any sim racer (though if you sign up for iracing, I wouldn’t mind if you told them I referred you 😉 ), just an observation that these programs have come far enough along now, to be valid training tools for use in the off season.
More fabrication work complete
Despite having to simultaneously deal with a cold and waves of “Camaro groupies” coming by the shop to check things out, John has made a bit more progress on the car.
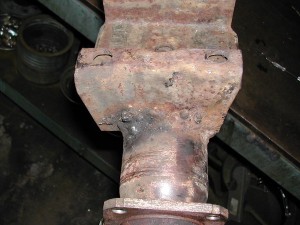
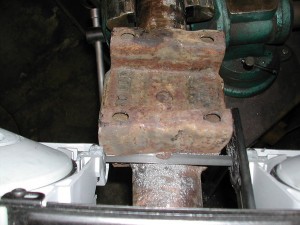
Unitrax completed the rear end with the ring & pinion and diff all installed right. The passenger-side leaf spring mount was bent, rusty, crooked, and had been re-welded or something by a caveman with a blowtorch; it needed some fixin’-
The sawzall, saws all:
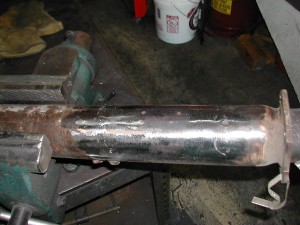
Removed, and readied for the new perch:
This is one place the Camaro’s popularity helps. Replacement spring perch from Summit was just a few bucks, they had it in stock, etc. Probably not many cars where replacement welded-on pieces like this are so easy to come by-
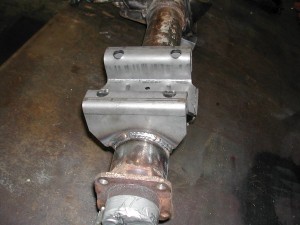
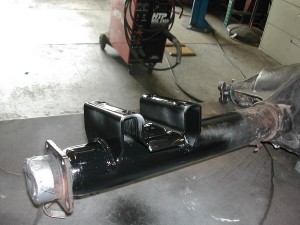
All prettied up and rust protected:
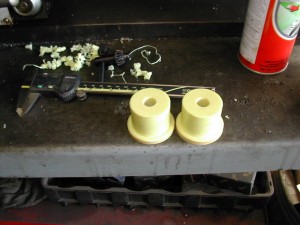
I’d been thinking about buying a lathe and making some of my own bushings, but there are really only a few this car needs, and I don’t have a ton of spare workbench space…so I’m having John make the custom bushings the car needs also. He completed the first couple pairs, for the rear leaf spring shackles-
These Hydlar bushings should offer much improved response over the worn-out stock bushings, which in an informal durometer test, measured just above “marshmallow”
CVD Series underway
I’ve put together the introductory chapter in a series I’ll be writing entitled “Comparative Vehicle Dynamics – A guide to choosing your next competitive autocross or track car“.
These will appear as “Pages” links from this blog – up above you should see a link to “CVD 1 – Intro”. Although the chapters will describe the process I generally follow in analyzing the capability of a given car for a given class, there isn’t really anything in there specific to the Camaro, so I won’t be delivering them as Posts to the blog. Perhaps by the end however, the process will illustrate how the Camaro maybe wasn’t as horrible a choice as most think it is.
Fab work underway – subframe connectors
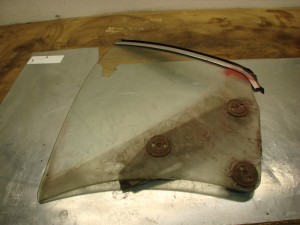
Haven’t done much on this project myself over the past 2 weeks. Cleaned the garage which was getting a bit funky from the disassembly phase, despite continuous cleanup. Sometimes old cars are like leaky faucets of dirt and grime. Feels like you could saturate the world’s supply of Simple Green and shop towels, and still you’d be instantly dirty, knocking dirt all over the floor, the instant you touched it. Hopefully by the end of the body/paint phase the car will be to the sanitary state I seek. One thing I have been doing is cleaning up the side glass, to remove 40+ years of gunk and some recent overspray.
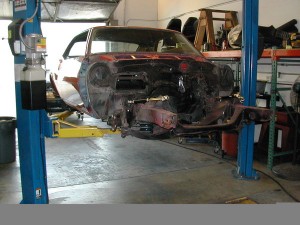
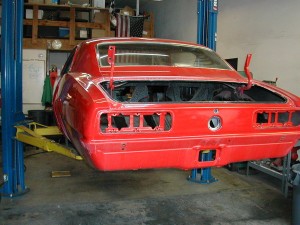
So while I’ve been slacking, John Coffey of Beta Motorsports got started on the car this past week, and was kind enough to snap a few photos along the way.
The rear axle was removed and taken to Unitrax, they’ve checked it for straightness and given it a clean bill of health. They’ll be setting it up with the new ring & pinion I located. There’s a nice variety of final drive ratio choices available for the car: http://camaros.org/drivetrain.shtml#AxleCodes
My initially chosen ratio will provide a bit over 66mph at my initially chosen redline, with a rear tire that does 820 revs/mile. There are options to add more top speed in second (besides raising the limiter to unsafe levels), but I think this will be a good start. At Nationals in 2010 I only hit 68-69mph top speed in the Viper, and with its R-comps, the Viper had a higher speed at the apex and could come off the corner harder than the nose-heavy street-tired Camaro will be able to. At Nats 2009 we hit 72, and I did hit 74 and 72 at the SD Tour and El Toro Pro in 2010, so we’ll see. A taller final drive would make it a bit easier to drive, but I’m worried it might chug a bit (by V8 standards) off a really slow corner. At Nats 2010 there were a couple 30mph corners in the Viper, and I’ve seen National-level events with 25-26mph corners. Sure, there’s always first gear, but after having done a bunch of shifting for 3 years in the Viper, I’m looking forward to a more traditional second-gear-everywhere approach in this car. Not having ABS is going to keep my feeble and already-overloaded mind busy enough when braking into a slow corner.
***Along the above lines – I have an extensive process I use in evaluating cars (like the 240sx, Viper, or this thing) for a class, a part of which I’ve skimmed in the paragraph above, and lightly in other posts. If you’re interested in seeing this process more thoroughly described, email me (jason@rhoadescamaro.com) to let me know. It’s going to be a lot of work to explain everything so I don’t want to start on that road unless I know people are interested. I’d do so in a parallel blog as it’s not really Camaro specific. Analysis would broken down into the following seven chapters, which cover everything your car does in an autocross or track lap:
- Straight-line acceleration (which answers the eternal HP vs. TQ question, how to choose gearing, etc.)
- Skidpad (including an explanation of tires to the depth you need to know)
- Transitions/slaloms
- Straight-line braking
- The launch
- Corner entry
- Corner exit
***
A while back I bought a pair of subframe connectors: ( http://www.rhoadescamaro.com/build/?p=263 ) and John set about modifying them. We’re allowed three mounting points:
H. Longitudinal (fore-aft) subframe connectors (“SFCs”) are permitted
with the following restrictions:
1. They must only connect previously unconnected boxed frame rails on unibody vehicles.
2. Each SFC must attach at no more than three points on the uni-
body (e.g. front, rear, and one point in between such as a seat
mount brace or rocker box brace).
3. SFCs must be bolted in place and not welded.
4. No cutting of OE subframes or floorpan stampings is permitted.
Drilling is permitted for mounting bolts only.
5. No cross-car/lateral/triangulated connections directly between the
driver’s side and passenger’s side SFCs are permitted. Connec-
tions to OE components such as tunnel braces or closure panels
via bolts are allowed and count as the third point of attachment.
No alteration to the OE components is permitted.
6. SFCs may not be used to attach other components (including but
not limited to torque arm front mounts or driveshaft loops) and
may serve no other purpose.
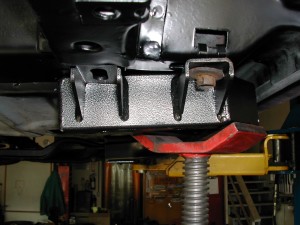
But these only have two attachment points, at the very front and rear. If I’m adding 24 pounds of steelitis, I’m going to get every last bit of value out of these boat anchors! John will be adding an intermediate attachment point to bolt them to the rockers, but he needs to get them in position first. Along with that is the installation of the (stock height) replacement subframe bushings. Would probably use aluminum here if the rules allowed, but since they don’t, delrin it is.
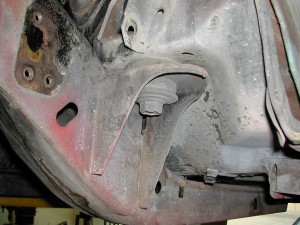
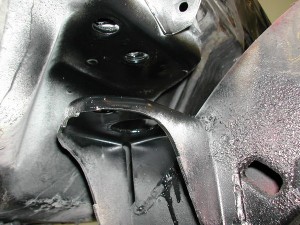
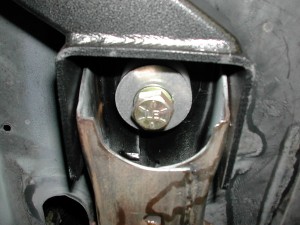
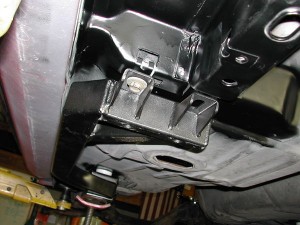
So apart come the subframe bushings, last torqued down about 44 years ago by some fellow in Van Nuys, CA:
John cleans things up a bit before proceeding:
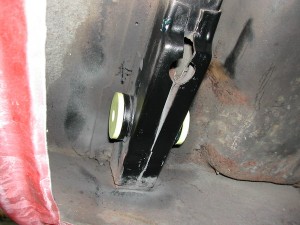
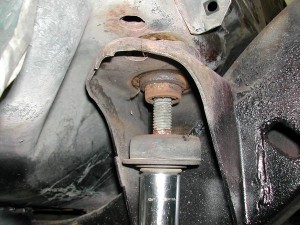
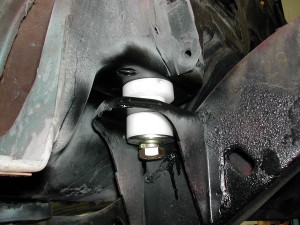
And loosely put together with the new bushing-
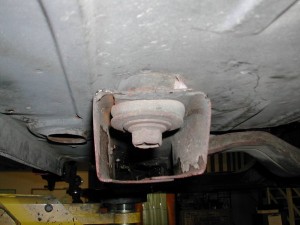
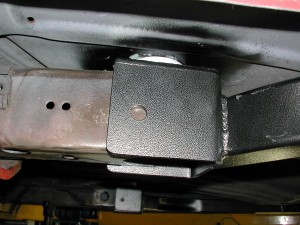
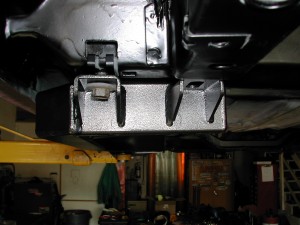
Similar process for the rearward body mounts:
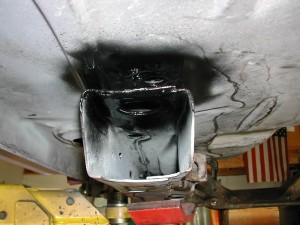
And together with new bushing and subframe connector-
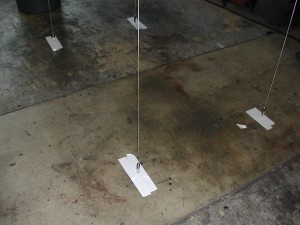
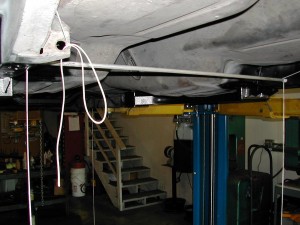
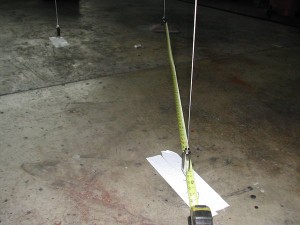
Need to ensure the subframe is square to the body before anything is tightened down, so out come the plumb bobs:
I suspect it’ll come out of John’s shop with a more accurate subframe alignment than it had when it rolled out of the factory 🙂 It’ll have to come apart again later when it’s time for paint, so John will put some things in place to aid in more rapid future alignments.
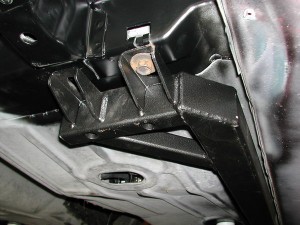
Driver side connector initial install, no problems:
Passenger side, BMR, we have a problem:
The passenger side connector has a bit of counterclockwise-when-viewed-from-rear “twist” in it, and the rear backets are not square. This part ain’t goin’ on the car! I imagine BMR will ship me another one to make this right, so it’s not the end of the world. I consider myself lucky to even have a decent part available that’s legal for this ruleset – pretty much every other subframe connector involves cutting the floorpan (you can see how a straight path would require this), and welding things to the car. Who knows, maybe they were doing their website’s photo shoot the day my parts were made, which distracted the welder-
A lesson here for everybody fixing up your car, is to not assume any part you get is correctly made or configured, even if brand new, and even when it comes from a highly regarded vendor.
