Fab work underway – subframe connectors
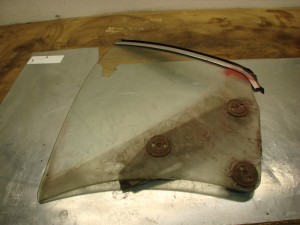
Haven’t done much on this project myself over the past 2 weeks. Cleaned the garage which was getting a bit funky from the disassembly phase, despite continuous cleanup. Sometimes old cars are like leaky faucets of dirt and grime. Feels like you could saturate the world’s supply of Simple Green and shop towels, and still you’d be instantly dirty, knocking dirt all over the floor, the instant you touched it. Hopefully by the end of the body/paint phase the car will be to the sanitary state I seek. One thing I have been doing is cleaning up the side glass, to remove 40+ years of gunk and some recent overspray.
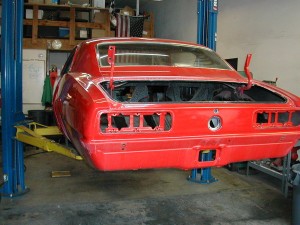
So while I’ve been slacking, John Coffey of Beta Motorsports got started on the car this past week, and was kind enough to snap a few photos along the way.
The rear axle was removed and taken to Unitrax, they’ve checked it for straightness and given it a clean bill of health. They’ll be setting it up with the new ring & pinion I located. There’s a nice variety of final drive ratio choices available for the car: http://camaros.org/drivetrain.shtml#AxleCodes
My initially chosen ratio will provide a bit over 66mph at my initially chosen redline, with a rear tire that does 820 revs/mile. There are options to add more top speed in second (besides raising the limiter to unsafe levels), but I think this will be a good start. At Nationals in 2010 I only hit 68-69mph top speed in the Viper, and with its R-comps, the Viper had a higher speed at the apex and could come off the corner harder than the nose-heavy street-tired Camaro will be able to. At Nats 2009 we hit 72, and I did hit 74 and 72 at the SD Tour and El Toro Pro in 2010, so we’ll see. A taller final drive would make it a bit easier to drive, but I’m worried it might chug a bit (by V8 standards) off a really slow corner. At Nats 2010 there were a couple 30mph corners in the Viper, and I’ve seen National-level events with 25-26mph corners. Sure, there’s always first gear, but after having done a bunch of shifting for 3 years in the Viper, I’m looking forward to a more traditional second-gear-everywhere approach in this car. Not having ABS is going to keep my feeble and already-overloaded mind busy enough when braking into a slow corner.
***Along the above lines – I have an extensive process I use in evaluating cars (like the 240sx, Viper, or this thing) for a class, a part of which I’ve skimmed in the paragraph above, and lightly in other posts. If you’re interested in seeing this process more thoroughly described, email me (jason@rhoadescamaro.com) to let me know. It’s going to be a lot of work to explain everything so I don’t want to start on that road unless I know people are interested. I’d do so in a parallel blog as it’s not really Camaro specific. Analysis would broken down into the following seven chapters, which cover everything your car does in an autocross or track lap:
- Straight-line acceleration (which answers the eternal HP vs. TQ question, how to choose gearing, etc.)
- Skidpad (including an explanation of tires to the depth you need to know)
- Transitions/slaloms
- Straight-line braking
- The launch
- Corner entry
- Corner exit
***
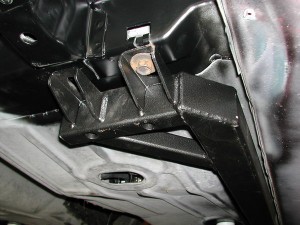
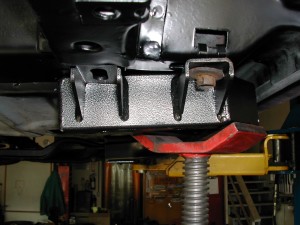
A while back I bought a pair of subframe connectors: ( http://www.rhoadescamaro.com/build/?p=263 ) and John set about modifying them. We’re allowed three mounting points:
H. Longitudinal (fore-aft) subframe connectors (“SFCs”) are permitted
with the following restrictions:
1. They must only connect previously unconnected boxed frame rails on unibody vehicles.
2. Each SFC must attach at no more than three points on the uni-
body (e.g. front, rear, and one point in between such as a seat
mount brace or rocker box brace).
3. SFCs must be bolted in place and not welded.
4. No cutting of OE subframes or floorpan stampings is permitted.
Drilling is permitted for mounting bolts only.
5. No cross-car/lateral/triangulated connections directly between the
driver’s side and passenger’s side SFCs are permitted. Connec-
tions to OE components such as tunnel braces or closure panels
via bolts are allowed and count as the third point of attachment.
No alteration to the OE components is permitted.
6. SFCs may not be used to attach other components (including but
not limited to torque arm front mounts or driveshaft loops) and
may serve no other purpose.
But these only have two attachment points, at the very front and rear. If I’m adding 24 pounds of steelitis, I’m going to get every last bit of value out of these boat anchors! John will be adding an intermediate attachment point to bolt them to the rockers, but he needs to get them in position first. Along with that is the installation of the (stock height) replacement subframe bushings. Would probably use aluminum here if the rules allowed, but since they don’t, delrin it is.
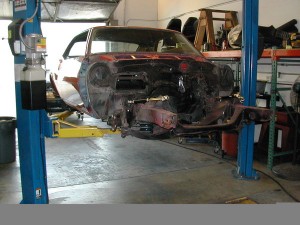
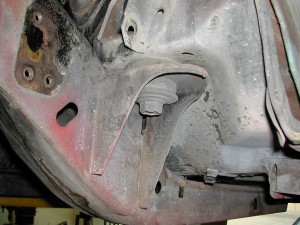
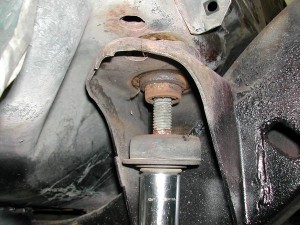
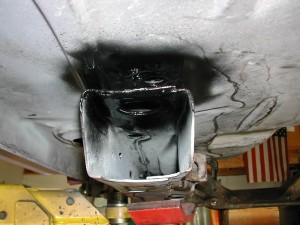
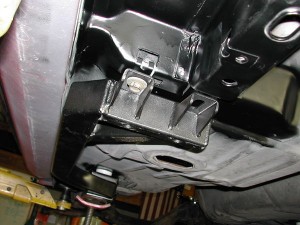
So apart come the subframe bushings, last torqued down about 44 years ago by some fellow in Van Nuys, CA:
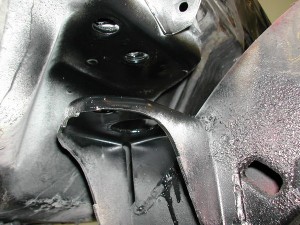
John cleans things up a bit before proceeding:
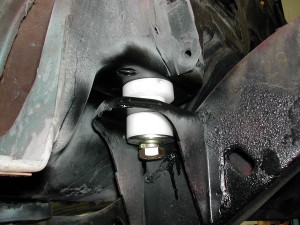
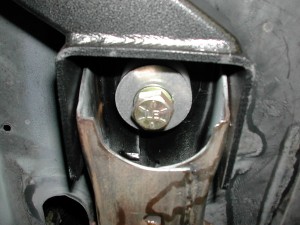
And loosely put together with the new bushing-
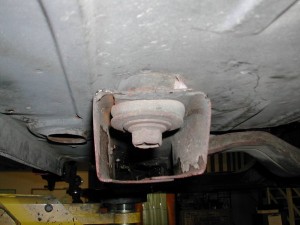
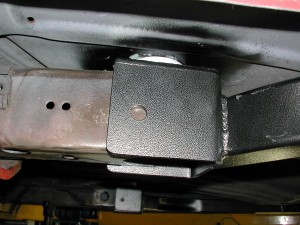
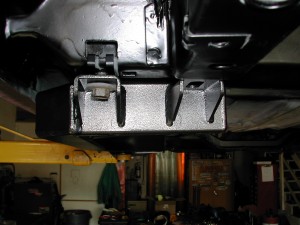
Similar process for the rearward body mounts:
And together with new bushing and subframe connector-
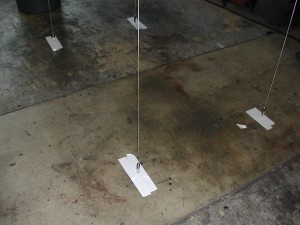
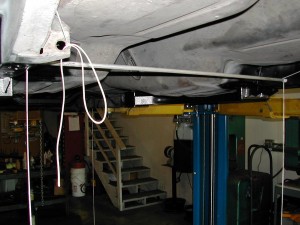
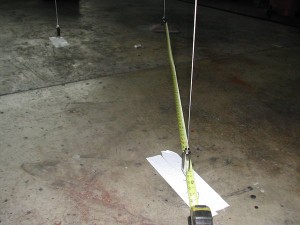
Need to ensure the subframe is square to the body before anything is tightened down, so out come the plumb bobs:
I suspect it’ll come out of John’s shop with a more accurate subframe alignment than it had when it rolled out of the factory 🙂 It’ll have to come apart again later when it’s time for paint, so John will put some things in place to aid in more rapid future alignments.
Driver side connector initial install, no problems:
Passenger side, BMR, we have a problem:
The passenger side connector has a bit of counterclockwise-when-viewed-from-rear “twist” in it, and the rear backets are not square. This part ain’t goin’ on the car! I imagine BMR will ship me another one to make this right, so it’s not the end of the world. I consider myself lucky to even have a decent part available that’s legal for this ruleset – pretty much every other subframe connector involves cutting the floorpan (you can see how a straight path would require this), and welding things to the car. Who knows, maybe they were doing their website’s photo shoot the day my parts were made, which distracted the welder-
A lesson here for everybody fixing up your car, is to not assume any part you get is correctly made or configured, even if brand new, and even when it comes from a highly regarded vendor.

The Z/28 is looking great. Massive SFCs should help things a bit.
What’s the planned color scheme? Maybe a vintage Trans Am livery?
That is the plan. I’m not so good with aesthetics, so I’ll be going with a scheme I already know looks good… 🙂